Python | Django | Viewを利用したリダイレクトの実装方法

公開日:2021/7/18
Pythonには,DjangoというWebアプリケーションフレームワークがある.フレームワークのため,Djangoを利用するとWebアプリを通常よりも短時間で開発することが可能になる.
本記事では,「Viewを利用したリダイレクトの実装方法」を以下6つの構成にて記す.
◆実施環境
Python 3.8.8
Django 3.2.3
■View(ビュー; views.py)を利用したリダイレクトの実装方法
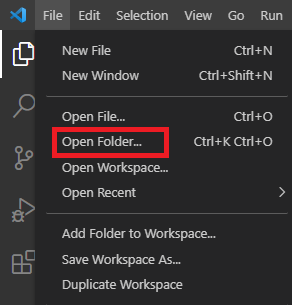
新たにフォルダを開く.VS Codeの"File"をクリックし,"Open Folder"からフォルダを選ぶ.
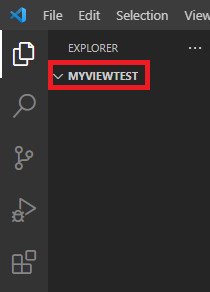
今回は"myviewtest"という名のフォルダを作成したので,選択する.選択後,以下赤枠のようにフォルダが出来上がる.
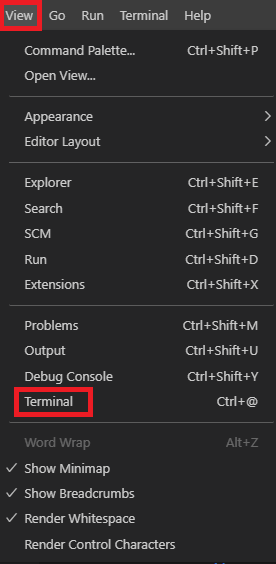
VS Codeの"View"をクリックし,"Terminal"を選択する.
ターミナルを開き,”conda activate 仮想環境名”を実行し,仮想環境に移行する(移行方法の詳細はこちら).その後以下のように”django-admin startproject プロジェクト名”を実行する.私の場合,プロジェクト名を"viewproject"にした.
(djangoenv) C:\Users\shiro\Desktop\210517_python development\myviewtest
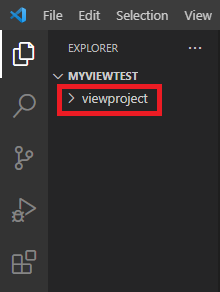
>django-admin startproject viewproject実行後,以下のようにVS Codeにはプロジェクトである"viewproject"が作成された.
“cd viewproject"を実行することによって,”viewproject”のディレクトリに移動する.続けて,"python manage.py migrate"を実行する.
(djangoenv) C:\Users\shiro\Desktop\210517_python development\myviewtest\viewproject
>python manage.py migrate

Operations to perform: # 以下出力箇所
Apply all migrations: admin, auth, contenttypes, sessions
Running migrations:
Applying contenttypes.0001_initial... OK
Applying auth.0001_initial... OK
Applying admin.0001_initial... OK
Applying admin.0002_logentry_remove_auto_add... OK
Applying admin.0003_logentry_add_action_flag_choices... OK
Applying contenttypes.0002_remove_content_type_name... OK
Applying auth.0002_alter_permission_name_max_length... OK
Applying auth.0003_alter_user_email_max_length... OK
Applying auth.0004_alter_user_username_opts... OK
Applying auth.0005_alter_user_last_login_null... OK
Applying auth.0006_require_contenttypes_0002... OK
Applying auth.0007_alter_validators_add_error_messages... OK
Applying auth.0008_alter_user_username_max_length... OK
Applying auth.0009_alter_user_last_name_max_length... OK
Applying auth.0010_alter_group_name_max_length... OK
Applying auth.0011_update_proxy_permissions... OK
Applying auth.0012_alter_user_first_name_max_length... OK
Applying sessions.0001_initial... OK
アプリを作成するため,ターミナルの”viewproject”のディレクトリで,"python manage.py startapp アプリ名"を実行する.私の場合,アプリ名を"restaurant"にした.以下のようにアプリが作成される.

“viewproject/settings.py"に追記し,以下のように編集する.
from pathlib import Path
import os # 追記箇所

BASE_DIR = Path(__file__).resolve().parent.parent
TEMPLATE_DIR = os.path.join(BASE_DIR, 'templates') # 追記箇所(5~6行目)
STATIC_DIR = os.path.join(BASE_DIR, 'static')

~途中省略~

INSTALLED_APPS = [
  'django.contrib.admin',
  'django.contrib.auth',
  'django.contrib.contenttypes',
  'django.contrib.sessions',
  'django.contrib.messages',
  'django.contrib.staticfiles',
  'restaurant', # 追記箇所
]

~途中省略~

TEMPLATES = [
  {
    'BACKEND': 'django.template.backends.django.DjangoTemplates',
    'DIRS': [TEMPLATE_DIR,], # 変更箇所
    'APP_DIRS': True,
    'OPTIONS': {
      'context_processors': [
        'django.template.context_processors.debug',
        'django.template.context_processors.request',
        'django.contrib.auth.context_processors.auth',
        'django.contrib.messages.context_processors.messages',
      ],
    },
  },
]

~途中省略~

LANGUAGE_CODE = 'en-us'
TIME_ZONE = 'Asia/Tokyo' # 変更箇所
USE_I18N = True
USE_L10N = True
USE_TZ = True

STATIC_URL = '/static/'

STTICFILES_DIRS = [ # 以下追記箇所
  STATIC_DIR,
]
“viewproject/urls.py"に追記し,以下のように編集する.
from django.contrib import admin
from django.urls import path, include # 変更箇所

urlpatterns = [
  path('admin/', admin.site.urls),
  path('restaurant/', include('restaurant.urls')), # 追記箇所
]
“restaurant"の中に,以下のように"urls.py"を作成する.

“restaurant/models.py"に追記し,以下のように編集する.
from django.db import models

class Menus(models.Model): # 以下追記箇所
  menu_name = models.CharField(max_length=50)
  price = models.IntegerField()
  kcal = models.IntegerField()

  class Meta:
    db_table = 'menus'
“restaurant/views.py"に追記し,以下のように編集する
from django.shortcuts import render
from .models import Menus # 以下追記箇所

def menu_list(request):
  return render(request, 'restaurant/menu_list.html')
“restaurant/urls.py"に追記し,以下のように編集する.
from django.urls import path
from . import views

app_name = 'restaurant'

urlpatterns = [
  path('menu_list/', views.menu_list, name='menu_list'),
]
“restaurant/admin.py"に追記し,以下のように編集する.
from django.contrib import admin
from .models import Menus # 以下追記箇所

admin.site.register(Menus)
ターミナルを開き,”conda activate 仮想環境名”を実行し,仮想環境に移行する(移行方法の詳細はこちら)."cd viewproject"を実行することによって,”viewproject”のディレクトリに移動する.その後,”python manage.py makemigrations restaurant”を実行すると,以下が出力される.
(djangoenv) C:\Users\shiro\Desktop\210517_python development\myviewtest\viewproject
>python manage.py makemigrations restaurant

Migrations for 'restaurant': # 以下出力箇所
  restaurant\migrations\0001_initial.py
    - Create model Menus*/
続けて,"python manage.py migrate restaurant"を実行する.以下が出力される.
(djangoenv) C:\Users\shiro\Desktop\210517_python development\myviewtest\viewproject
>python manage.py migrate restaurant

Operations to perform: # 以下出力箇所
  Apply all migrations: restaurant
Running migrations:
  Applying restaurant.0001_initial... OK
続けて,ターミナルにて,"python manage.py createsuperuse"を実行する.実行すると以下項目が出力されるので,入力していく.入力後,"Superuser created successfully"が出力されると成功となる.
(djangoenv) C:\Users\shiro\Desktop\210517_python development\myviewtest\viewproject
>python manage.py createsuperuser

Username (leave blank to use 'shiro'): # 以下出力箇所
Email address: shiro@email.com
Password:
Password (again):

Superuser created successfully.
ターミナルにて,"python manage.py runserver"を実行する.実行すると以下が出力される.
(djangoenv) C:\Users\shiro\Desktop\210517_python development\myviewtest\viewproject
>python manage.py runserver
System check identified no issues (0 silenced). # 以下出力箇所
July 17, 2021 - 15:59:25
Django version 3.2.3, using settings 'viewproject.settings'
Starting development server at http://127.0.0.1:8000/
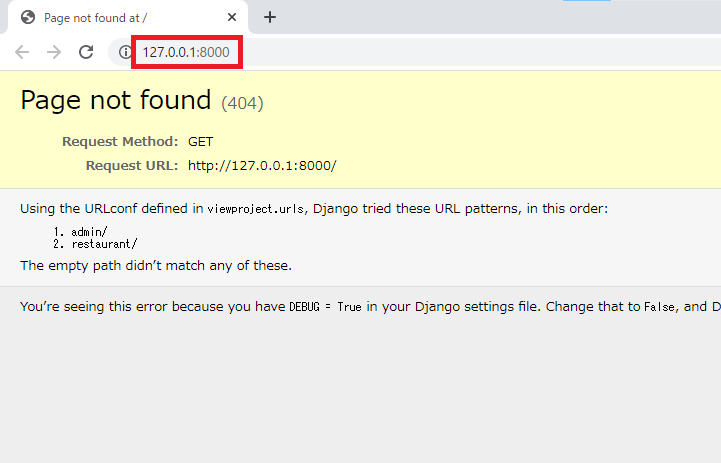
Quit the server with CTRL-BREAK.“http://127.0.0.1:8000/"をクリックし,ブラウザで以下ページが開く.
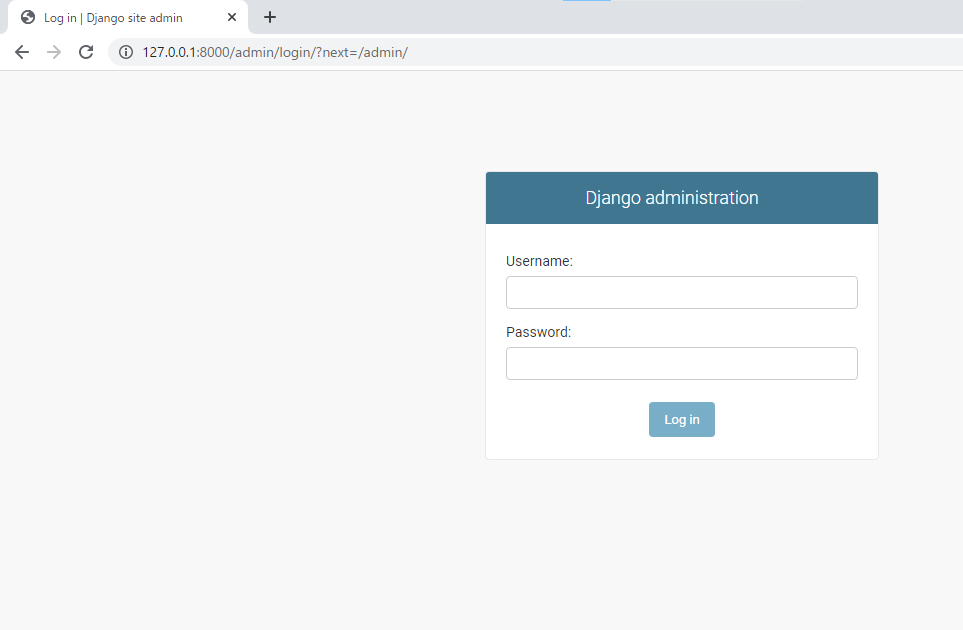
“http://127.0.0.1:8000/admin"を入力すると,ブラウザで以下ページが開く.当該ページにて,先ほど設定した名前(Username)とパスワード(Password)を入力し,ログイン(Log in)をクリックする.
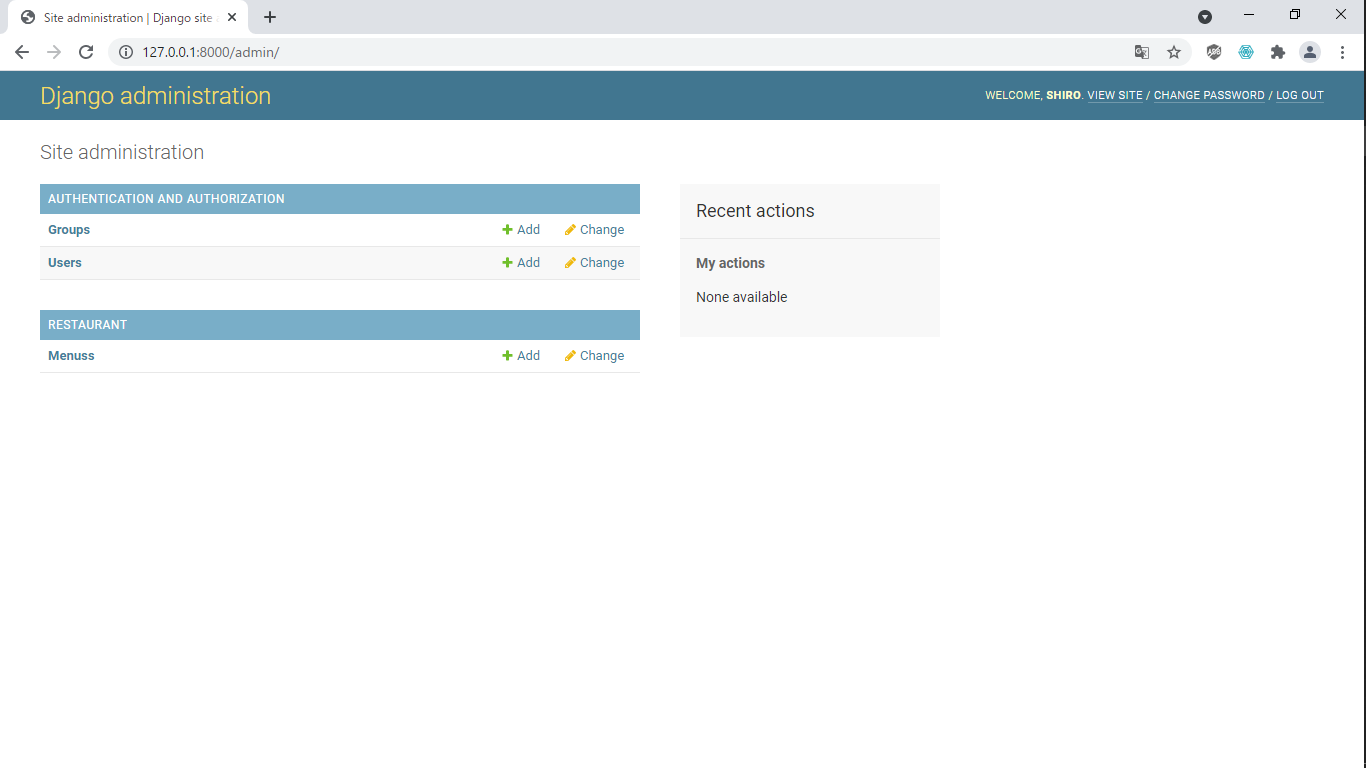
ログイン後,以下ページに遷移する."Menuss"をクリックする.
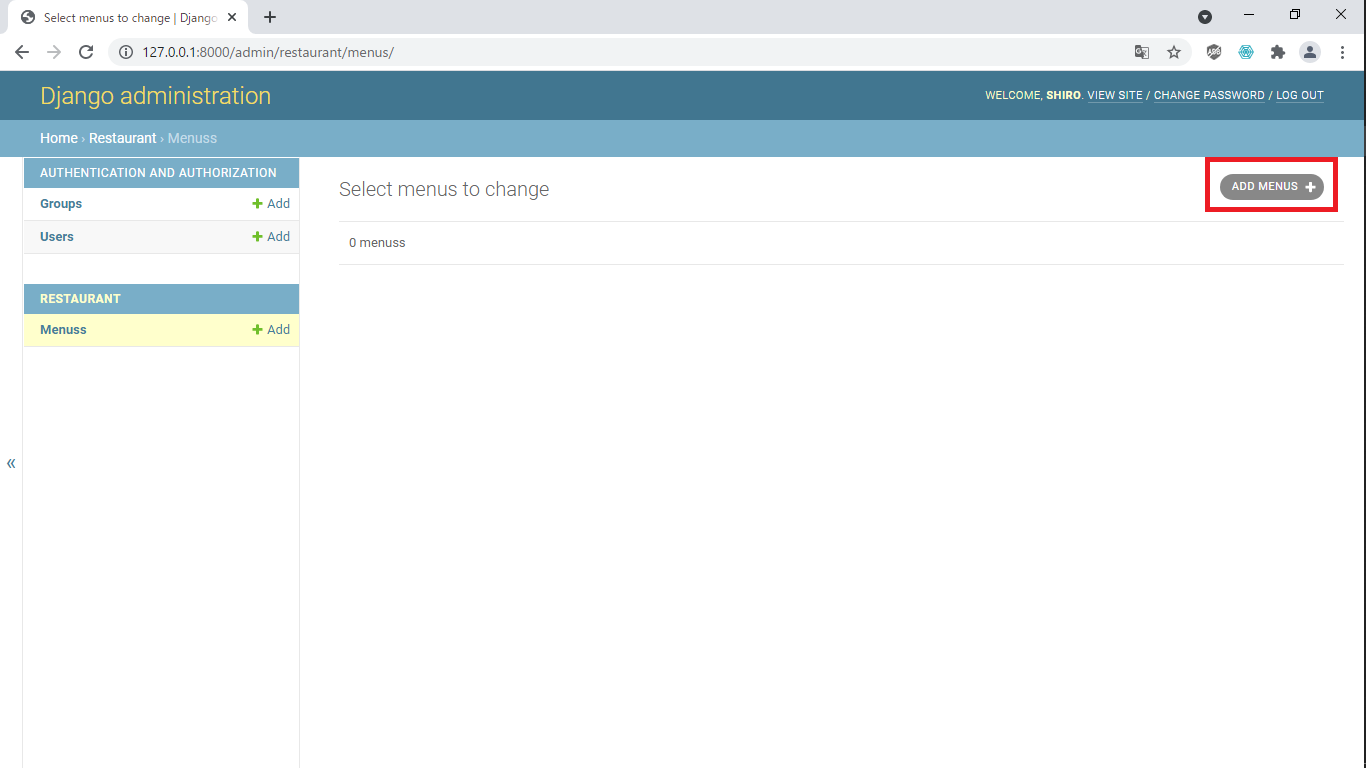
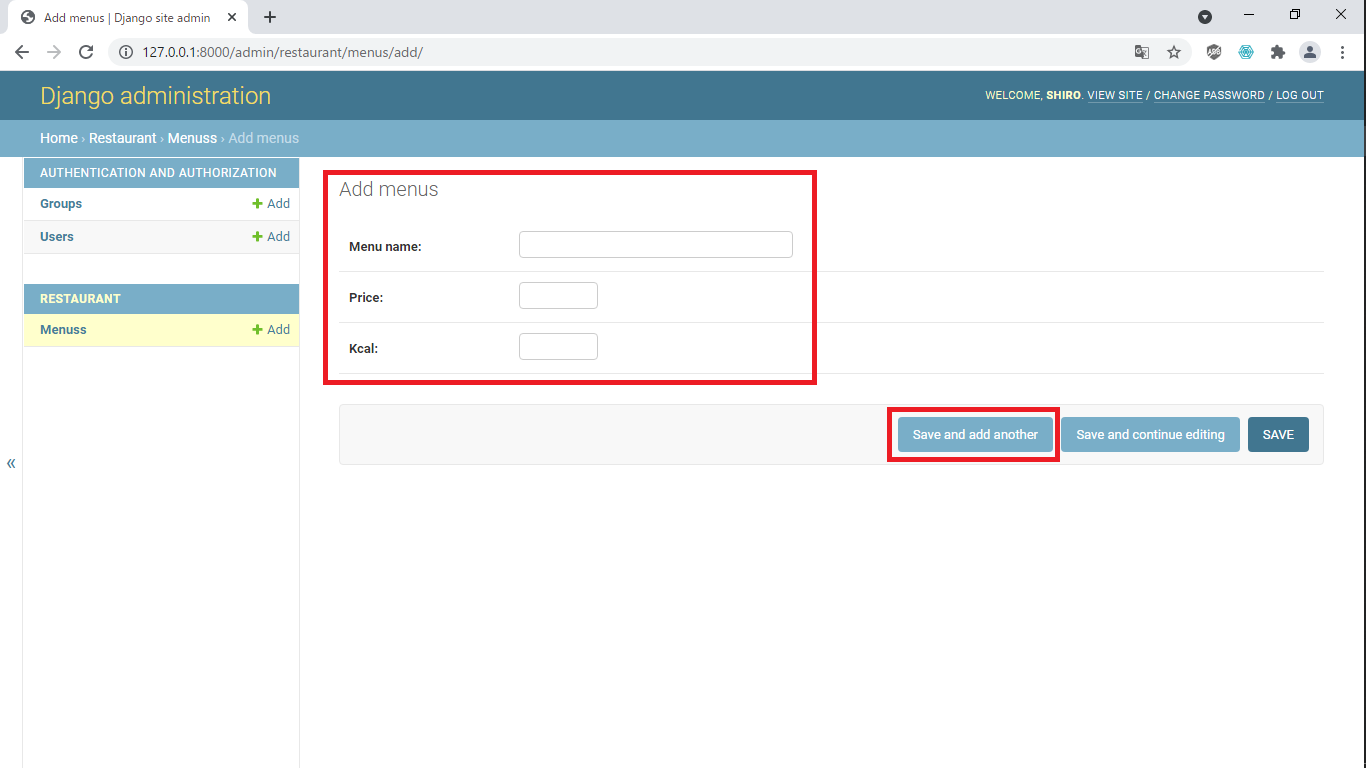
以下画面に遷移するので,右上の"ADD MENUS"をクリックする.
以下画面に遷移する."Menu name", “Price", “Calory"を入力し,"Save and add another"をクリックしていくと,メニューを追加していくことができる.
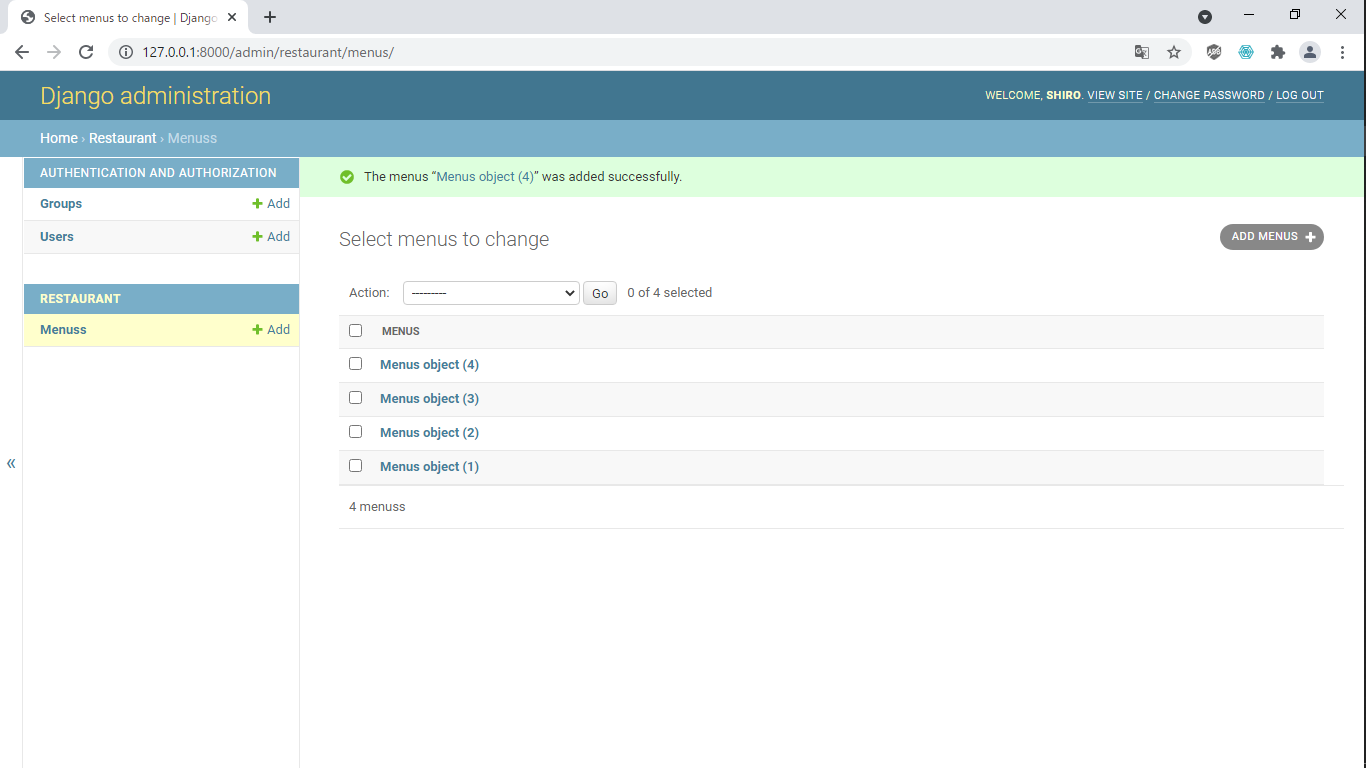
メニューを4つ追加すると,以下のようになる.
“restaurant/views.py"を以下のように編集する
from django.shortcuts import render
from .models import Menus
def menu_list(request):
menus = Menus.objects.all() # 以下変更箇所
return render(request, 'restaurant/menu_list.html', context={
'menus':menus
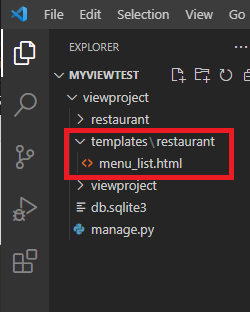
})“restaurant/views.py"に"restaurant/menu_list.html"を記載しているので,"viewproject"フォルダに以下のように"templates"フォルダを作成し,"restaurant"フォルダ,その中に"menu_list.html"を作成する.
“menu_list.html"を以下のように編集する.
<body>
<h2>Shelokumaレストラン</h2>
<table>
<tr>
<th>メニュー名</th>
<th>値段</th>
<th>カロリー</th>
</tr>
{% for menu in menus %}
<tr>
<td>{{ menu.menu_name }}</td>
<td>{{ menu.price }}円</td>
<td>{{ menu.kcal }}kcal</td>
</tr>
{% endfor %}
</table>
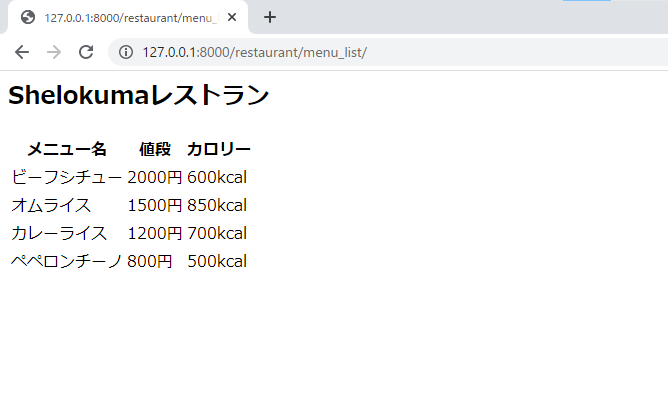
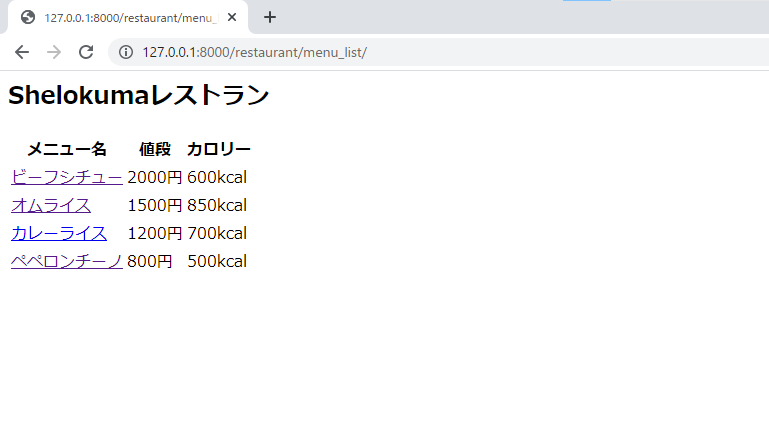
</body>上記を保存し,ブラウザに"http://127.0.0.1:8000/restaurant/menu_list/"を入力すると,以下ページに遷移する."menu_list.html"に記載した内容が反映された.
“restaurant/views.py"を以下のように編集する
from django.shortcuts import render
from .models import Menus

def menu_list(request):
  menus = Menus.objects.all()
  return render(request, 'restaurant/menu_list.html', context={
    'menus':menus
  })

def menu_detail(request, id): # 以下追記箇所
  menu_de = Menus.objects.filter(pk=id).first()
  return render(request, 'restaurant/menu_detail.html', context={
    'menu_de':menu_de
  })
“restaurant/urls.py"に追記し,以下のように編集する.
from django.urls import path
from . import views
app_name = 'restaurant'
urlpatterns = [
path('menu_list/', views.menu_list, name='menu_list'),
path('menu_detail/<int:id>', views.menu_detail, name='menu_detail'), # 追記箇所
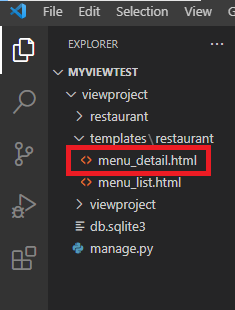
]“vewproject/templates/restaurant"に"menu_detail.html"を作成する.以下のような構成になる.
“menu_detail.html"を以下のように編集する.
<h2>{{ menu_de.menu_name }}</h2>
<ul>
<li><h2>値段: {{ menu_de.price }}円</h2></li>
<li><h2>カロリー: {{ menu_de.kcal }}kcal</h2></li>
</ul>
“menu_list.html"を変更し,以下のように編集する.
<body>
<h2>Shelokumaレストラン</h2>
<table>
<tr>
<th>メニュー名</th>
<th>値段</th>
<th>カロリー</th>
</tr>
{% for menu in menus %}
<tr>
<td><a href="{% url 'restaurant:menu_detail' id=menu.id %}">{{ menu.menu_name }}</a></td> # 変更箇所
<td>{{ menu.price }}円</td>
<td>{{ menu.kcal }}kcal</td>
</tr>
{% endfor %}
</table>
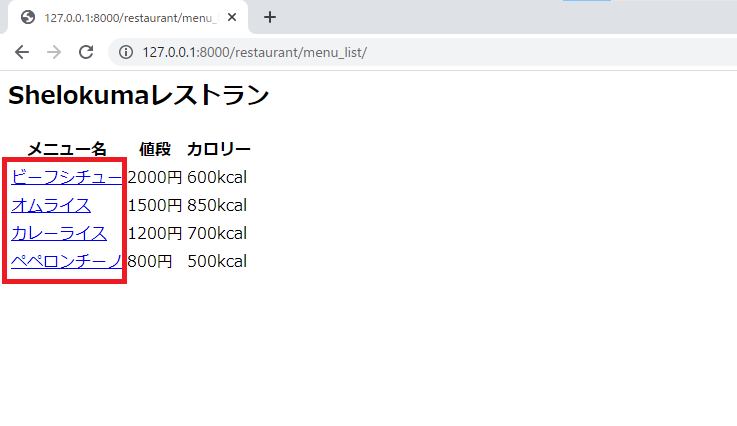
</body>上記を保存し,ブラウザに"http://127.0.0.1:8000/restaurant/menu_list/"を入力すると,以下ページに遷移する.前回と違い,各メニューがリンクになっている.
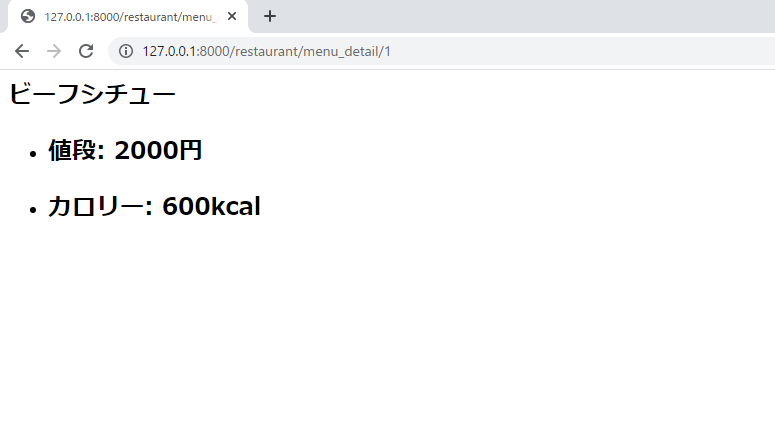
例えば,上記の"ビーフシチュー"を選ぶと,以下画面に遷移する.ビーフシチューの詳細を確認できる.
“restaurant/views.py"を以下のように編集する.リダイレクト先は,"www.shelokuma.com"にした.
from django.shortcuts import render, redirect # 変更箇所
from .models import Menus

def menu_list(request):
  menus = Menus.objects.all()
  return render(request, 'restaurant/menu_list.html', context={
    'menus':menus
  })

def menu_detail(request, id):
  menu_de = Menus.objects.filter(pk=id).first()
  return render(request, 'restaurant/menu_detail.html', context={
    'menu_de':menu_de
  })

def forward_website(request): # 以下追記箇所
  return redirect('https://www.shelokuma.com')
“restaurant/urls.py"に追記し,以下のように編集する.
from django.urls import path
from . import views

app_name = 'restaurant'

urlpatterns = [
  path('menu_list/', views.menu_list, name='menu_list'),
  path('menu_detail/<int:id>', views.menu_detail, name='menu_detail'),
  path('forward_website/', views.forward_website, name='forward_website'), # 追記箇所
]
上記を保存し,ブラウザに"http://127.0.0.1:8000/restaurant/forward_website"を入力すると,以下ウェブサイト(www.shelokuma.com)に遷移する.
そして,ターミナルには以下が出力される."302″はリダイレクトを示している."200″は通常.
[18/Jul/2021 00:21:33]
"GET /restaurant/forward_website/ HTTP/1.1" 302 0“restaurant/views.py"を以下のように編集する.リダイレクト先は,オムライスの詳細ページにした.
from django.shortcuts import render, redirect # 変更箇所
from .models import Menus

def menu_list(request):
  menus = Menus.objects.all()
  return render(request, 'restaurant/menu_list.html', context={
    'menus':menus
  })

def menu_detail(request, id):
  menu_de = Menus.objects.filter(pk=id).first()
  return render(request, 'restaurant/menu_detail.html', context={
    'menu_de':menu_de
  })

def forward_website(request):
  return redirect('https://www.shelokuma.com')

def forward_menu(request): # 以下追記箇所
  return redirect('restaurant:menu_detail', id=2)
“restaurant/urls.py"に追記し,以下のように編集する.
from django.urls import path
from . import views
app_name = 'restaurant'
urlpatterns = [
path('menu_list/', views.menu_list, name='menu_list'),
path('menu_detail/<int:id>', views.menu_detail, name='menu_detail'),
path('forward_website/', views.forward_website, name='forward_website'),
path('forward_menu/', views.forward_menu, name='forward_menu'), # 追記箇所
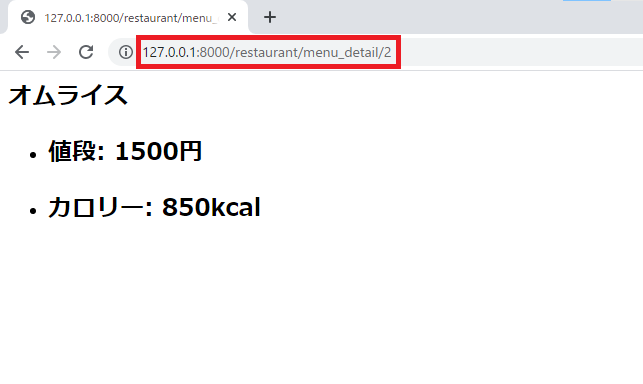
]上記を保存し,ブラウザに"http://127.0.0.1:8000/restaurant/forward_menu"を入力すると,以下オムライスの詳細ページに遷移する.
ブラウザに"http://127.0.0.1:8000/restaurant/menu_list/"を入力すると,以下ページに遷移する.
上記ページのメニュー名をクリックするとメニュー詳細(以下はペペロンチーノ)である以下ページに遷移する.

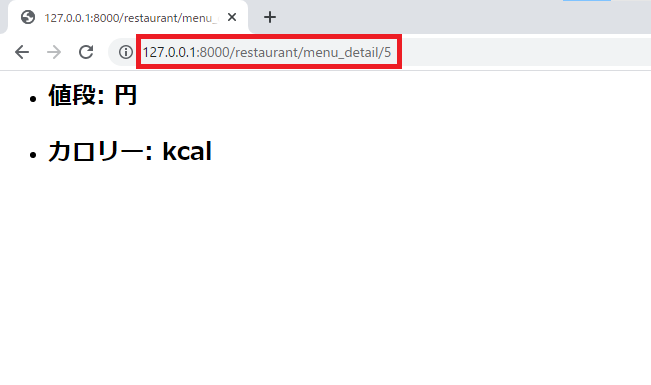
詳細ページに遷移する際,"http://127.0.0.1:8000/restaurant/menu_detai/"の後ろの数字によってページが異なる.現在4つのメニューしかないので,数字が5以上(以下ページは数字が5)になると,メニュー名や値段,カロリーがない以下のようなページに遷移する.
“restaurant/views.py"を以下のように編集する.上記のような"http://127.0.0.1:8000/restaurant/menu_detai/5″のページに移動すると,リダイレクトで"http://127.0.0.1:8000/restaurant/menu_list/"に遷移するよう実装した.
from django.shortcuts import render, redirect # 変更箇所
from .models import Menus

def menu_list(request):
  menus = Menus.objects.all()
  return render(request, 'restaurant/menu_list.html', context={
    'menus':menus
  })

def menu_detail(request, id):
  menu_de = Menus.objects.filter(pk=id).first()
  if menu_de is None: # 追記箇所(12~13行目)
    return redirect('restaurant:menu_list')
  return render(request, 'restaurant/menu_detail.html', context={
    'menu_de':menu_de
  })

def forward_website(request):
  return redirect('https://www.shelokuma.com')

def forward_menu(request):
  return redirect('restaurant:menu_detail', id=2)
上記を保存し,"http://127.0.0.1:8000/restaurant/menu_detai/5″を入力すると,以下画面に遷移する.
以上