分析ツール | “Google Analytics 4 (GA4)”の設定方法

Google Analytics 4 (以下GA4)とは,ウェブサイトとアプリのデータを収集するGoogle社のツールである.
今回は,WordPressにおけるLuxeritas Themeと通常のThemeのWordPressへのGA4の設定方法を以下に記す.
設定方法
設定方法は,大きくGoogleでの操作とWordPressでの操作に分けて以下に記す.
Googleでの操作
以下URLをクリックすると,ブラウザが以下サイド開く.
以下にログイン情報を入力し,ログインを行う.
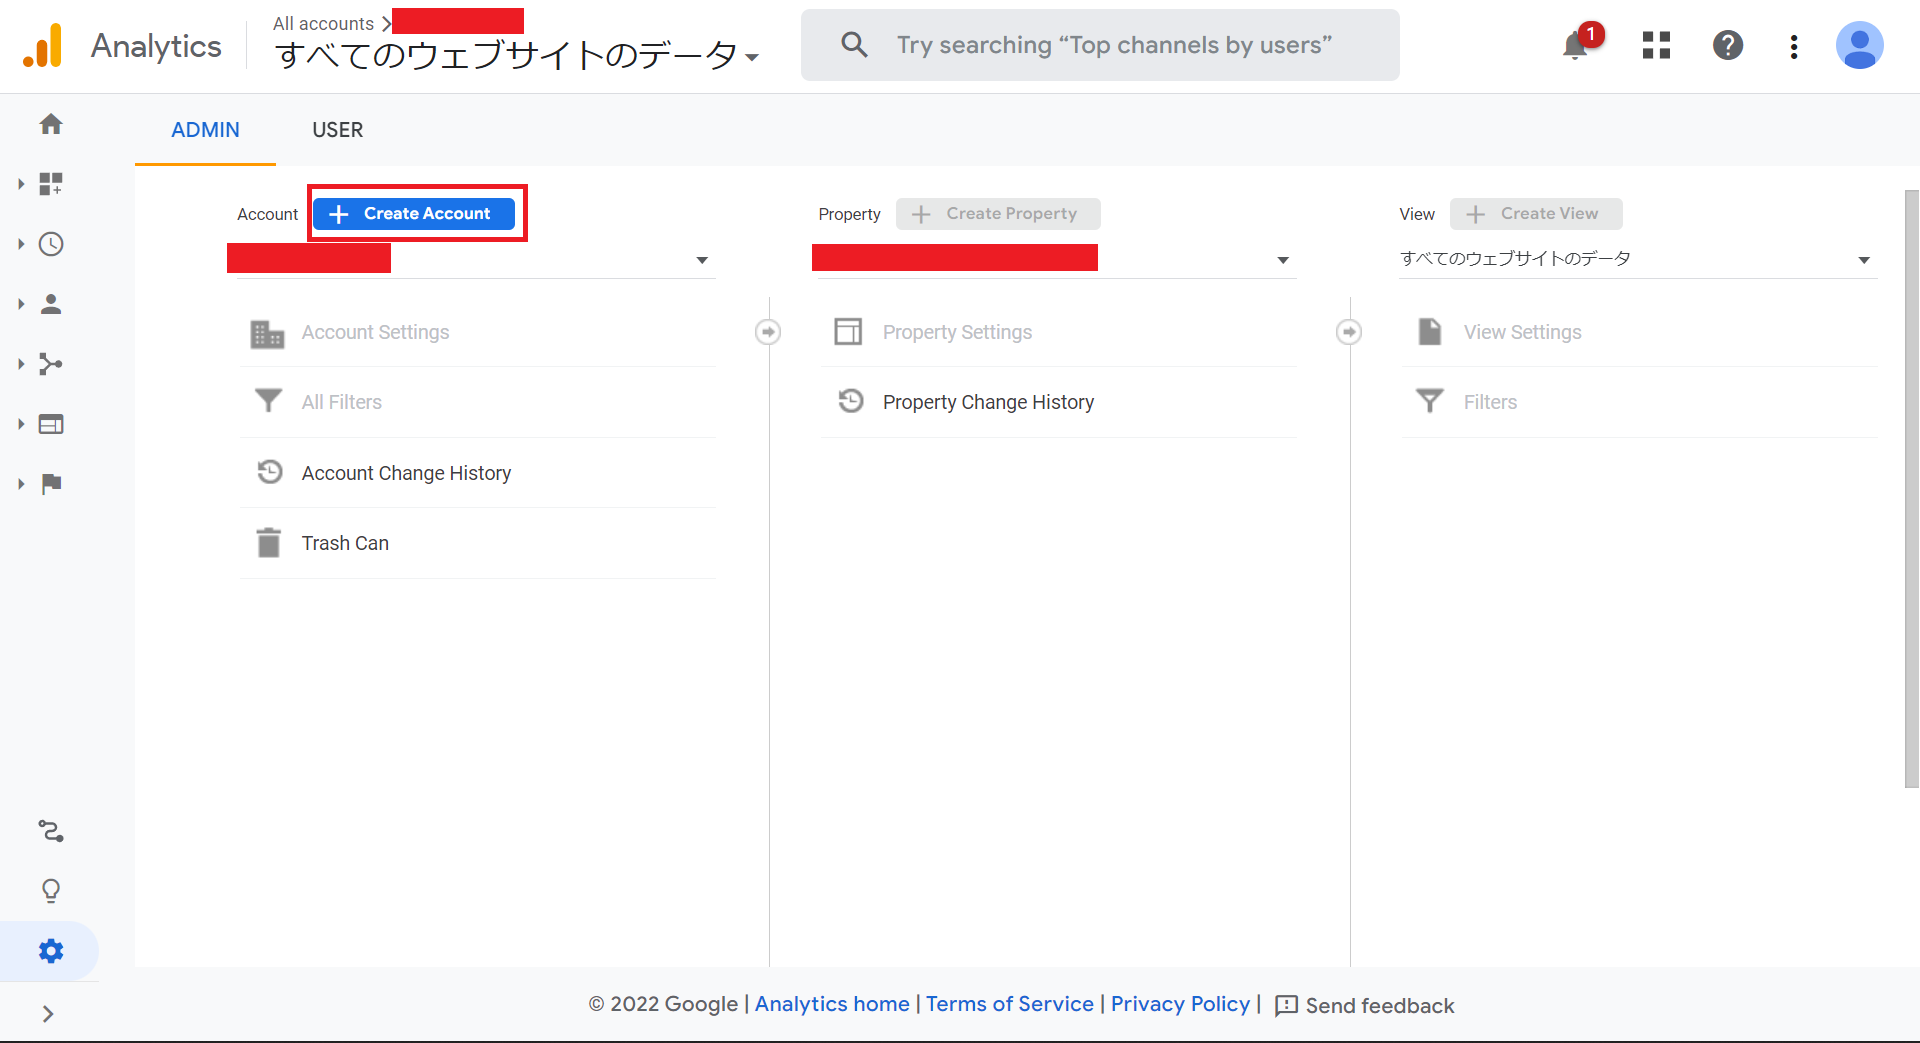
以下画面に遷移する.Google Analytics 4 (GA4)のアカウントを作成するため,"Create Account"をクリックする.
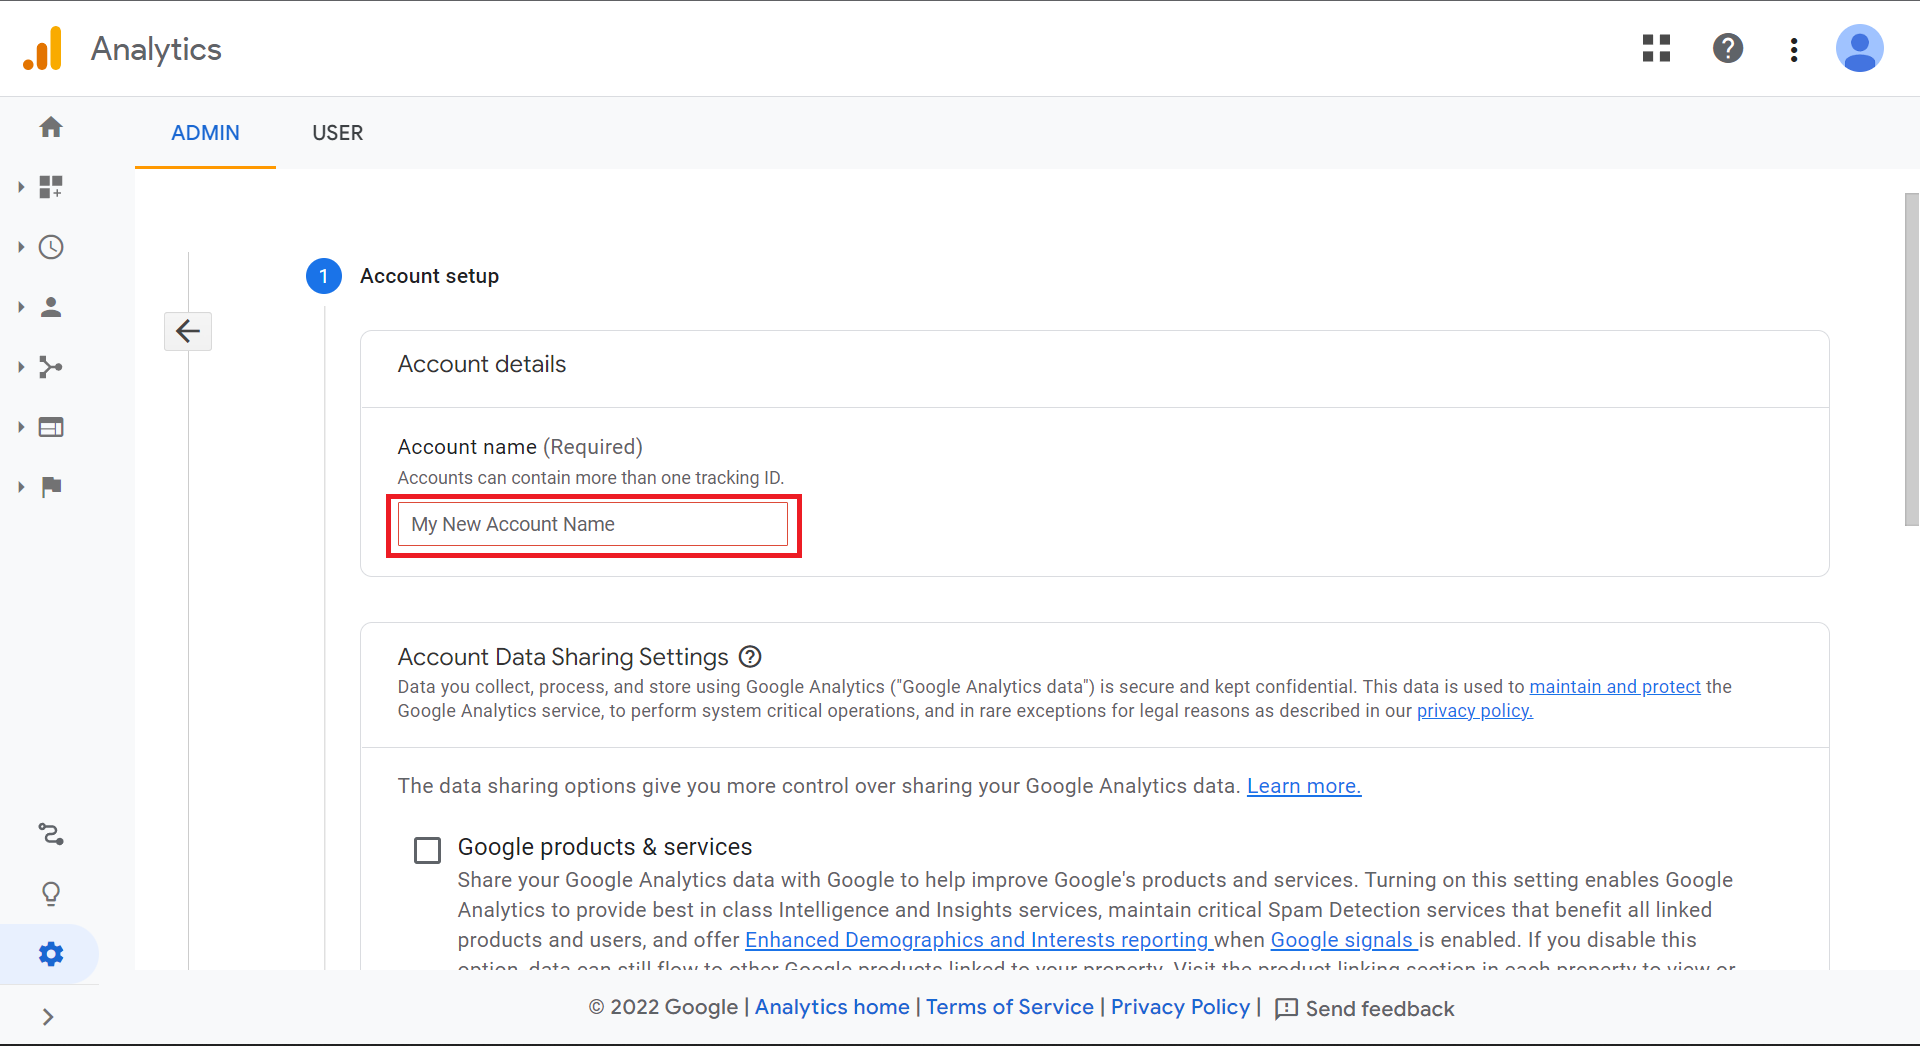
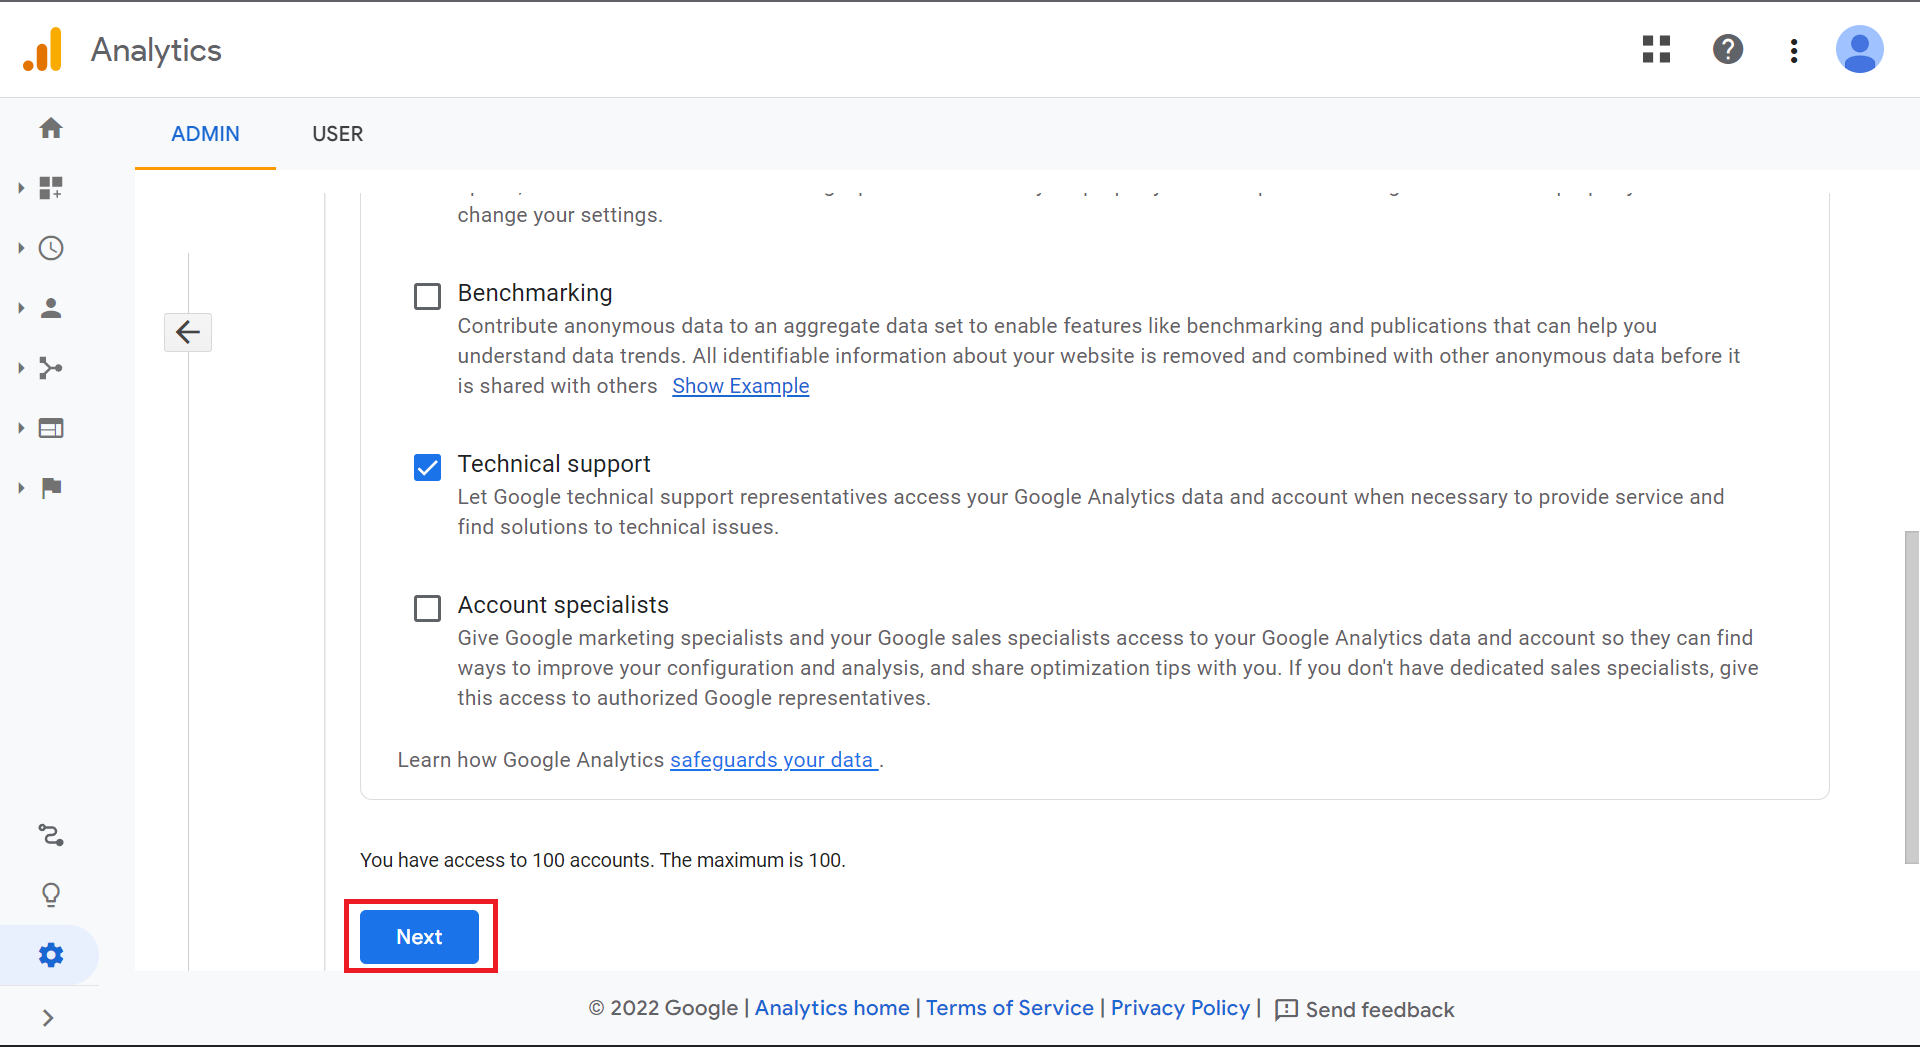
以下画面に遷移するので,"Account name"を赤枠に入力する.続けて各項目の設定にチェックを入れ,最下部の"Next"をクリックする.
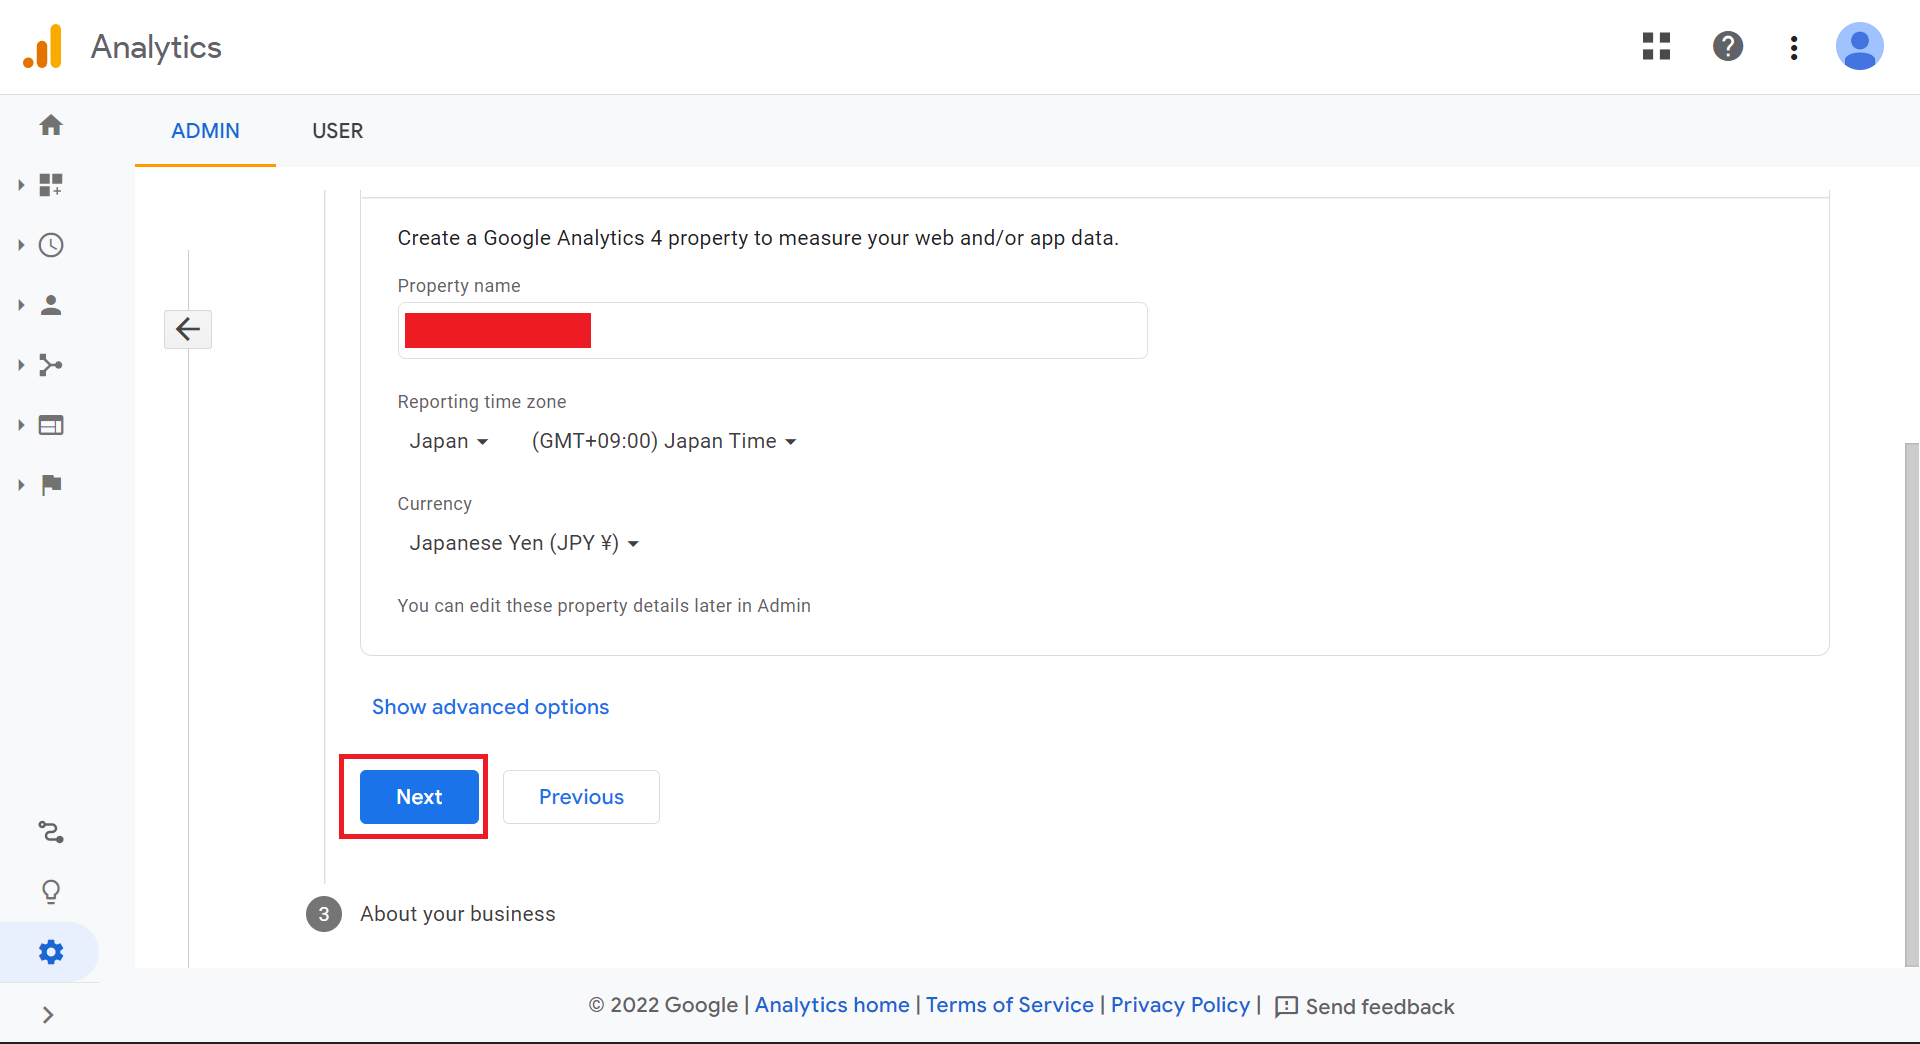
以下画面に遷移するので,"Property name"をつけ,"Next"をクリックする.
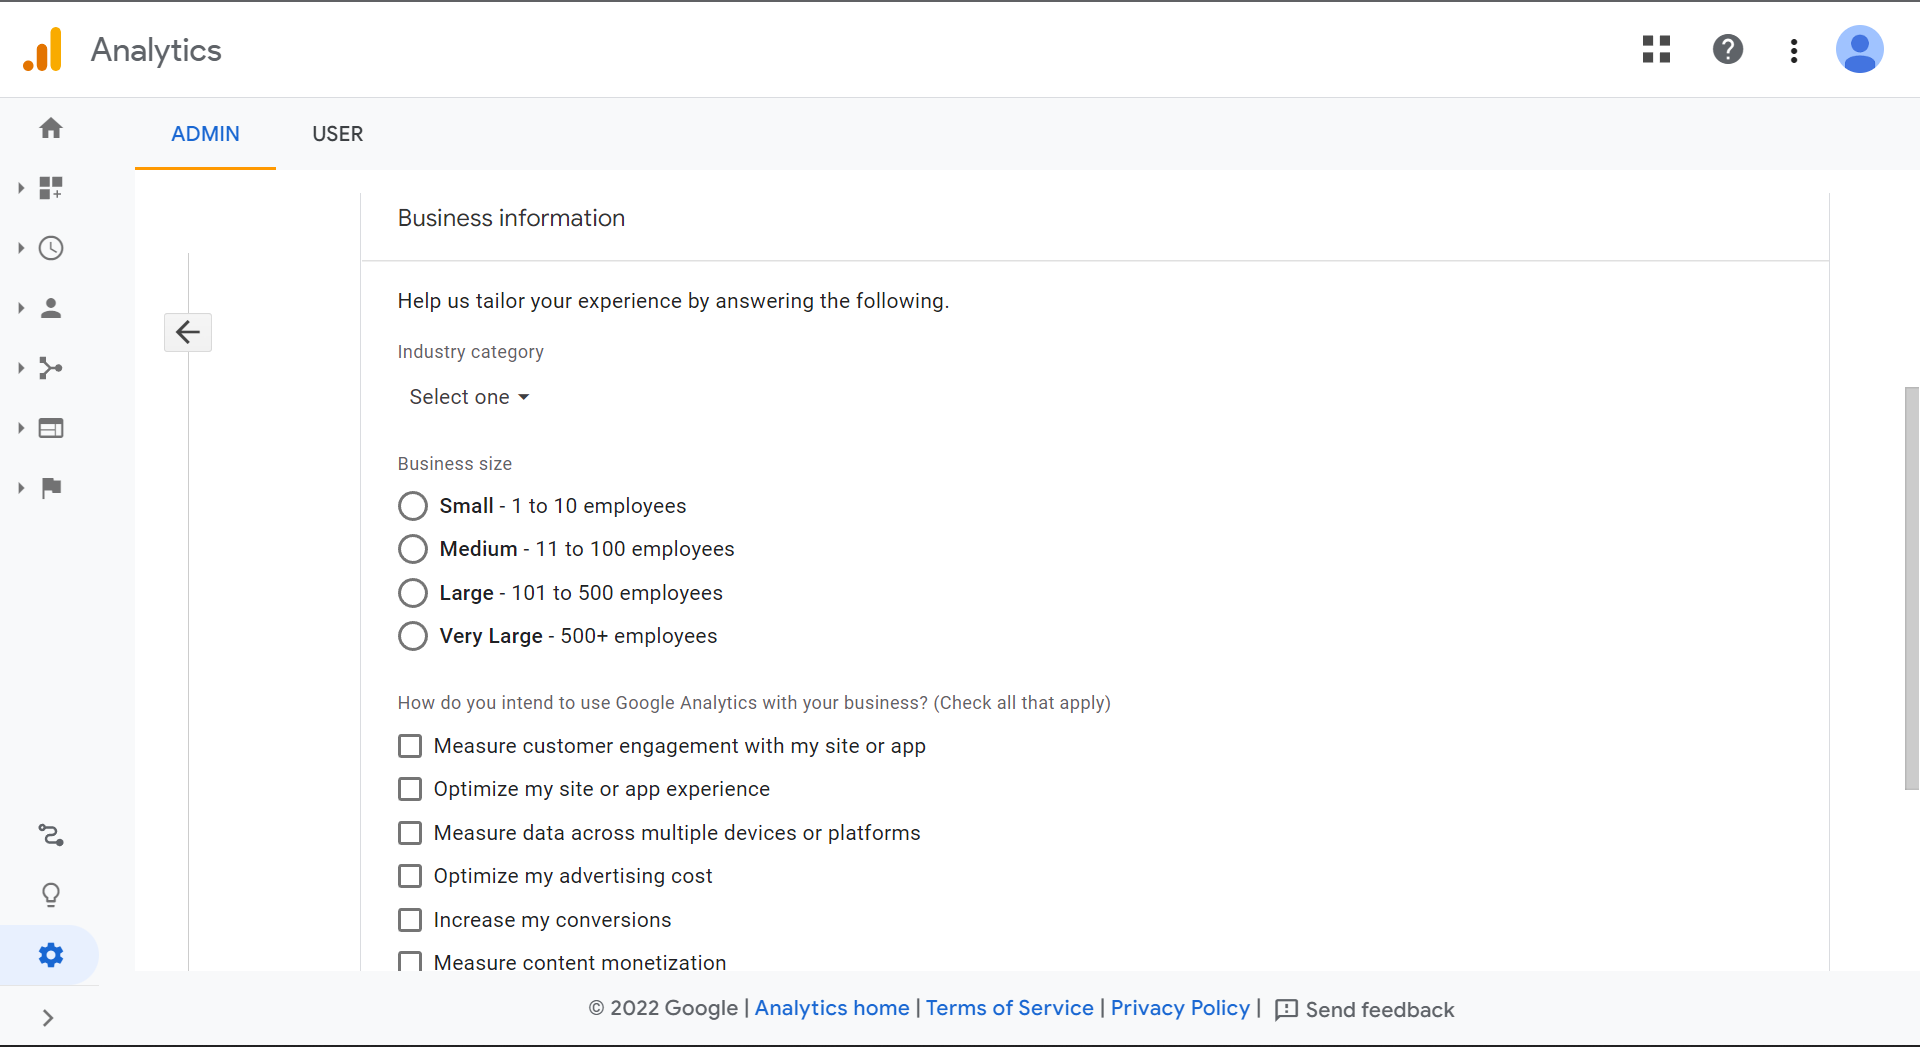
以下画面に遷移するので,Business informationを入力していく.
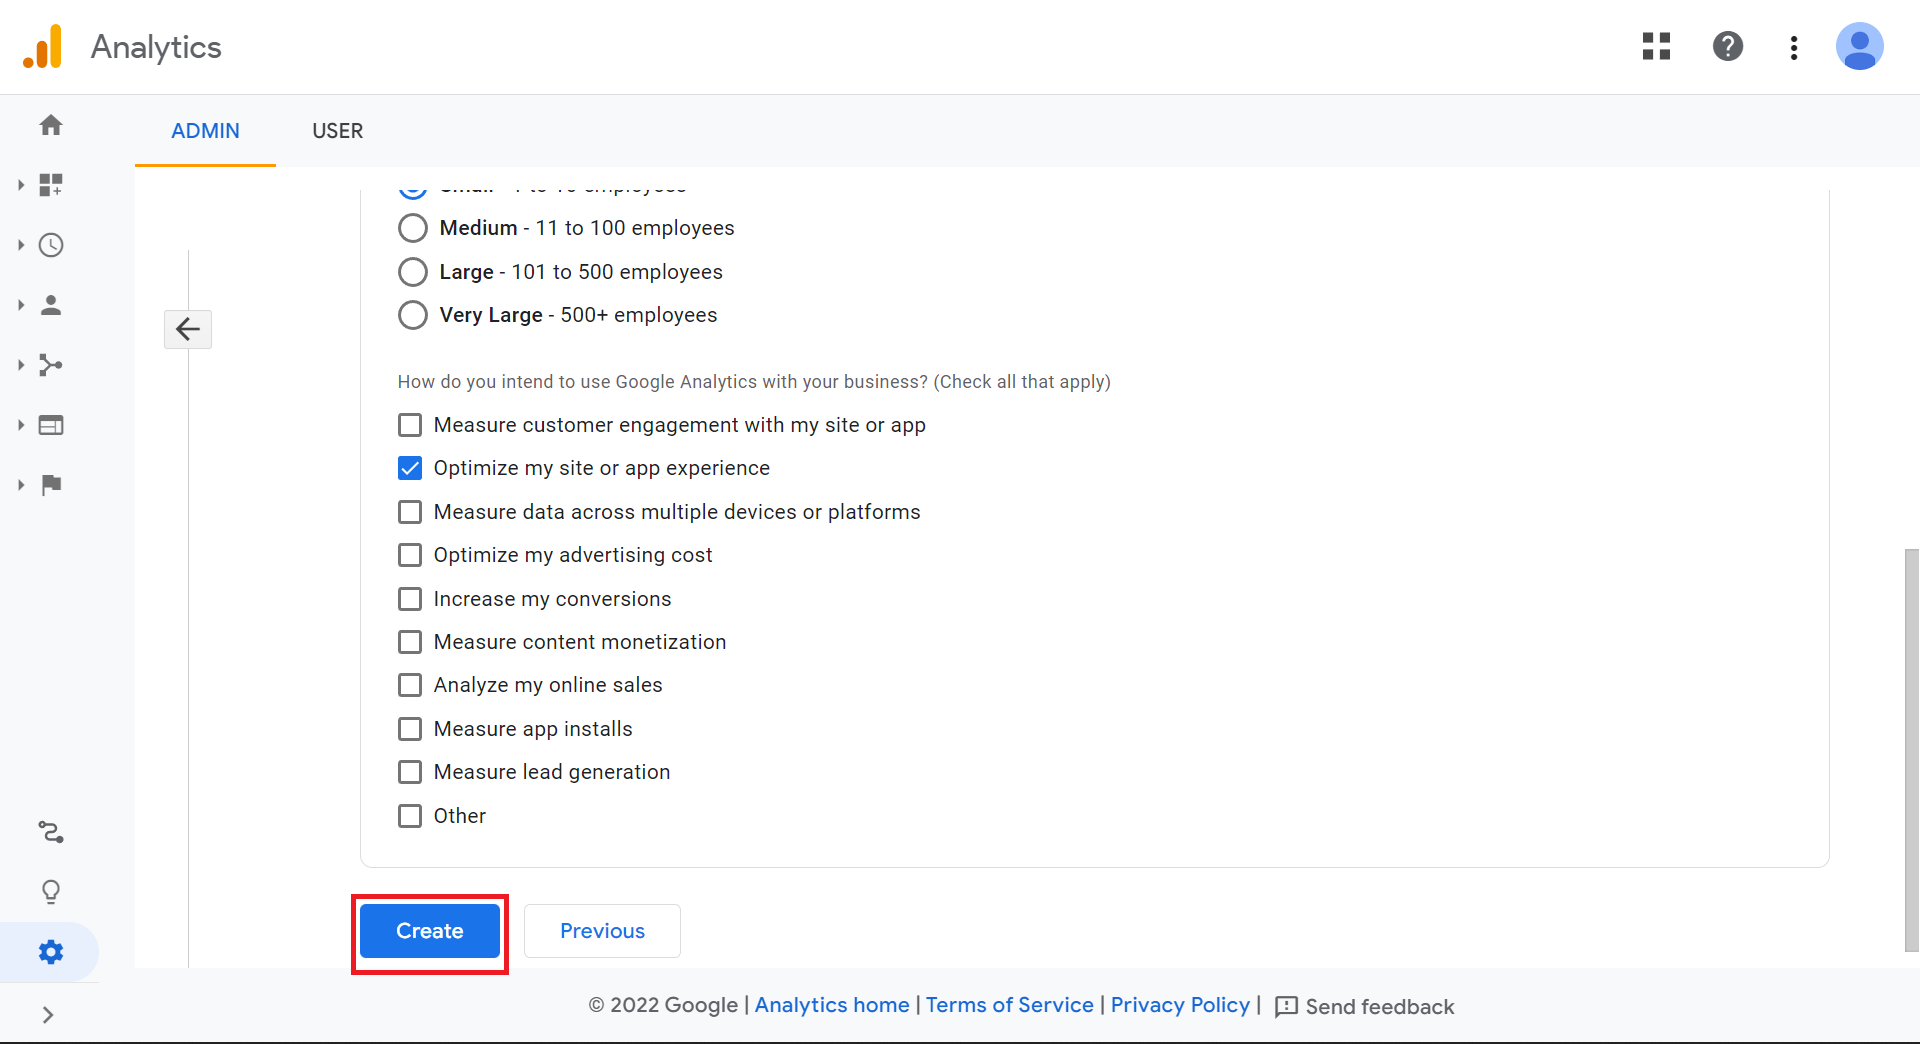
最下部までスクロールダウンすると,以下画面になるので,"Create"をクリックする.
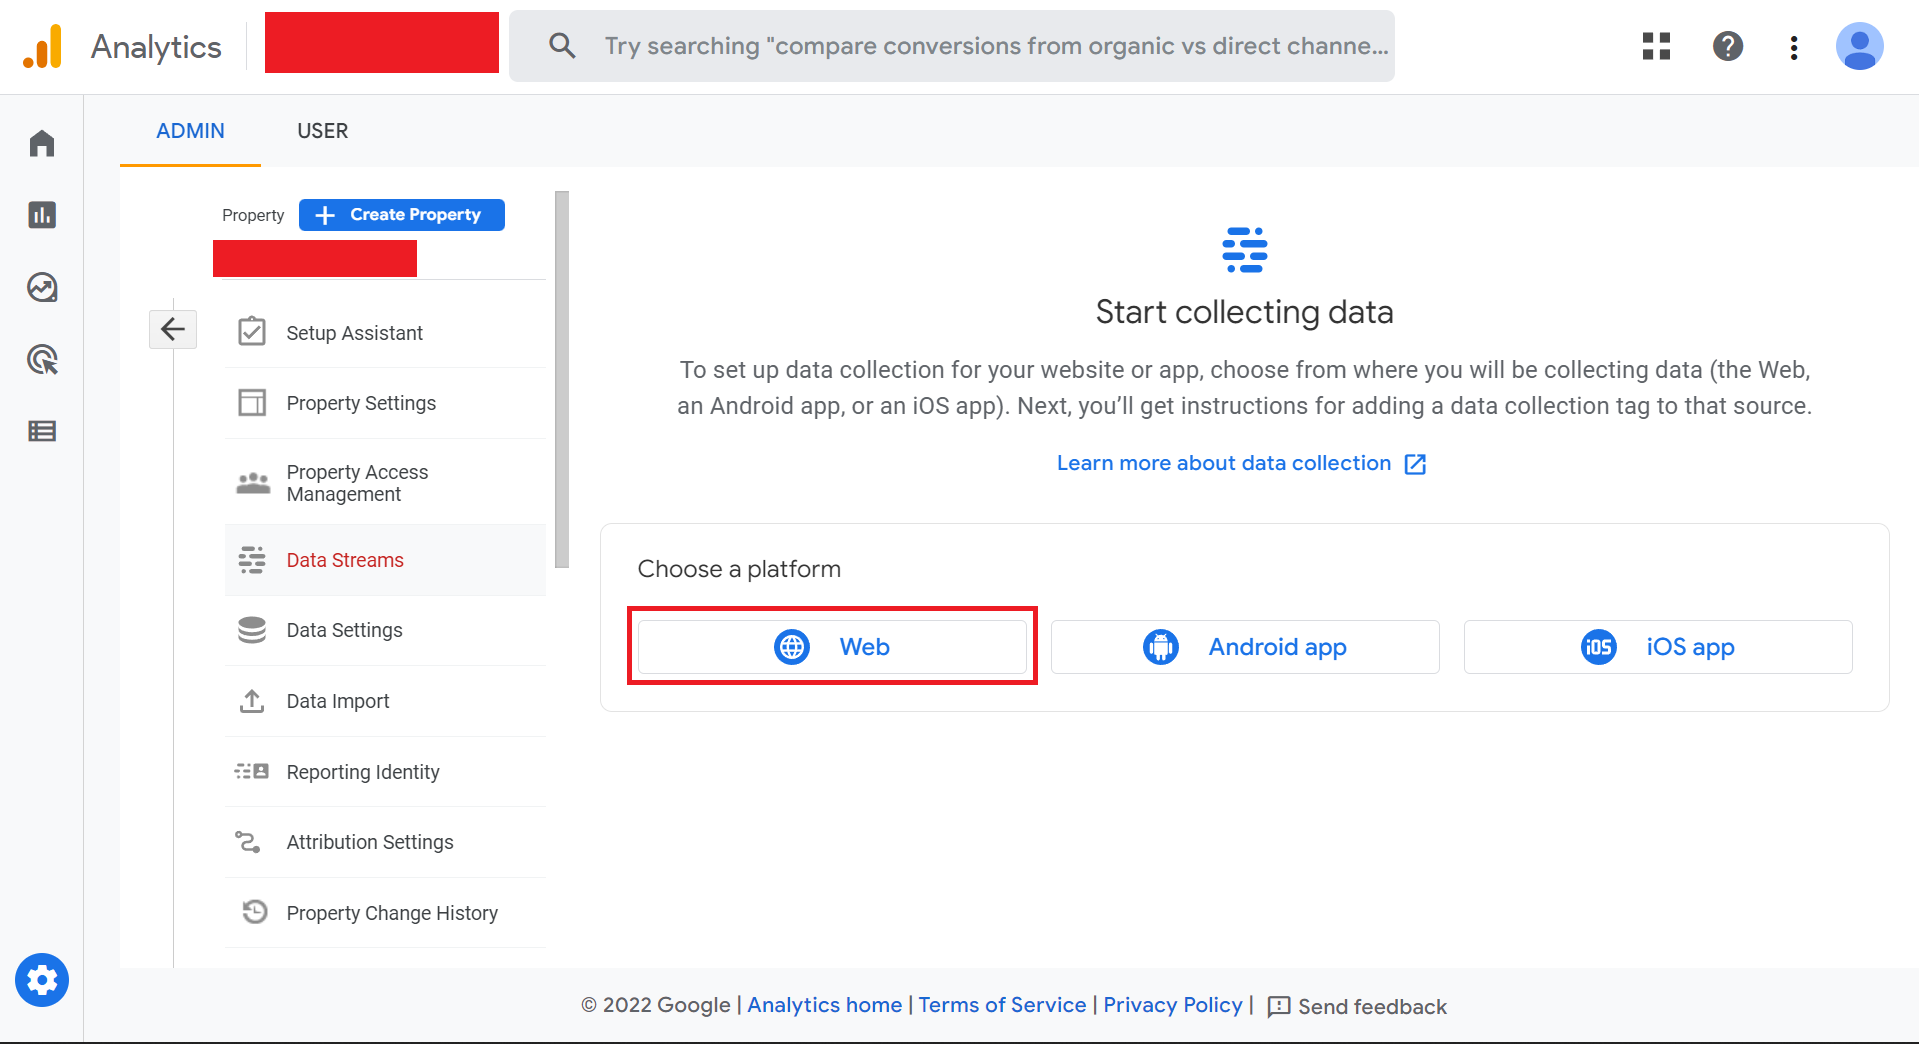
以下画面に遷移する.適切なプラットフォームを選択する.私の場合,赤枠の"Web"を選択した.
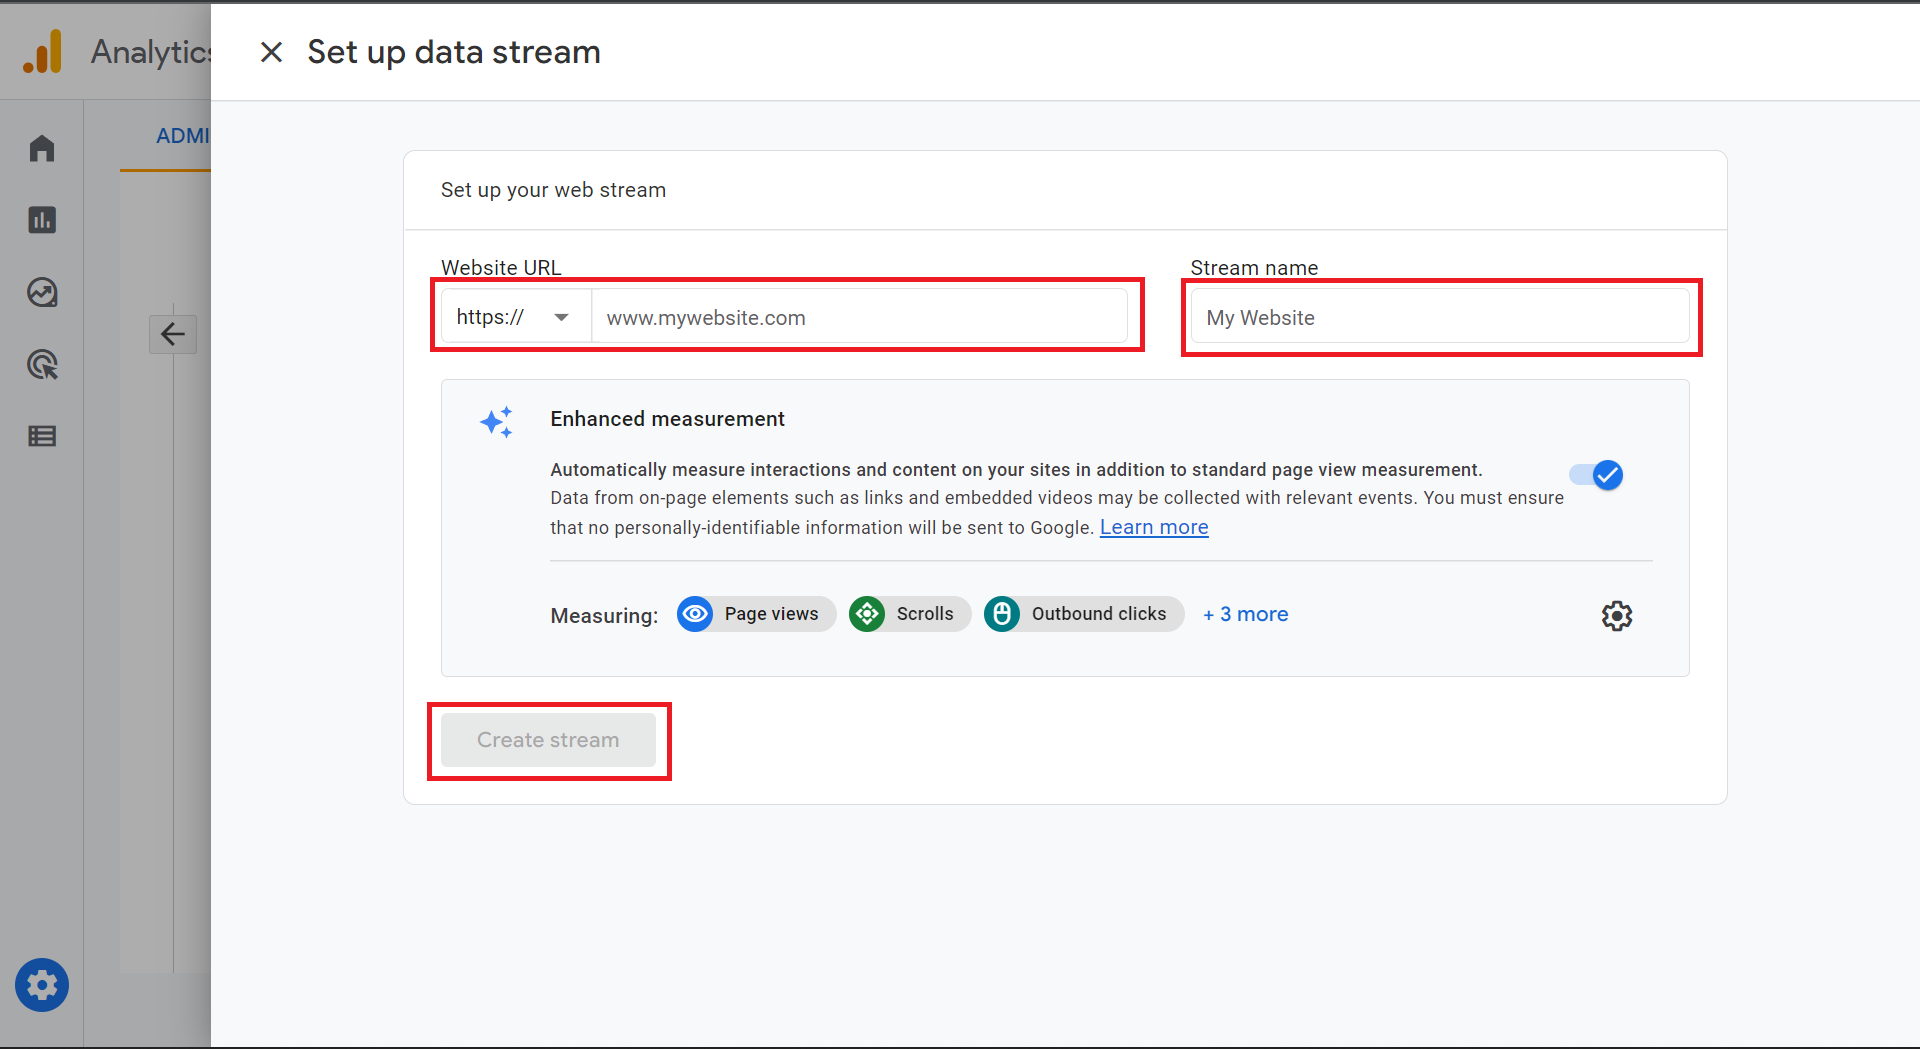
以下画面に遷移するので,GA4で測定する対象のURLを入力し,"Create stream"をクリックする.
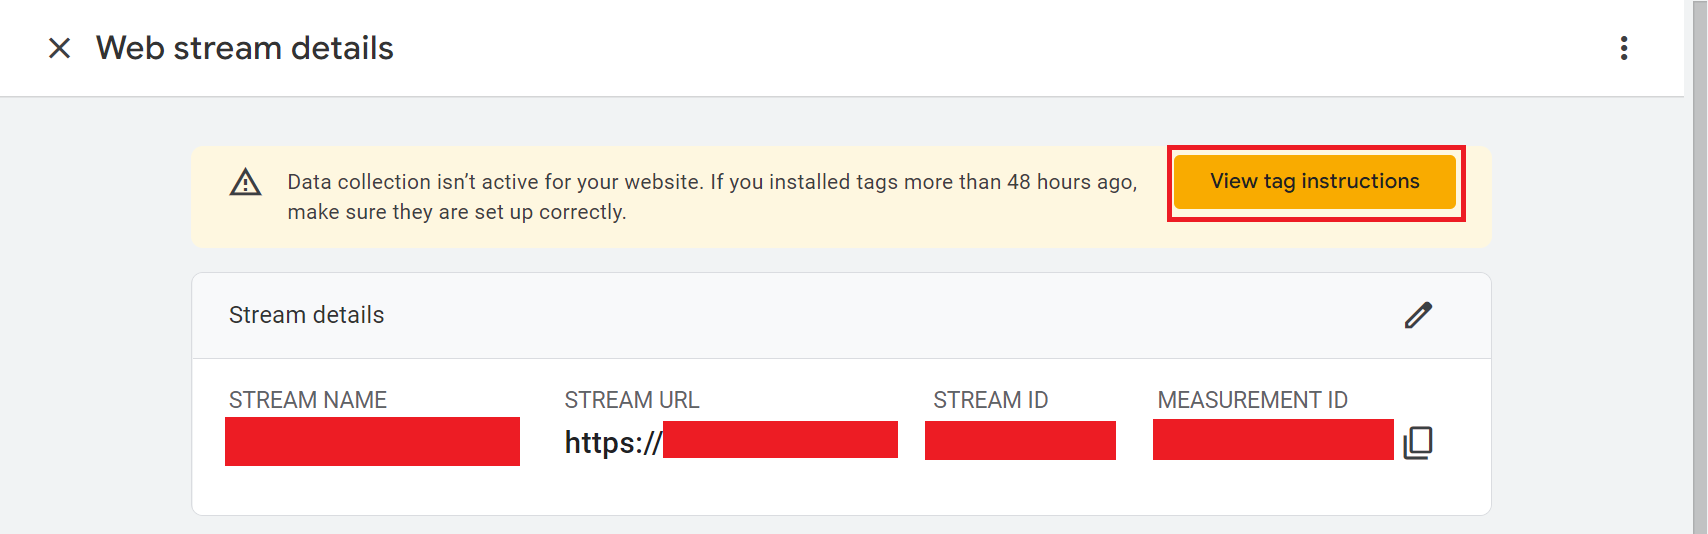
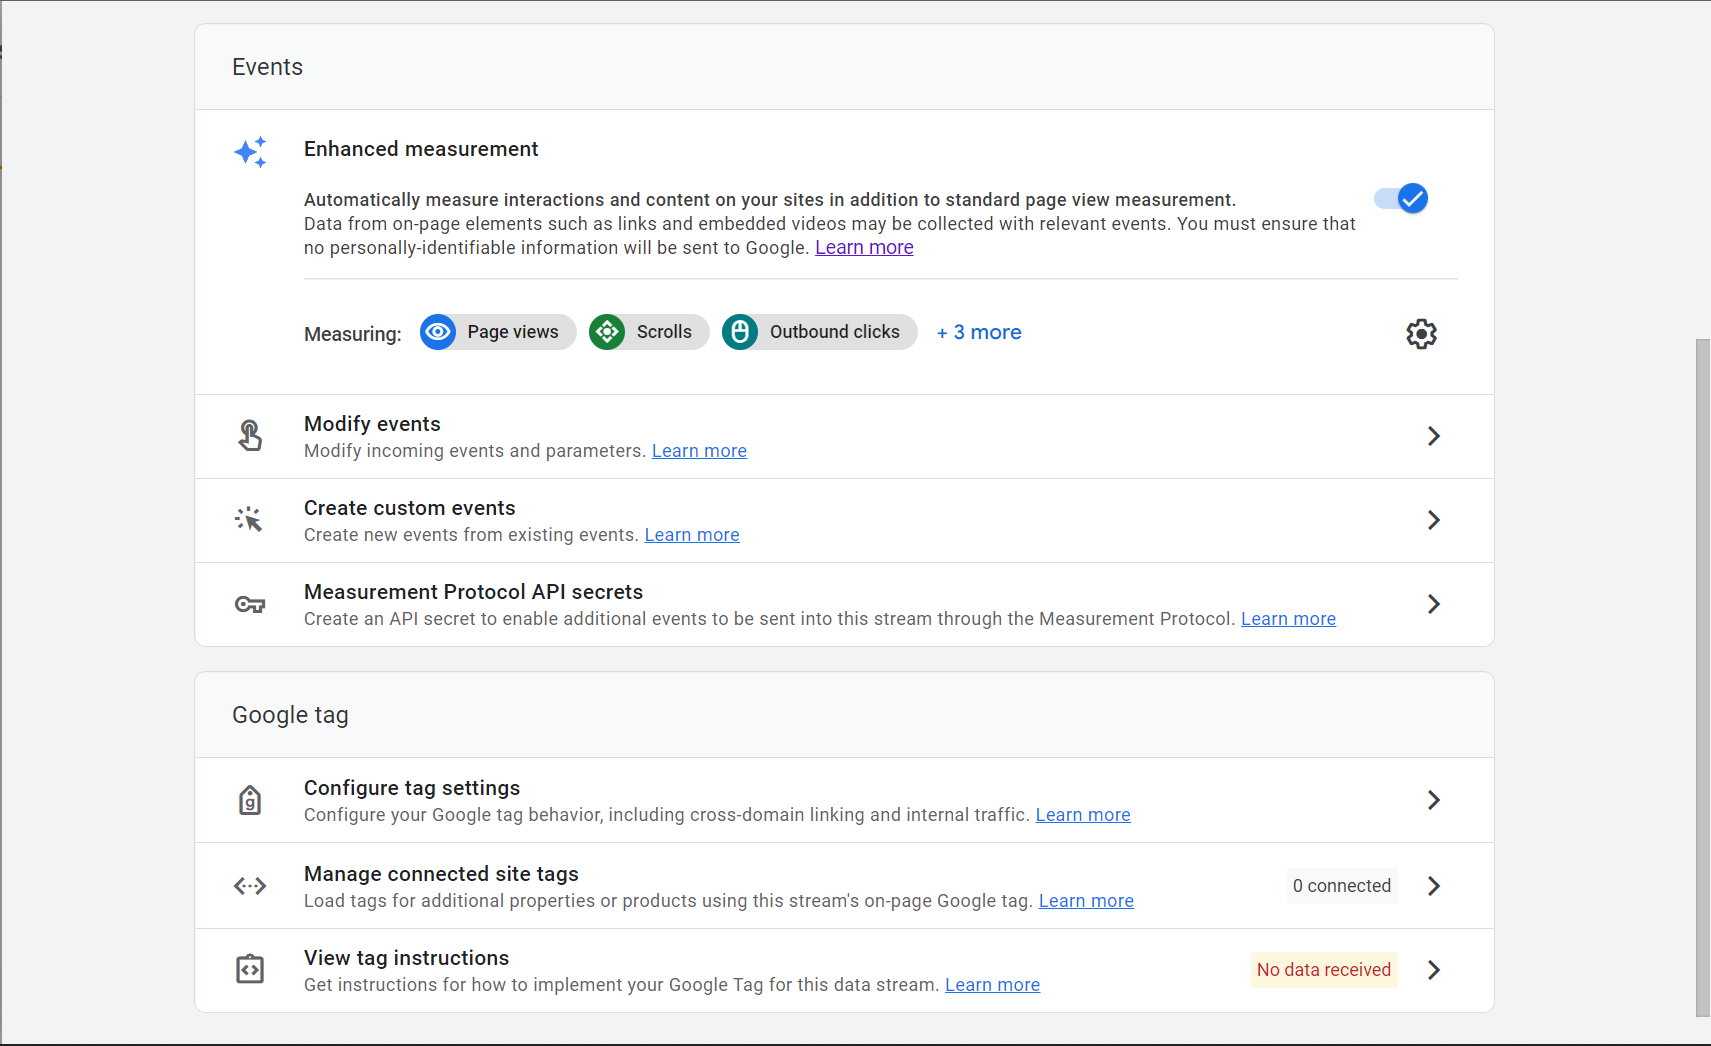
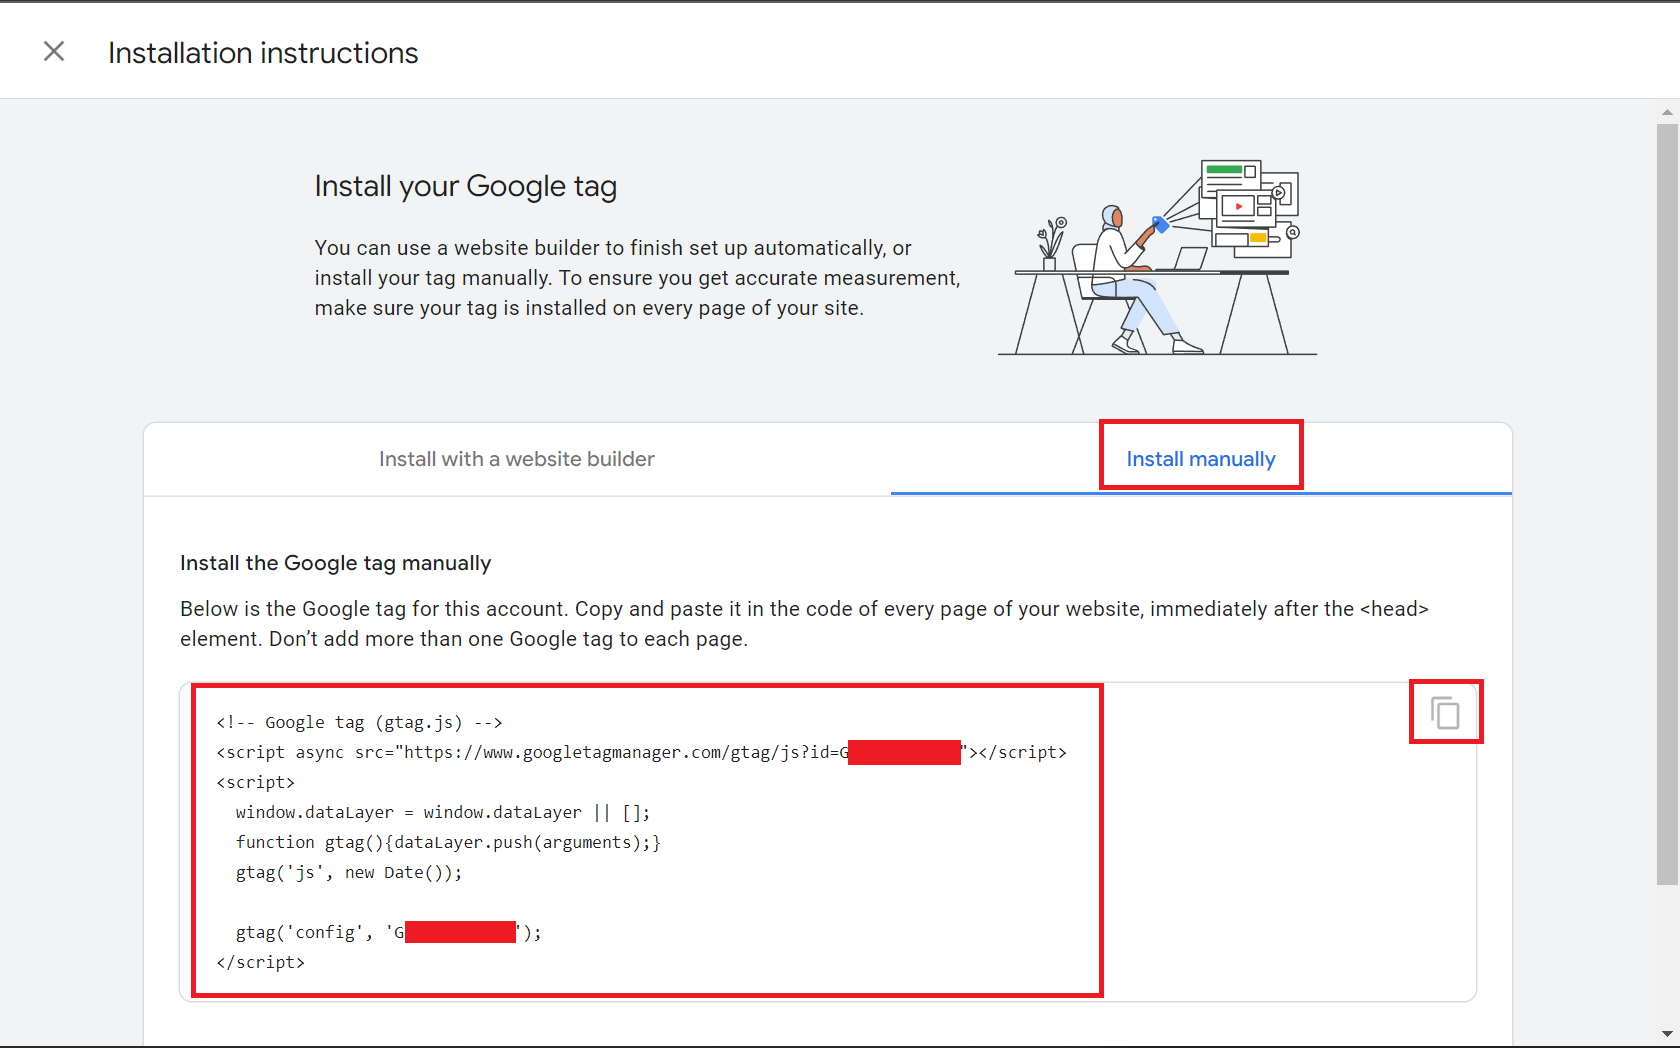
以下画面に遷移する."View tag instructions"をクリックする.
以下画面に遷移する.赤枠のwebsite builderに対象があれば選択する.
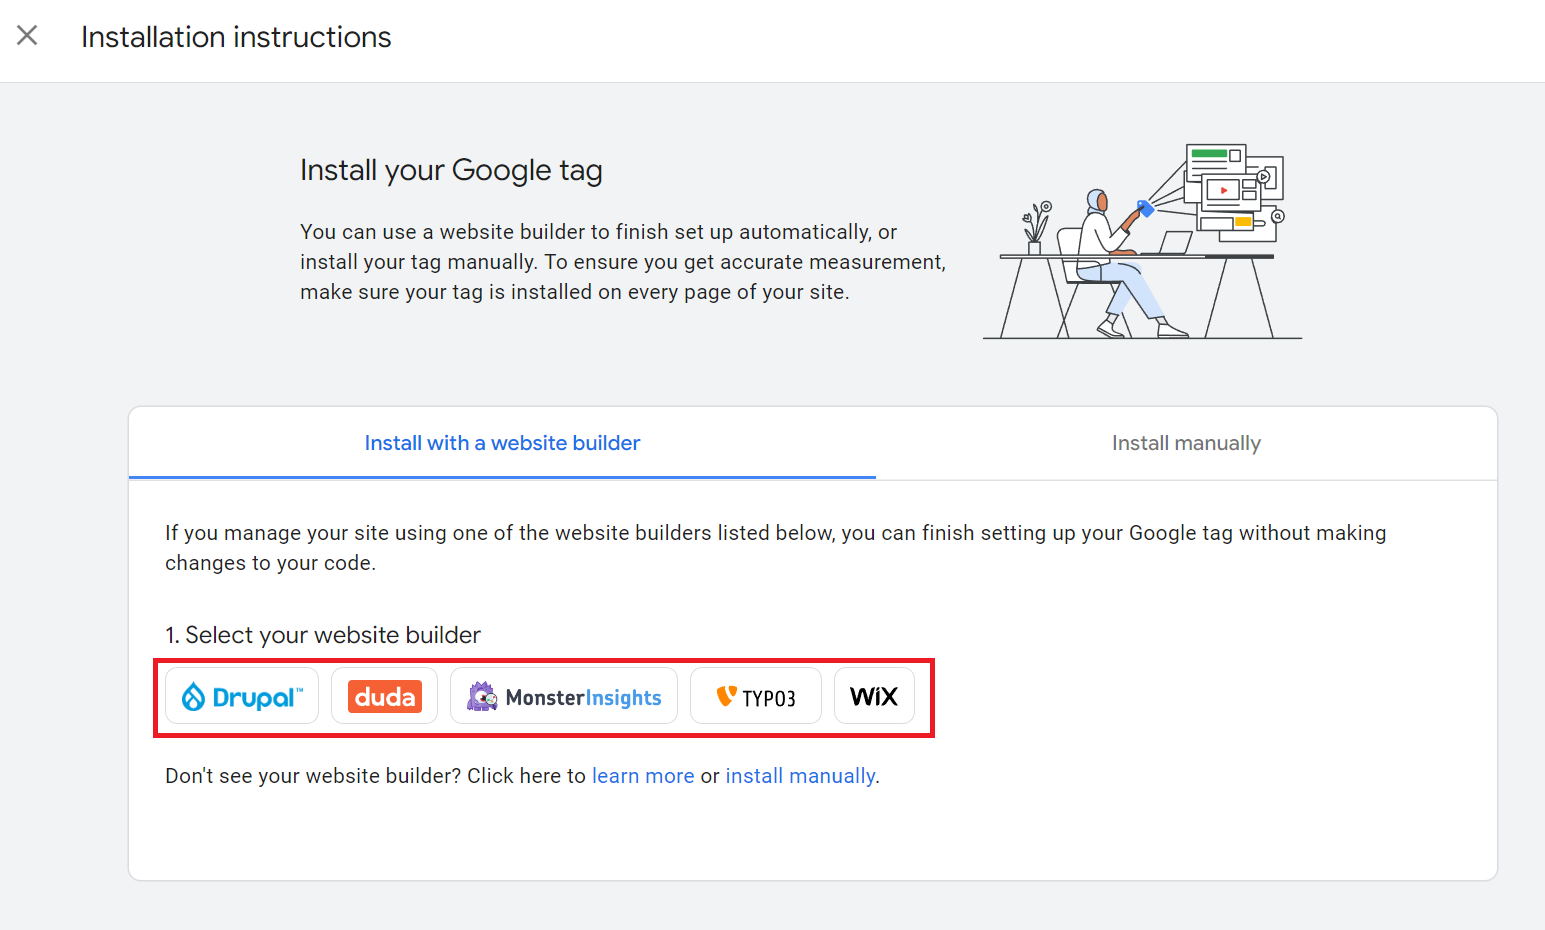
私の場合,website builderに対象がないので,"Install manually"タブを選択し,赤枠のgoogle tabをコピーする.
WordPressでの操作
Luxeritas Themeの場合
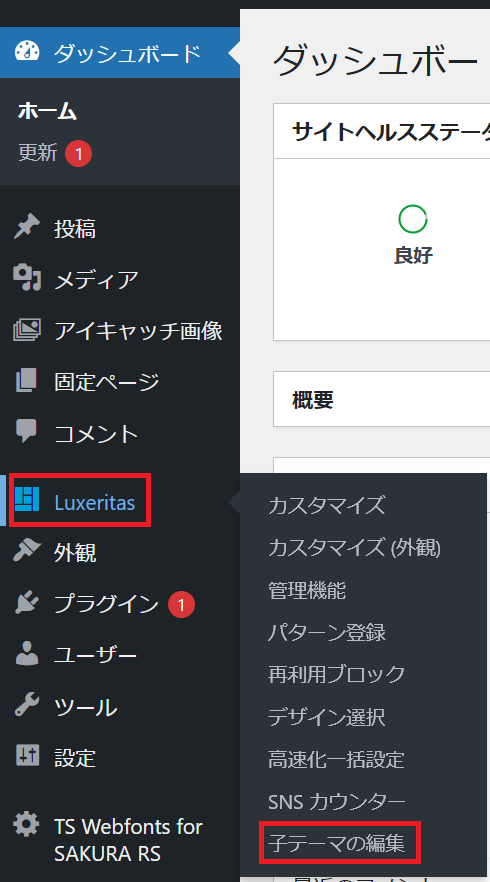
WordPressにログインし,"Luxeritas"を選択し,"子テーマの編集"をクリックする.
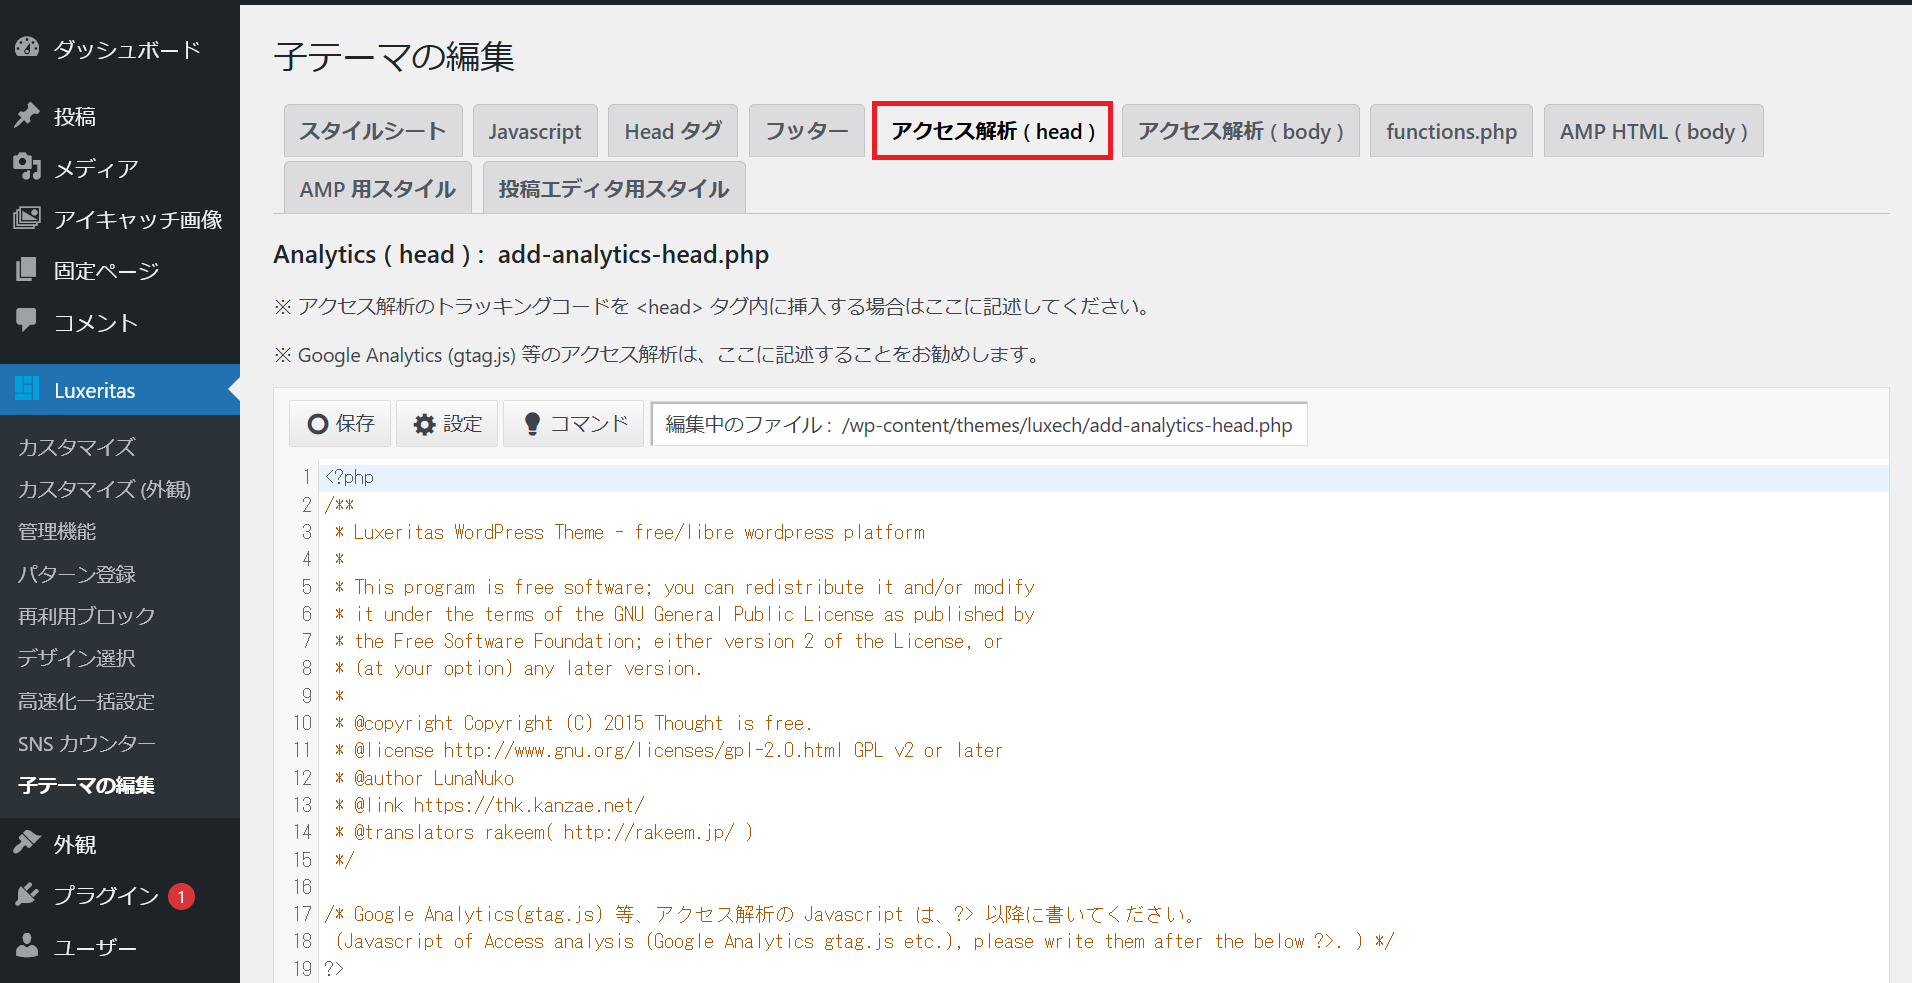
以下画面に遷移するので,"アクセス解析(head)"タブを選択する.
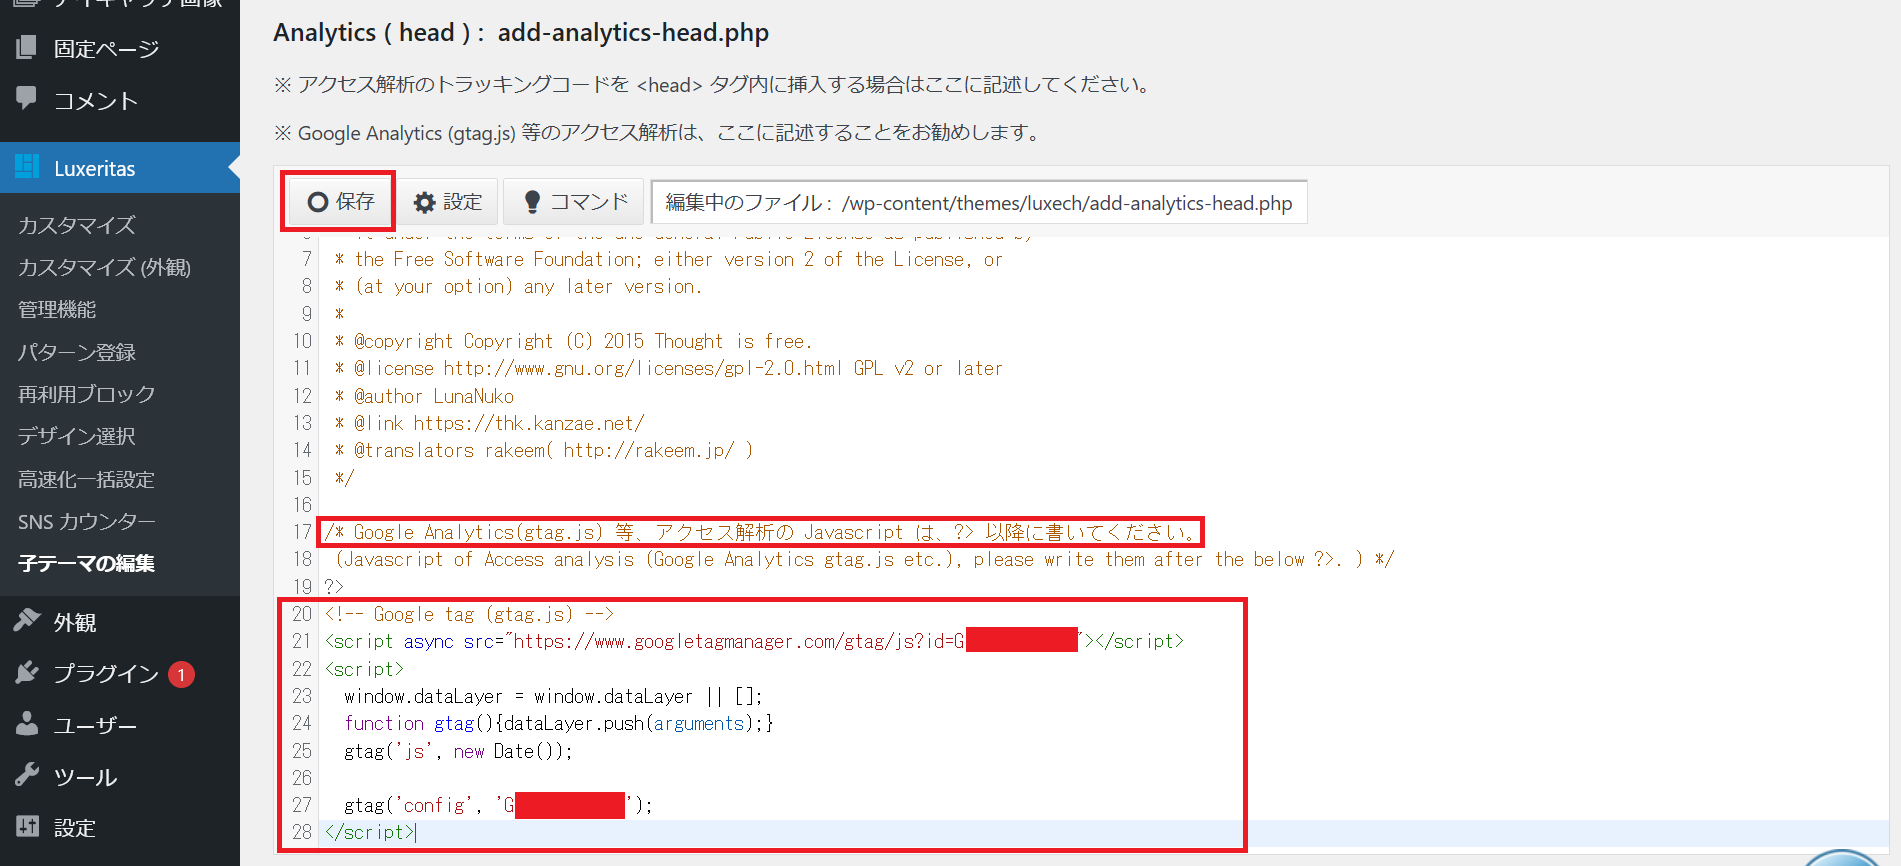
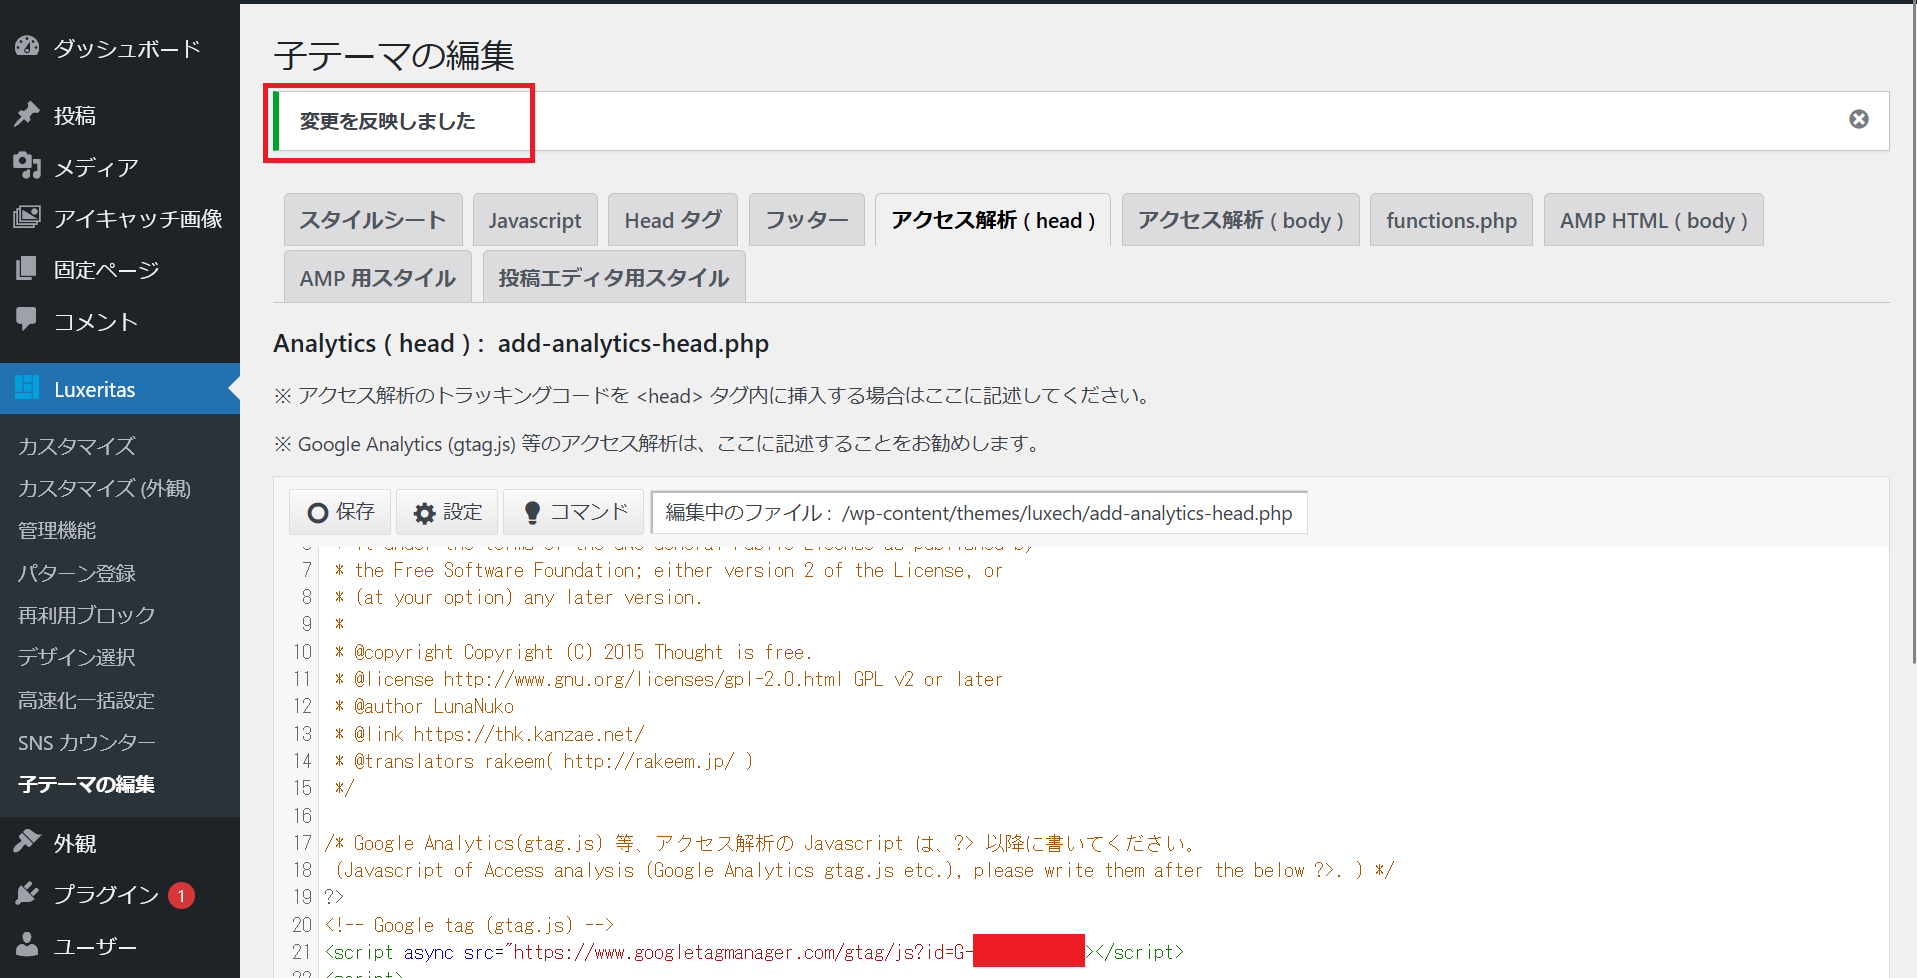
以下画面の赤枠の記述の通り,GA4のgoogle tabは">?"以降に記載する.以下のように,">?"以降にgoogle tabを貼り付けたので,"保存"をクリックする.
以下画面のように,"変更を反映しました"という記述が現れれば,成功となる.
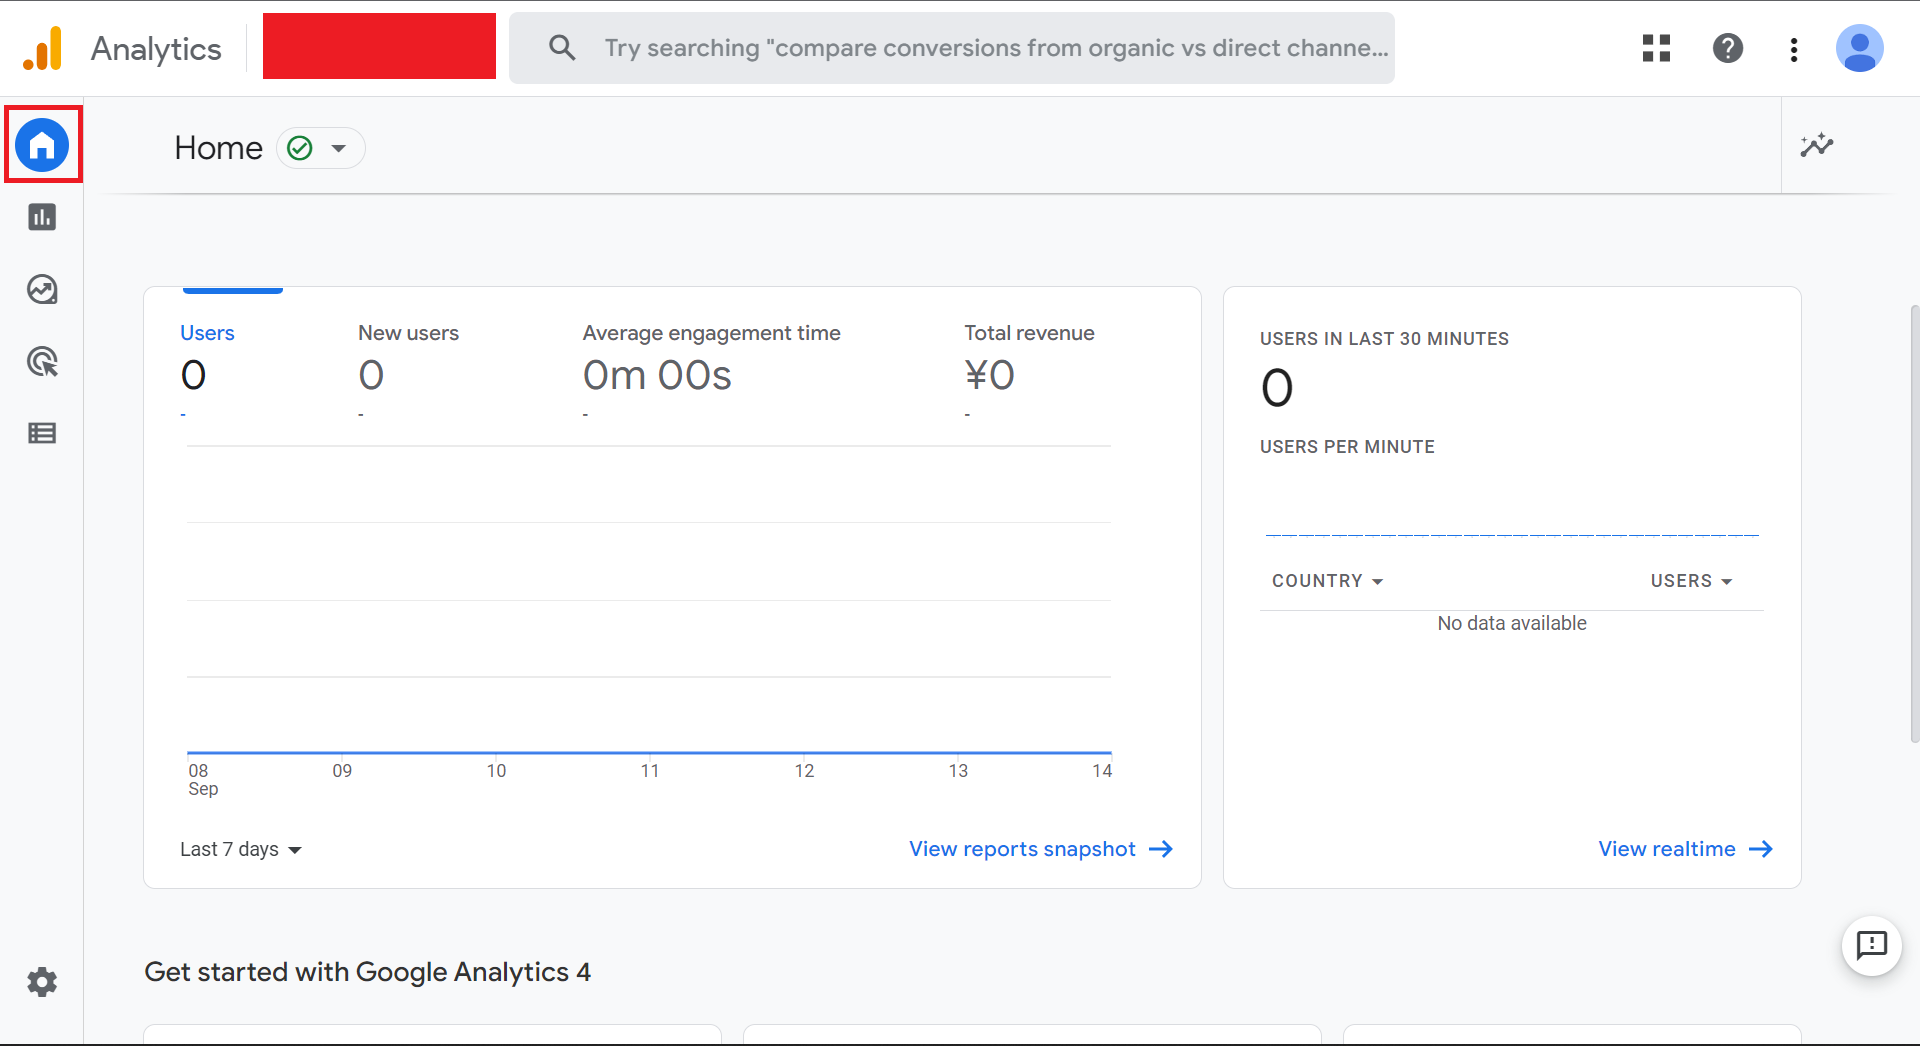
GA4のhomeに戻ると,対象となるサイトのアクセスを解析できる.
通常Themeの場合
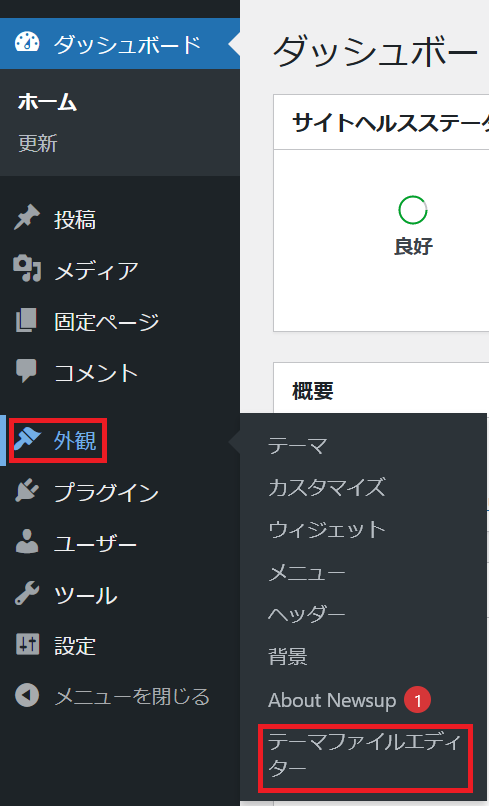
WordPressにログインし,"外観"を選択し,"テーマファイルエディター"をクリックする.
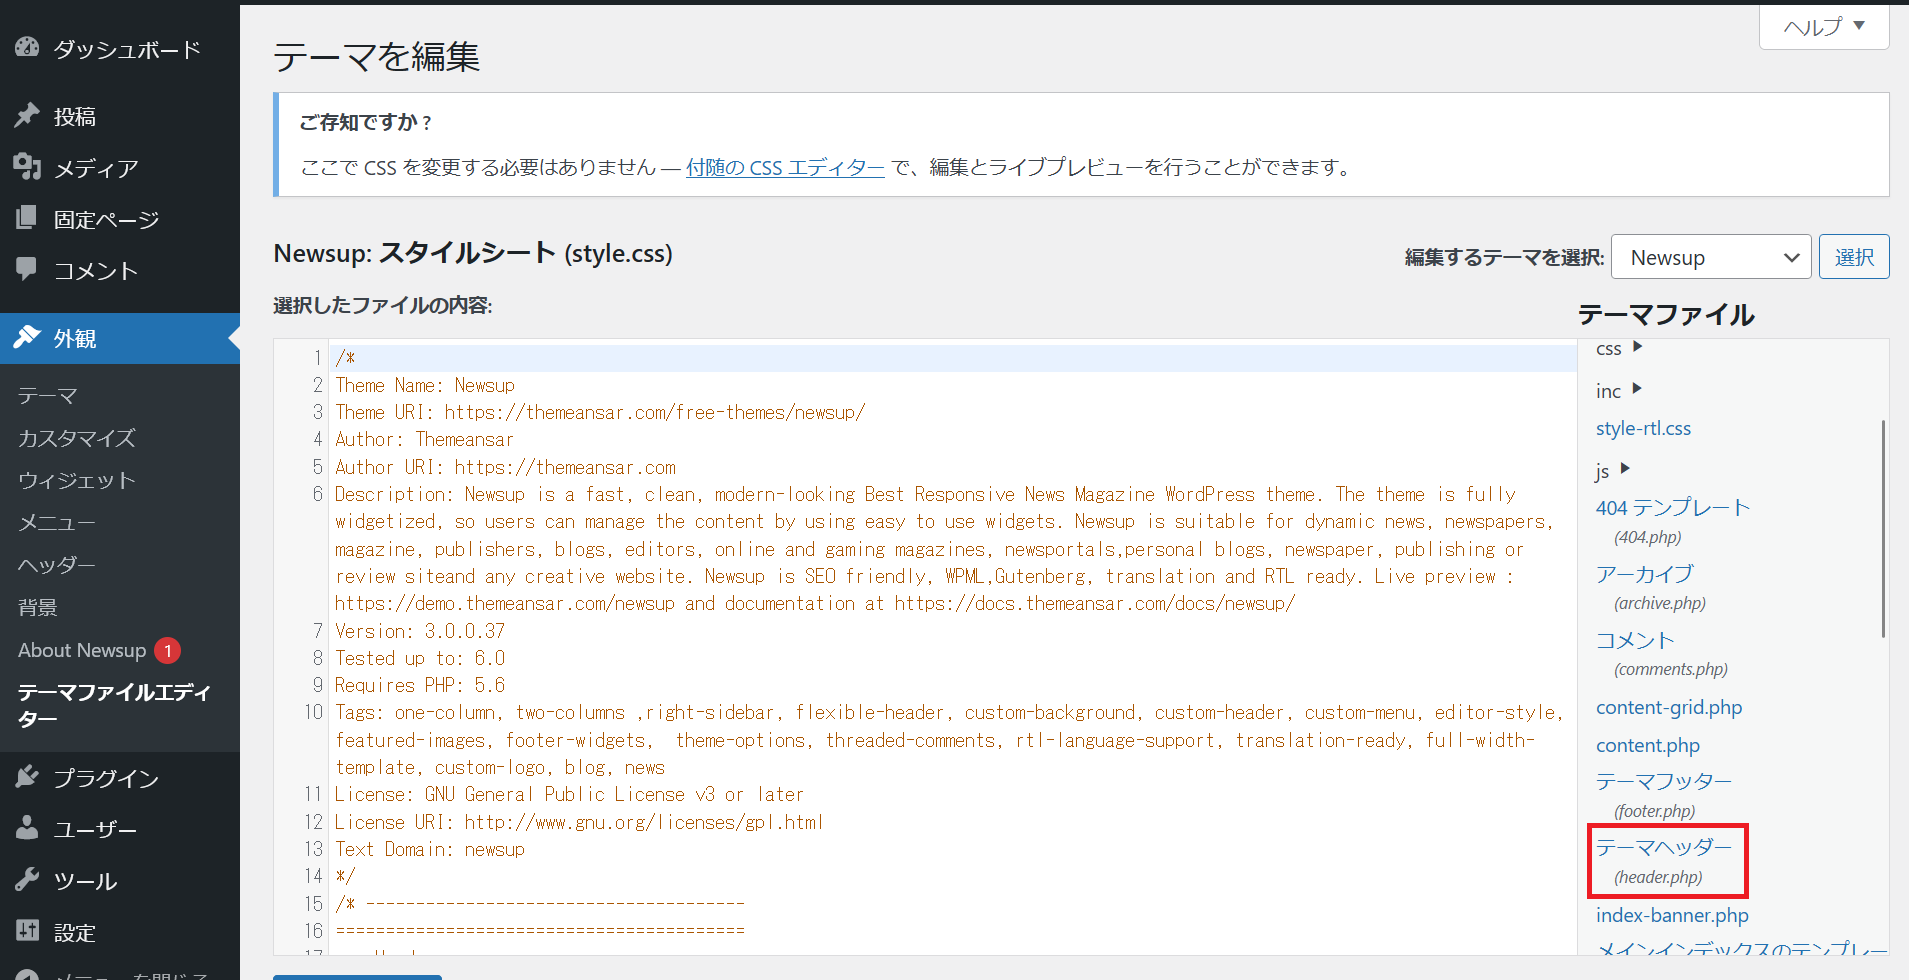
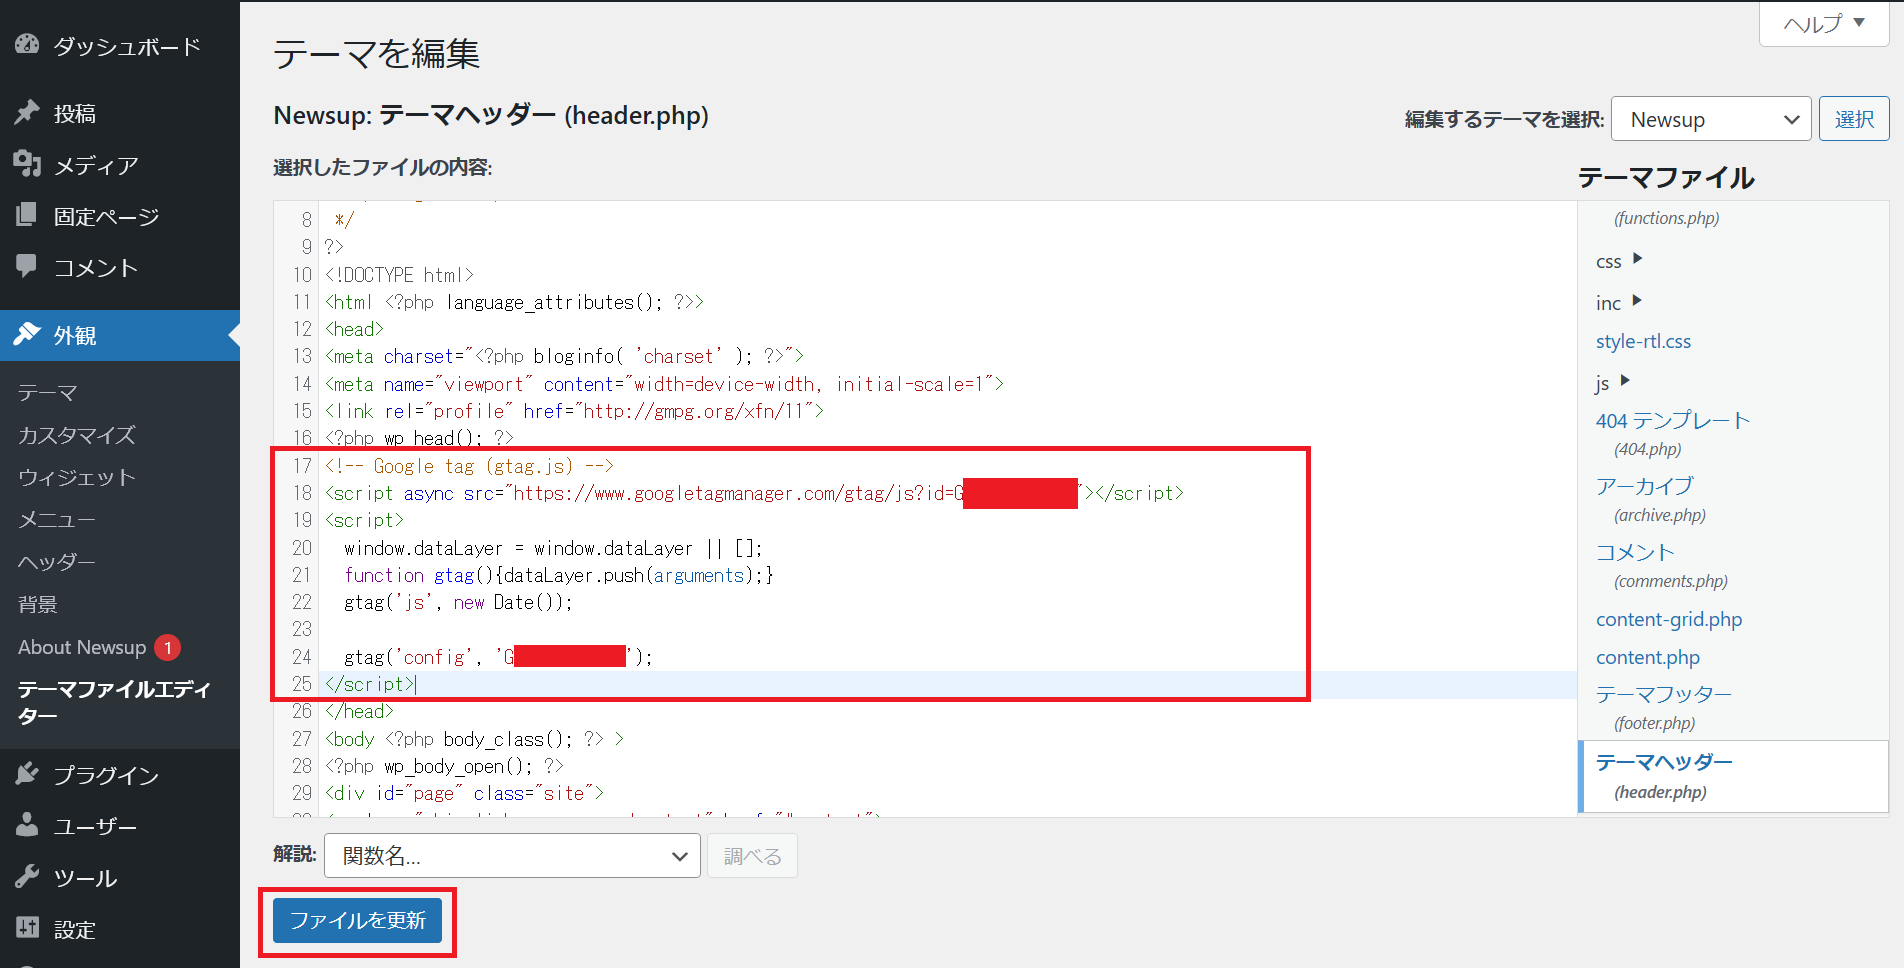
以下画面に遷移するので,右側の"テーマヘッダー(header.php)"を選択する.
以下画面のように,google tabを,"<?php wp head(); ?>"の直下に貼り付け,"ファイルを更新"をクリックする.
以下画面のように,"ファイルの編集に成功しました"とのメッセージが出現すれば,成功となる.
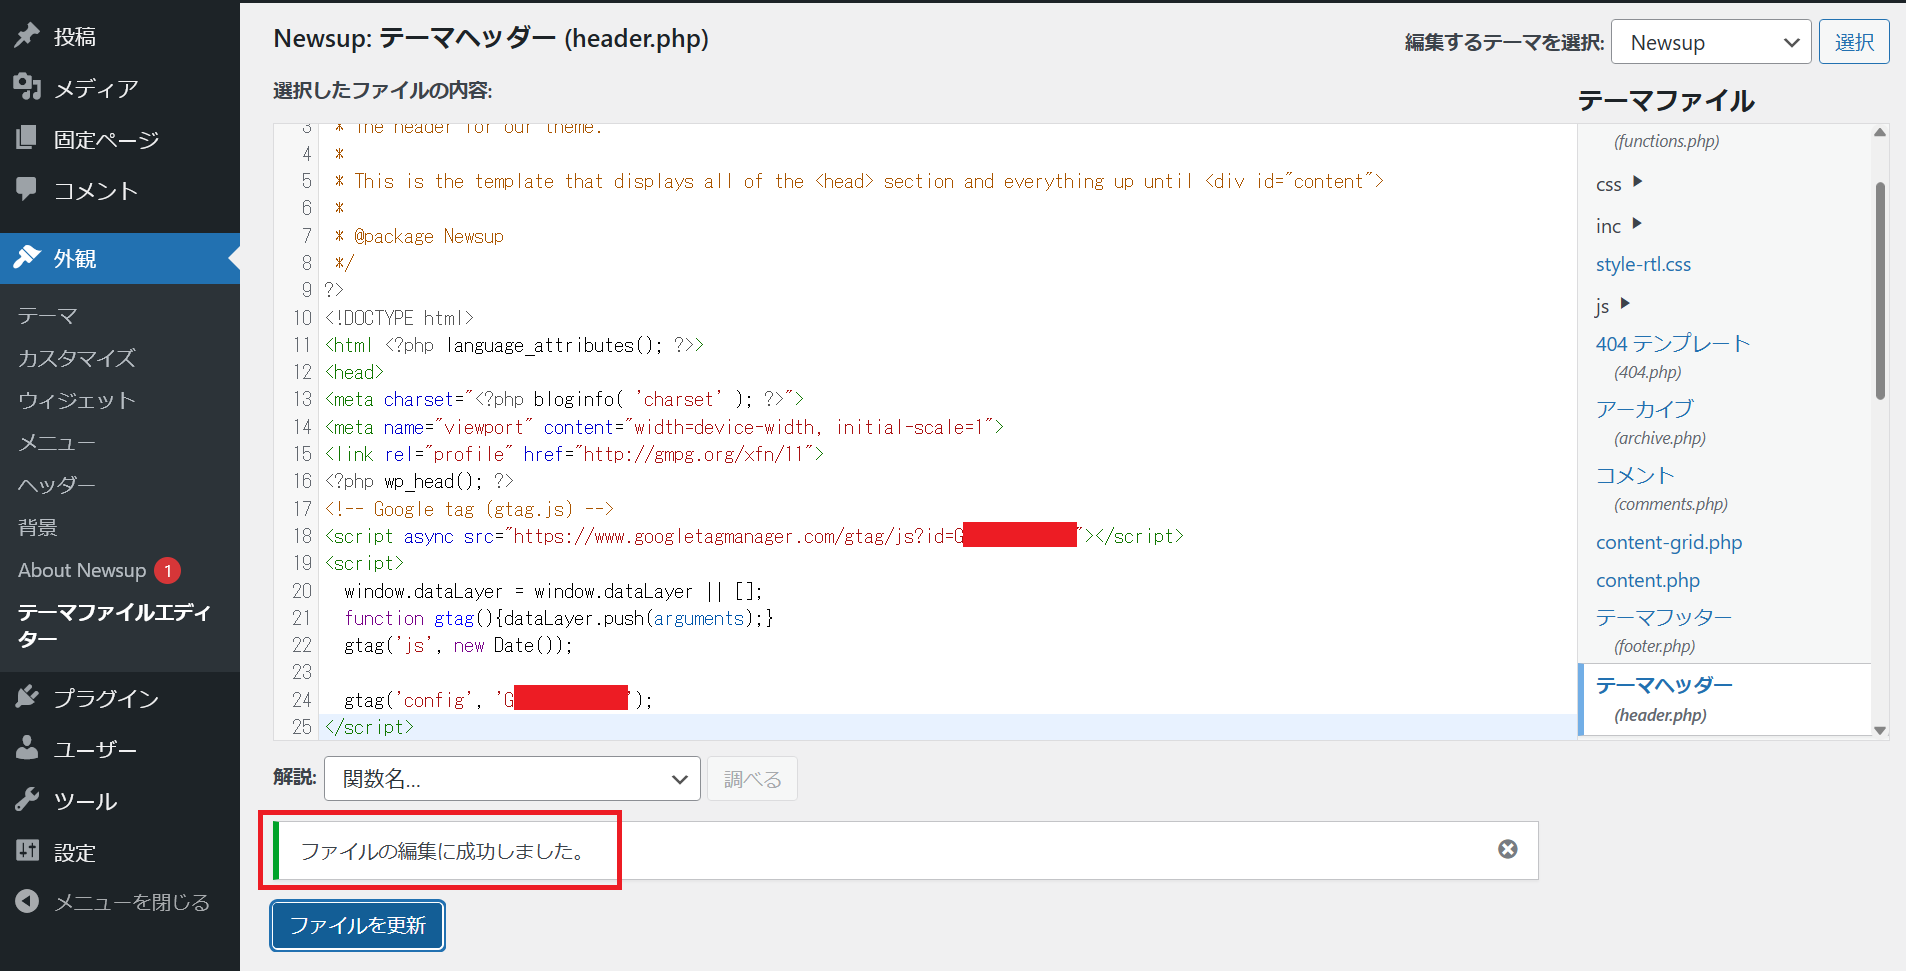
GA4のhomeに戻ると,対象となるサイトのアクセスを解析できる.
参照
Sattoga | WordPressにGoogleアナリティクスを導入・設定する方法
以上