DockerとMariaDBを利用したDjangoの構築方法
Pythonには,DjangoというWebアプリケーションフレームワークがある.フレームワークのため,Djangoを利用するとWebアプリを通常よりも短時間で開発することが可能になる.
MariaDBとは,MySQLの作者であるミカエル・ウィデニウスにより開発されたリレーショナルデータベースシステム(RDBMS)であり,無料で使用可能となる.シンプルなクエリで高速動作が可能となる.Webアプリ開発やWordPressなどのCMSの利用におすすめとなる.
Dockerとは,動作が非常に軽量であり,コンテナを使用してアプリケーションを構築,テスト,デプロイできるソフトウェアプラットフォームである.
今回は,DockerとMariaDBを利用したDjangoの構築方法をこの記事にて記す.
実施環境
OS: Windows11
Visual Studio Code (VS Code) 1.75.1
Djangoの構築方法
MariaDBの設定
以下URLにアクセスし,MariaDBのインストールや設定を行う.以下の内容と重複する箇所はあるが,こちらの記事に方法を記載した.
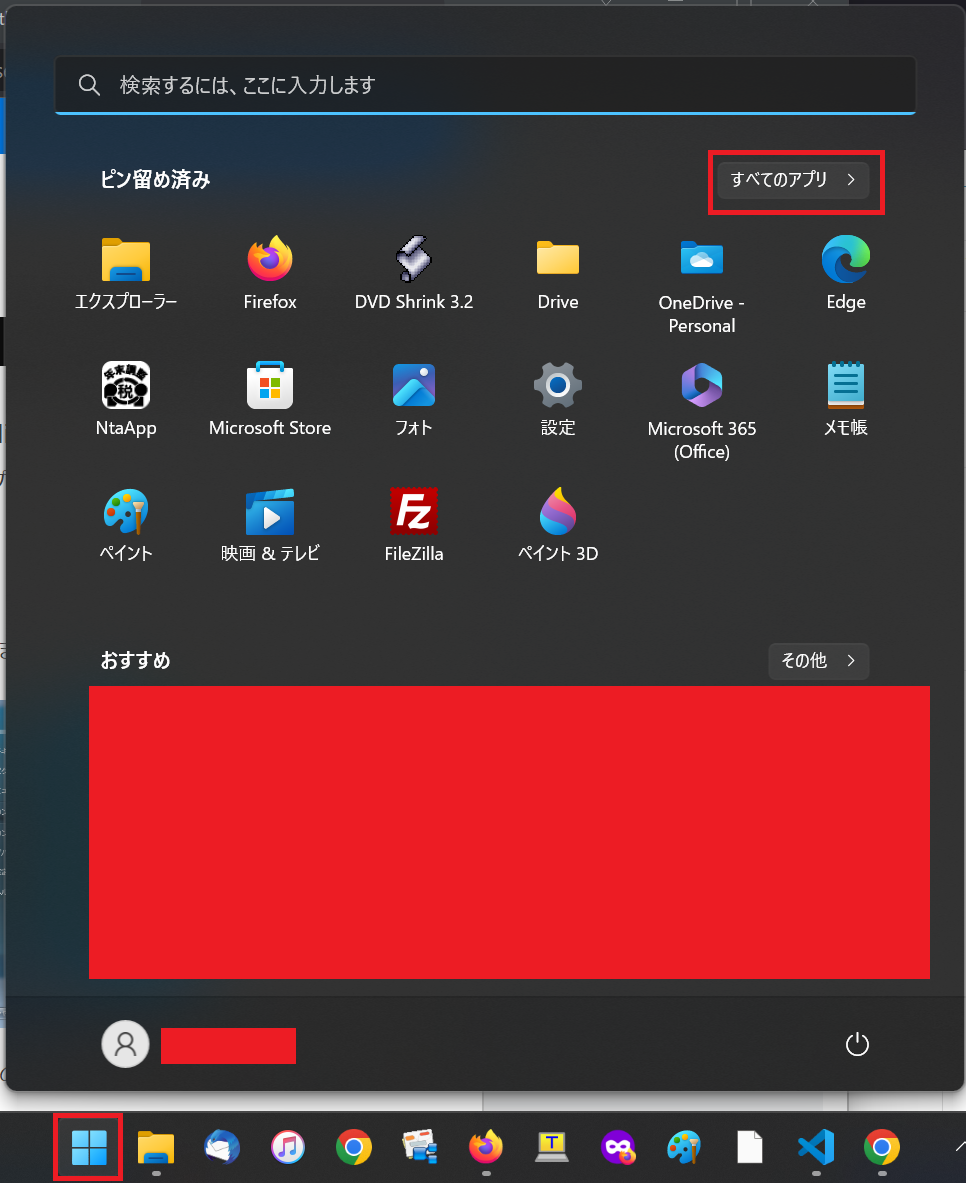
スタートボタンを右クリックし,"すべてのアプリ"をクリックする.
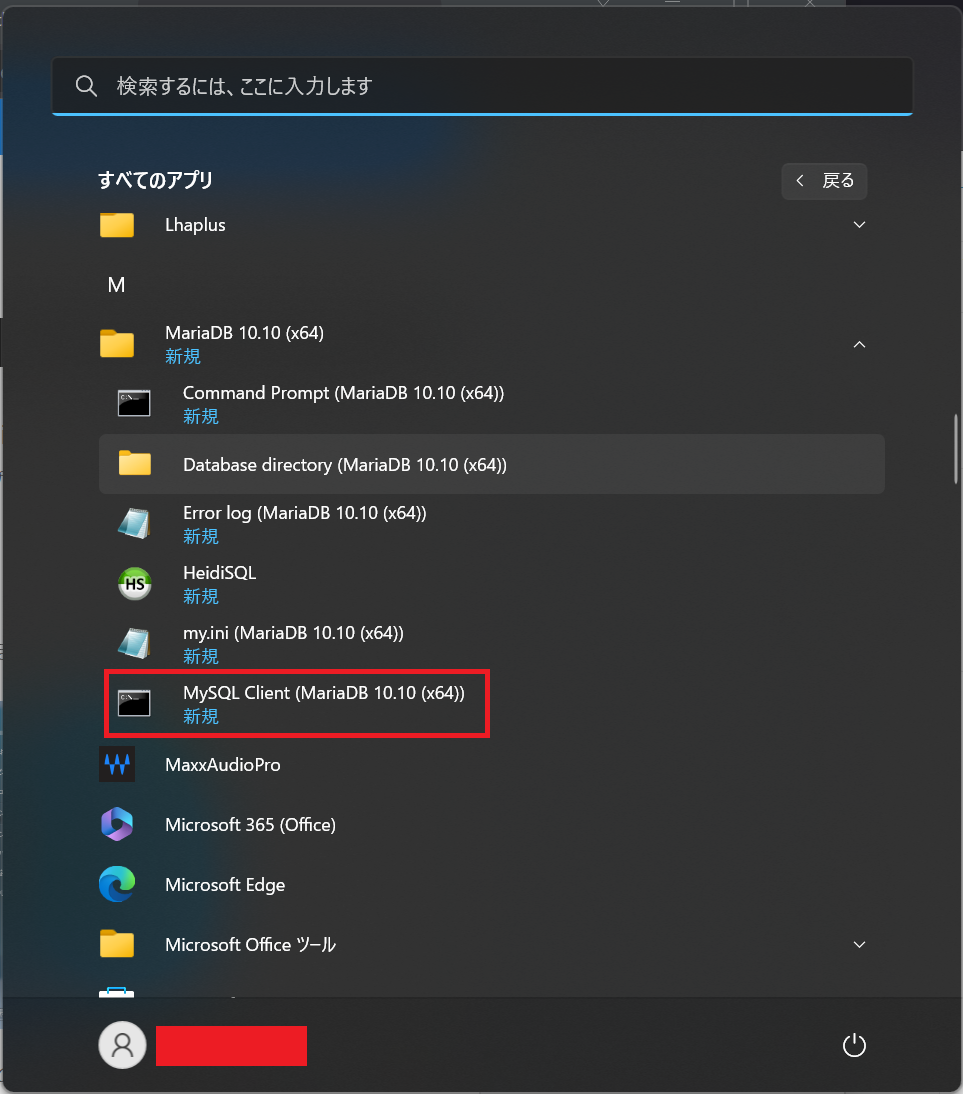
以下画面に遷移するので,"MySQL Client"をクリックする.
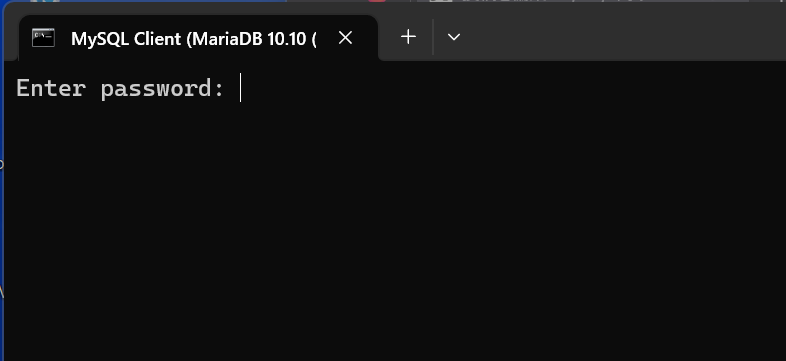
以下のようにターミナルが開くので,設定したパスワードを入力する.
その後,以下のように,"show databases;"と入力すると,データベースの一覧が出力される.
MariaDB [(none)]> show databases;
+--------------------+
| Database           |
+--------------------+
| information_schema |
| mysql              |
| performance_schema |
| sys                |
+--------------------+
4 rows in set (0.001 sec)
以下コマンドを実行し,studentdbという名のデータベースを作成する.
MariaDB [(none)]> create database studentdb;
Query OK, 1 row affected (0.001 sec)
以下コマンドを実行し,studentdbに切り替える.
MariaDB [(none)]> \u studentdb
Database changed
MariaDB [studentdb]>
以下コマンドを実行し,ユーザー名とパスワードを設定する.今回のユーザー名とパスワードは以下になる.
- ユーザー名: dockeruser
- パスワード: docker123
MariaDB [studentdb]> create user 'dockeruser' identified by 'do
cker123';
以下コマンドを実行し,ユーザー名"dockeruser"に,データベース"studentdb"のアクセス権限を与えた.
MariaDB [studentdb]> grant all on *.* to dockeruser;その後,以下コマンドを実行し,ある程度のコマンドがYになっていれば問題ない.
MariaDB [studentdb]> select * from mysql.user where user = 'dockeruser' \G

           Select_priv: Y
           Insert_priv: Y
           Update_priv: Y
           Delete_priv: Y
           Create_priv: Y
             Drop_priv: Y
           Reload_priv: Y
         Shutdown_priv: Y
          Process_priv: Y
             File_priv: Y
            Grant_priv: N
       References_priv: Y
            Index_priv: Y
            Alter_priv: Y
          Show_db_priv: Y
            Super_priv: Y
 Create_tmp_table_priv: Y
      Lock_tables_priv: Y
          Execute_priv: Y
       Repl_slave_priv: Y
      Repl_client_priv: Y
      Create_view_priv: Y
        Show_view_priv: Y
   Create_routine_priv: Y
    Alter_routine_priv: Y
      Create_user_priv: Y
            Event_priv: Y
          Trigger_priv: Y
Create_tablespace_priv: Y
   Delete_history_priv: Y
以下コマンドを実行すると,作成したデータベース"studentdb"を確認できる.
MariaDB [(none)]> show databases;
+--------------------+
| Database           |
+--------------------+
| information_schema |
| mysql              |
| performance_schema |
| studentdb          |
| sys                |
+--------------------+
5 rows in set (0.002 sec)
Djangoの構築方法
以下のように,ディレクトリを作成し,VS Codeから当該フォルダを開く.
terminalを開き,以下コマンドを実行すると,作成したディレクトリ上にいることが確認できる.
$ pwd

Path
----
C:\Users\shiro\Desktop\Django_studentproject_230215
以下コマンドを実行し,仮想環境を作り,Djangoをインストールする.
$ pipenv install django以下コマンドを実行すると,DjangoからMariaDBに接続するmysqlclientをインストールすることができる.
$ pipenv install mysqlclient以下コマンドを実行し,仮想環境をactivateする.
$ pipenv shell以下コマンドを実行し,"studentproject"という名のプロジェクトを作成する.
$ django-admin startproject studentproject以下コマンドを実行し,現在のディレクトリを"studentproject"プロジェクトディレクトリに移動し,"studentapp"という名のアプリを作成する.なお,プロジェクト内にも"studentproject"ディレクトリが存在する.この際,"studentproject"プロジェクトディレクトリに"Pipfile"と"Pipfile.lock"を移動する.
$ cd studentproject

$ django-admin startapp studentapp
“studentproject"内の"settings.py"の"INSTALLED_APPSを以下のように編集する.
~
INSTALLED_APPS = [
    'django.contrib.admin',
    'django.contrib.auth',
    'django.contrib.contenttypes',
    'django.contrib.sessions',
    'django.contrib.messages',
    'django.contrib.staticfiles',
    'studentapp', # 追記箇所
]
~
terminalで,以下コマンドを実行すると,以下のように出力される.出力されたコードの中のURLをクリックする.
$ python manage.py runserver
Performing system checks...
System check identified no issues (0 silenced).
You have 18 unapplied migration(s). Your project may not work properly until you apply the migrations for app(s): admin, auth, contenttypes, sessions.Run 'python manage.py migrate' to apply them.
February 15, 2023 - 04:37:10
Django version 4.1.7, using settings 'studentproject.settings'
Starting development server at http://127.0.0.1:8000/
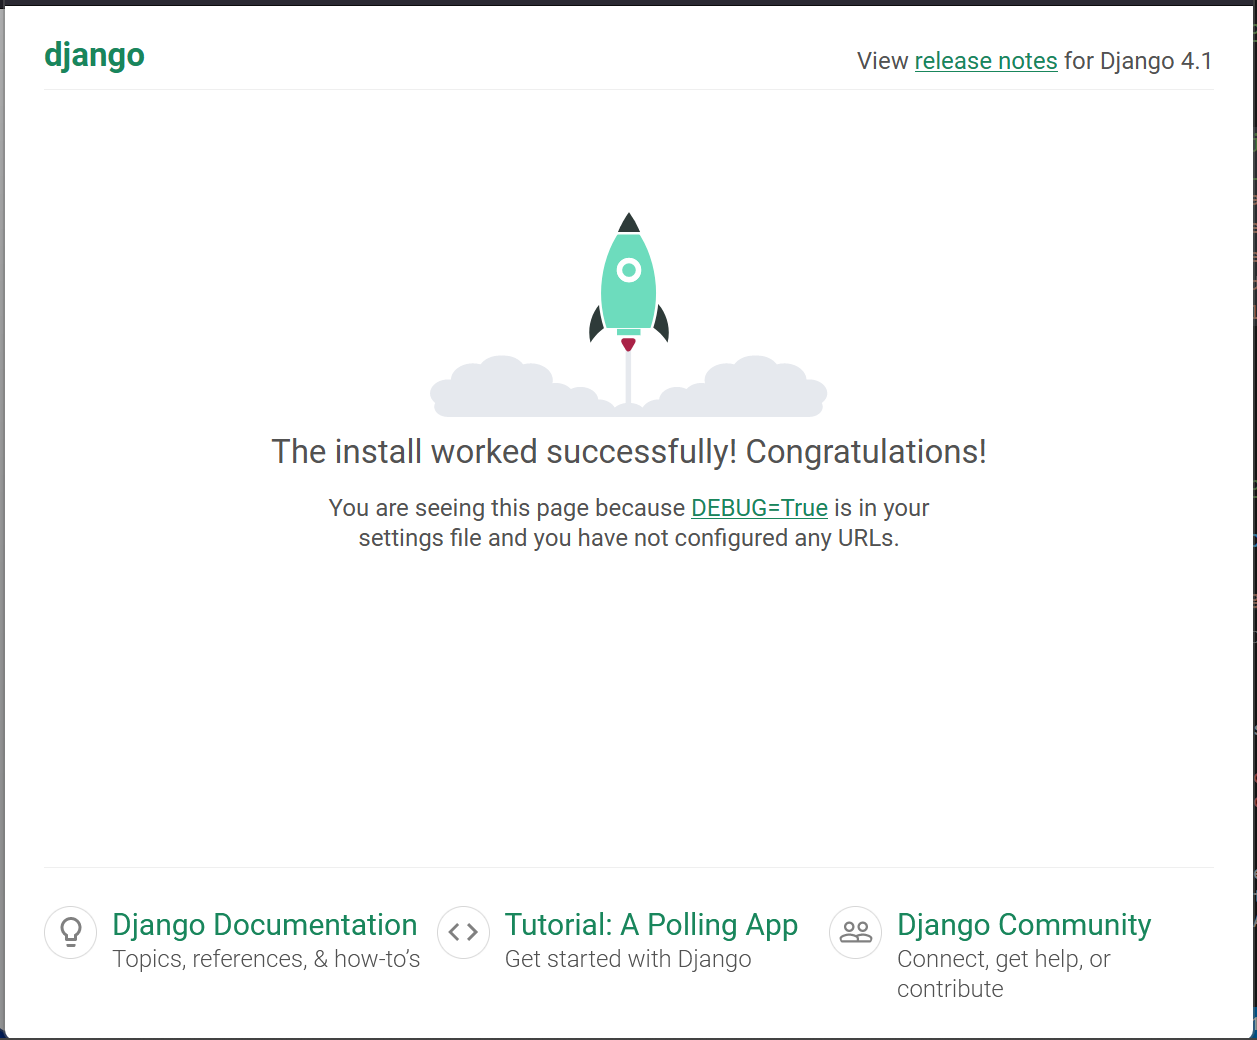
Quit the server with CTRL-BREAK.ブラウザが開き,以下画面に遷移する.無事に接続を確認することができた.
“studentapp"内の"models.py"を以下のように編集する.
from django.db import models

class Student(models.Model):
    first_name = models.CharField(max_length=20)
    last_name = models.CharField(max_length=20)
    test_score = models.FloatField()
“studentapp"内の"views.py"を以下のように編集する.
from django.views.generic import ListView
from .models import Student

class StudentListView(ListView):
    model = Student
“studentapp"ディレクトリに"templates"ディレクトリを作成し,その中に"studentapp"ディレクトリを作成する.当該ディレクトリにstudent_list.htmlを作成し,以下のように編集する.
<!DOCTYPE html>
<html lang="en" dir="ltr">
  <head>
    <meta charset="utf-8">
    <title></title>
  </head>
  <body>
    <h1>Students:</h1>
    <table border="2">
      <thead>
        <th>Id</th>
        <th>First Name</th>
        <th>Last NAME</th>
        <th>Test Score</th>
      </thead>
      {% for student in student_list%}
      <tr>
        <td>{{student.id}}</td>
        <td>{{student.first_name}}</td>
        <td>{{student.last_name}}</td>
        <td>{{student.test_score}}</td>
      </tr>
      {%endfor%}
    </table>
    <br/><br/><br/>
  </body>
  </html>
“studentproject"内の"urls.py"を以下のように編集する.
from django.contrib import admin
from django.urls import path
from studentapp.views import StudentListView

urlpatterns = [
    path('admin/', admin.site.urls),
    path('students/',StudentListView.as_view(),name='students')
]
“studentproject"内の"settings.py"の"DATABASES"を以下のように編集する.
~
DATABASES = {
    'default': {
        #'ENGINE': 'django.db.backends.sqlite3', # 編集前
        #'NAME': BASE_DIR / 'db.sqlite3',
        'ENGINE': 'django.db.backends.mysql', # 以下追記箇所
        'NAME': 'studentdb',
        'USER': 'dockeruser',
        'PASSWORD': 'docker123',
        'HOST': 'localhost',
    }
}
~
terminalに戻り,以下コマンドを実行する.
$ python manage.py makemigrations
Migrations for 'studentapp':
  studentapp\migrations\0001_initial.py
    - Create model Student
続けて,以下コマンドを実行する.
$ python manage.py migrate
Operations to perform:
  Apply all migrations: admin, auth, contenttypes, sessions, studentapp
Running migrations:
  Applying contenttypes.0001_initial... OK
  Applying auth.0001_initial... OK
  Applying admin.0001_initial... OK
  Applying admin.0002_logentry_remove_auto_add... OK
  Applying admin.0003_logentry_add_action_flag_choices... OK
  Applying contenttypes.0002_remove_content_type_name... OK
  Applying auth.0002_alter_permission_name_max_length... OK
  Applying auth.0003_alter_user_email_max_length... OK
  Applying auth.0004_alter_user_username_opts... OK
  Applying auth.0005_alter_user_last_login_null... OK
  Applying auth.0006_require_contenttypes_0002... OK
  Applying auth.0007_alter_validators_add_error_messages... OK
  Applying auth.0008_alter_user_username_max_length... OK
  Applying auth.0009_alter_user_last_name_max_length... OK
  Applying auth.0010_alter_group_name_max_length... OK
  Applying auth.0011_update_proxy_permissions... OK
  Applying auth.0012_alter_user_first_name_max_length... OK
  Applying sessions.0001_initial... OK
  Applying studentapp.0001_initial... OK
以下コマンドを実行する.
$ python manage.py runserver
Watching for file changes with StatReloader
Performing system checks...
System check identified no issues (0 silenced).
February 15, 2023 - 17:12:43
Django version 4.1.7, using settings 'studentproject.settings'
Starting development server at http://127.0.0.1:8000/
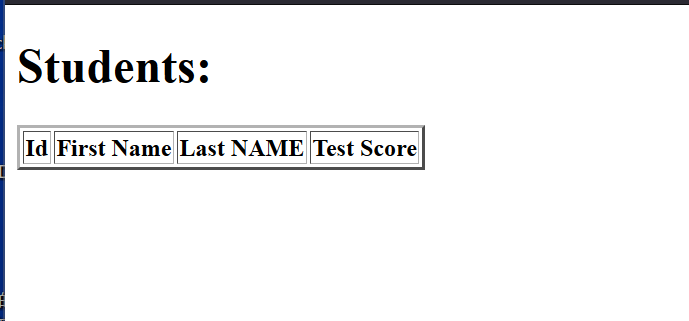
Quit the server with CTRL-BREAK.ブラウザを開き,"http://127.0.0.1:8000/students"と入力すると,以下画面が出力される.
MariaDBを利用したデータの追加とブラウザへの反映
“MySQL Client"を開き,以下コマンドを実行すると,studentdbに切り替わる.
MariaDB [(none)]> \u studentdb
Database changed
MariaDB [studentdb]>
以下コマンドを実行すると,studentdb内のテーブル一覧を出力する.
MariaDB [studentdb]> show tables;
+----------------------------+
| Tables_in_studentdb |
+----------------------------+
| auth_group |
| auth_group_permissions |
| auth_permission |
| auth_user |
| auth_user_groups |
| auth_user_user_permissions |
| django_admin_log |
| django_content_type |
| django_migrations |
| django_session |
| studentapp_student |
+----------------------------+
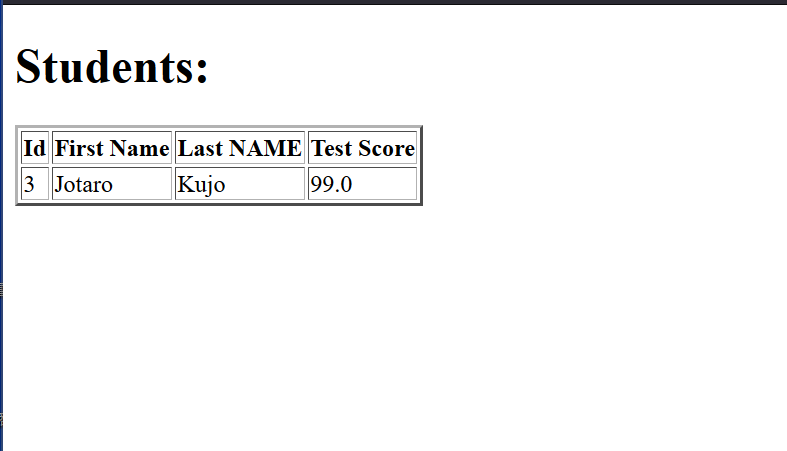
11 rows in set (0.001 sec)以下コマンドを実行し,"studentdb"内の"studentapp_student"テーブルに,以下数値を入力する.
- first_name: Jotaro
- last_name: Kujo
- test_score: 99
MariaDB [studentdb]> insert into studentapp_student (first_name,last_name,test_score) values('Jotaro','Kujo',99);
Query OK, 1 row affected (0.013 sec)
ブラウザを開き,"http://127.0.0.1:8000/students"を更新すると,上記で入力した内容が以下画面に反映される.
Dockfileの作成
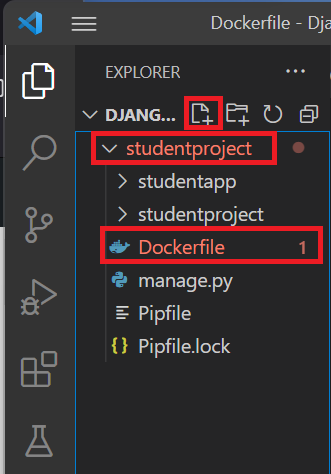
“studentproject"プロジェクトディレクトリ内に"Dockerfile"を作成する.
作成した"Dockerfile"を以下のように編集する.
FROM python:3.11

ENV PYTHONDONTWRITEBYTECODE 1
ENV PYTHONUNBUFFERED 1

WORKDIR /code

COPY Pipfile Pipfile.lock /code/
RUN pip install pipenv && pipenv install --system

COPY . /code/
Docker Command Lineを利用したMariaDBの起動
VS Codeを開き,terminalにて,以下コマンドを実行し,containerを作成する.なお,以下URLを参照した.
- -d: detach
- mariadbtest: container name
- mariadb user name: dockeruser
- mariadb password: docker123
- -v: volume
- ~/mariadb-data/: mount volumeのためのローカルマシンのディレクトリ
- /var/lib/mariadb/data: データ保管のためのcontainerのディレクトリ
- 3333: ホストマシンからのポート番号
- 3306: public port
$ docker run --detach --name mariadbtest --env MARIADB_USER=dockeruser --env MARIADB_PASSWORD=docker123 --env MARIADB_ROOT_PASSWORD=xxx --env MARIADB_DATABASE=studentdb -v ~/mariadb-data/:/var/lib/mariadb/data -p 3333:3306 mariadb以下コマンドを実行すると,以下のように作成したcontainerを確認できた.
$ docker ps
CONTAINER ID   IMAGE     COMMAND                  CREATED         STATUS         PORTS                    NAMES
19e39435f062   mariadb   "docker-entrypoint.s…"   5 seconds ago   Up 2 seconds   0.0.0.0:3333->3306/tcp   mariadbtest
以下コマンドを実行し,imageを確認することができた.
docker images
REPOSITORY   TAG       IMAGE ID       CREATED      SIZE
mariadb      latest    5986006dc2c5   9 days ago   400MB
以下コマンドを実行すると,docker containerの中に入ることができる.
$ docker exec -it mariadbtest /bin/bash
root@19e39435f062:/#
MariaDBが入っているかの確認をする.
# mysql --version
mysql  Ver 15.1 Distrib 10.10.3-MariaDB, for debian-linux-gnu (x86_64) using  EditLine wrapper
以下を実行し,dockeruserでデータベースに入る.
# mysql -u dockeruser -p

Welcome to the MariaDB monitor.  Commands end with ; or \g.
Your MariaDB connection id is 4
Server version: 10.10.3-MariaDB-1:10.10.3+maria~ubu2204 mariadb.org binary distribution

Copyright (c) 2000, 2018, Oracle, MariaDB Corporation Ab and others.

Type 'help;' or '\h' for help. Type '\c' to clear the current input statement.
以下を実行し,作成したstudentdbを確認できれば問題ない.
$ show databases;
+--------------------+
| Database           |
+--------------------+
| information_schema |
| studentdb          |
+--------------------+
2 rows in set (0.000 sec)
以下を実行し,元に戻る.
MariaDB [(none)]> quit
Bye

root@19e39435f062:/# exit
exit

$
以下を実行し,CONTAINER IDを取得する.
$ docker ps
CONTAINER ID   IMAGE     COMMAND                  CREATED       STATUS       PORTS                    NAMES
19e39435f062   mariadb   "docker-entrypoint.s…"   2 hours ago   Up 2 hours   0.0.0.0:3333->3306/tcp   mariadbtest
以下を実行し,mariadbtest containerをストップし,削除する.
$ docker stop 19e39435f062
19e39435f062

$ docker rm 19e39435f062
19e39435f062
以下を実行し,docker imageも削除する.
$ docker images
REPOSITORY   TAG       IMAGE ID       CREATED      SIZE
mariadb      latest    5986006dc2c5   9 days ago   400MB

$ docker rmi 5986006dc2c5
Docker Compose Fileの作成
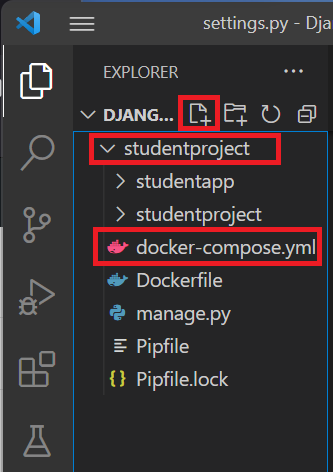
VS Codeを開き,"studentproject"下に,赤枠のファイル作成を利用し,"docker-compose.yml"ファイルを作成する.
“docker-compose.yml"を以下のように編集する.MariaDBの準備が完了する前に,Djangoが先に動作を開始してしまうことに伴うと推察されるエラーがあったため,"condition: service_healthy"および"healthcheck"を挿入した.以下URLを参照した.
stack overflow | Docker-compose check if mysql connection is ready
stack overflow | Docker mysql image: periodic access denied for root
git hub | mysociety/theyworkforyou
version: '3.11' # python version

services:
  web:
    build: . # current directory
    container_name: web
    command: >
      bash -c "python manage.py makemigrations
      && python manage.py migrate
      && python manage.py runserver 0.0.0.0:8000"
    ports:
      - 10555:8000
    volumes:
      - .:/code # working directoryを記す
    depends_on:
      db:
        condition: service_healthy

  db:
    image: mariadb
    container_name: mariadbtest
    environment:
      - MARIADB_USER=dockeruser
      - MARIADB_PASSWORD=docker123
      - MARIADB_ROOT_PASSWORD=xxx
      - MARIADB_DATABASE=studentdb
    healthcheck:
      test: ["CMD", "mysqladmin", "-udockeruser", "-pdocker123",  "ping", "-h", "localhost"]
      timeout: 5s
      retries: 3
    volumes:
      - mariadbdata:/var/lib/mariadb/data

volumes:
  mariadbdata:
“studentproject"下の"settings.py"を以下のように編集する.
~
DATABASES = {
    'default': {
        'ENGINE': 'django.db.backends.mysql',
        'NAME': 'studentdb',
        'USER': 'dockeruser',
        'PASSWORD': 'docker123',
        'HOST': 'db', # 変更箇所
    }
}
~
terminalに移動し,ファイル構成を確認する.
※"Pipfile"と"Pipfile.lock"は,"studentproject"プロジェクトディレクトリの下に入れること.
$ ls


    ディレクトリ: C:\Users\shiro\Desktop\dev_test\Django_studentproje
    ct_230225\studentproject


Mode                 LastWriteTime         Length Name
----                 -------------         ------ ----
d-----     2023/02/19 日     22:51                studentapp
d-----     2023/02/19 日     22:49                studentproject
-a----     2023/02/19 日     22:50              0 db.sqlite3
-a----     2023/02/19 日     23:08            802 docker-compose.yml
-a----     2023/02/19 日     23:07            548 Dockerfile
-a----     2023/02/19 日     22:49            692 manage.py
-a----     2023/02/19 日     22:48            170 Pipfile
-a----     2023/02/19 日     22:48           2550 Pipfile.lock
その後,以下コマンドを実行すると,以下のように完了する.
$ docker compose up
~
web | Applying auth.0011_update_proxy_permissions... OK
web | Applying auth.0012_alter_user_first_name_max_length... OK
web | Applying sessions.0001_initial... OK
web | Applying studentapp.0001_initial... OK
web | Watching for file changes with StatReloader
web | Performing system checks...
web |
web | System check identified no issues (0 silenced).
web | February 16, 2023 - 22:36:03
web | Django version 4.1.7, using settings 'studentproject.settings'
web | Starting development server at http://0.0.0.0:8000/
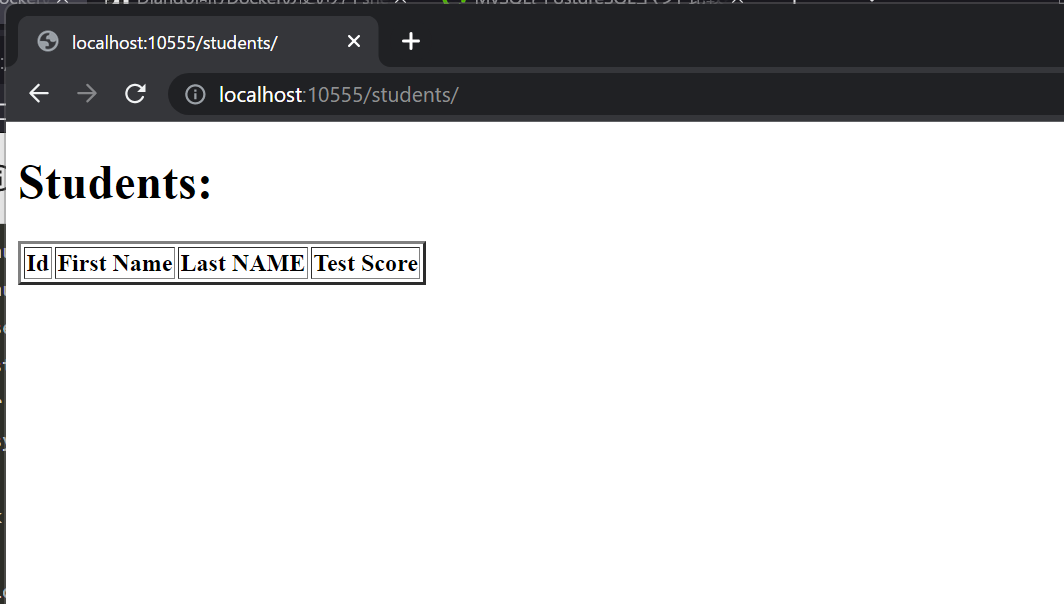
web | Quit the server with CONTROL-C.ブラウザのURLに"http://localhost:10555/students/"を入力すると,以下画面が出力される.
terminalに戻り,dockerは起動したまま,以下コマンドを実行する.mariadbtest containerの中に入る.
$ cd studentproject
$ docker exec -it mariadbtest /bin/bash
root@fe100d58c5c2:/#
以下コマンドを実行し,MariaDBが入っているかの確認をする.
# mysql --version
mysql  Ver 15.1 Distrib 10.10.3-MariaDB, for debian-linux-gnu (x86_64) using  EditLine wrapper
以下コマンドを実行し,dockeruserでデータベースに入る.
# mysql -u dockeruser -p
Enter password:
Welcome to the MariaDB monitor.  Commands end with ; or \g.
Your MariaDB connection id is 8
Server version: 10.10.3-MariaDB-1:10.10.3+maria~ubu2204 mariadb.org binary distribution

Copyright (c) 2000, 2018, Oracle, MariaDB Corporation Ab and others.

Type 'help;' or '\h' for help. Type '\c' to clear the current input statement.

MariaDB [(none)]>
以下コマンドを実行すると,データベースの一覧にstudentdbが格納されていることがわかる.
MariaDB [(none)]> show databases;
+--------------------+
| Database           |
+--------------------+
| information_schema |
| studentdb          |
+--------------------+
2 rows in set (0.000 sec)
studentdbの中に入るため,以下コマンドを実行する.
MariaDB [(none)]> use studentdb
Reading table information for completion of table and column names
You can turn off this feature to get a quicker startup with -A

Database changed
MariaDB [studentdb]>
以下コマンドを実行すると,テーブル一覧が出力される.
MariaDB [studentdb]> show tables;
+----------------------------+
| Tables_in_studentdb        |
+----------------------------+
| auth_group                 |
| auth_group_permissions     |
| auth_permission            |
| auth_user                  |
| auth_user_groups           |
| auth_user_user_permissions |
| django_admin_log           |
| django_content_type        |
| django_migrations          |
| django_session             |
| studentapp_student         |
+----------------------------+
11 rows in set (0.000 sec)
以下コマンドを実行すると,値が挿入される.
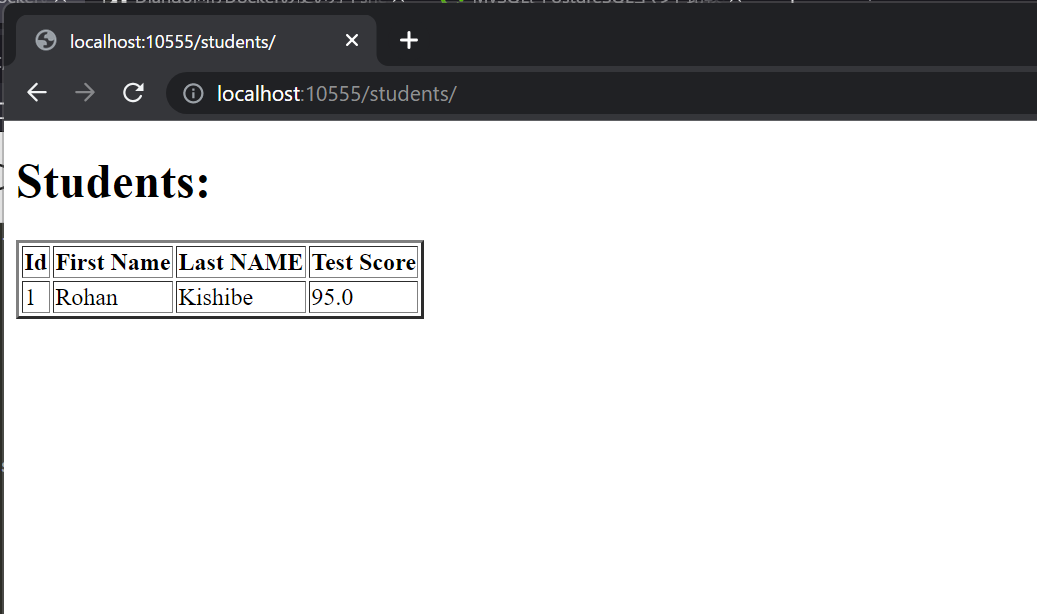
$ insert into studentapp_student (first_name,last_name,test_score) values('Rohan','Kishibe',95);
Query OK, 1 row affected (0.014 sec)
Webブラウザにも,以下のように反映される.
Docker Compose Fileにおける"Restart"の説明
“docker-compose.yml"ファイルにrestart(7行目)を入れることができる.なお,このrestartには以下のように4種類ある.
- restart: no (どんなときでも再起動しない)…あまり使われない
- restart: always (常に再起動する)…よく使われる
- restart: on-failure (終了コードがon-failureのエラーを表している場合に再起動する)…よく使われる
- restart: unless-stopped (手動などで停止する場合を除き,再起動する)
version: '3.11' # python version

services:
  web:
    build: . # current directory
    container_name: web
    restart: always
    command: >
      bash -c "python manage.py makemigrations
      && python manage.py migrate
      && python manage.py runserver 0.0.0.0:8000"
    ports:
      - 10555:8000
    volumes:
      - .:/code # working directoryを記す
    depends_on:
      db:
        condition: service_healthy

  db:
    image: mariadb
    container_name: mariadbtest
    environment:
      - MARIADB_USER=dockeruser
      - MARIADB_PASSWORD=docker123
      - MARIADB_ROOT_PASSWORD=xxx
      - MARIADB_DATABASE=studentdb
    healthcheck:
      test: ["CMD", "mysqladmin", "-udockeruser", "-pdocker123",  "ping", "-h", "localhost"]
      timeout: 5s
      retries: 3
    volumes:
      - mariadbdata:/var/lib/mariadb/data

volumes:
  mariadbdata:
Docker Hubの利用
terminalにて,以下コマンドを実行する.
$ docker images
REPOSITORY           TAG       IMAGE ID       CREATED             SIZE
studentproject-web   latest    b48cc7c3fd25   About an hour ago   1.01GB
mariadb              latest    5986006dc2c5   9 days ago          400MB
以下コマンドを実行し,Dockerにログインをする.
$ docker login
Login with your Docker ID to push and pull images from Docker Hub. If you don't have a Docker ID, head over to https://hub.docker.com to create one.
上記のRepositoryを利用し,以下コマンドを実行すると,タグが作られる.
$ docker tag studentproject-web shiro9ma/studentweb以下コマンドを実行すると,作られたタグが確認できる.
$ docker images
REPOSITORY            TAG       IMAGE ID       CREATED       SIZE
studentproject-web    latest    b48cc7c3fd25   2 hours ago   1.01GB
shiro9ma/studentweb   latest    b48cc7c3fd25   2 hours ago   1.01GB
mariadb               latest    5986006dc2c5   9 days ago    400MB
以下コマンドを実行すると,"shiro9ma/studentweb"がdocker hubにpushされる.
$ docker push shiro9ma/studentwebDocker Prune Command
Prune系コマンドを利用すると,起動していないcontainerやimage, network, volumeなどをまとめて削除することができる.
以下コマンドを実行し,docker containerを出力する.
$ docker ps
CONTAINER ID   IMAGE                COMMAND                  CREATED       STATUS             PORTS                     NAMES
56456633bb67   studentproject-web   "bash -c 'python man…"   2 hours ago   Up About an hour   0.0.0.0:10555->8000/tcp   web
fe100d58c5c2   mariadb              "docker-entrypoint.s…"   2 hours ago   Up About an hour   3306/tcp                  mariadbtest
以下コマンドを実行し,稼働中のcontainerを止める.
$ docker stop 56456633bb67 fe100d58c5c2
56456633bb67
fe100d58c5c2
以下コマンドを実行すると,すべてのcontainerが削除される.
$ docker container prune
WARNING! This will remove all stopped containers.
Are you sure you want to continue? [y/N] y
Deleted Containers:
56456633bb67e34100e5fd9e9eaa9c3fc6fe0d29f3e817450fba65ece7cd693d
fe100d58c5c2330fddee1a0cef03a9be7ba62a18667fe1c0d08690752d2ad06d

Total reclaimed space: 0B
以下コマンドを実行し,imageが出力される.
$ docker images
REPOSITORY            TAG       IMAGE ID       CREATED       SIZE
studentproject-web    latest    b48cc7c3fd25   2 hours ago   1.01GB
shiro9ma/studentweb   latest    b48cc7c3fd25   2 hours ago   1.01GB
mariadb               latest    5986006dc2c5   9 days ago    400MB
以下コマンドを実行すると,すべてのimageが削除された.なお,「docker image -prune –filter="until24h"」という使い方もできる.
$ docker image prune -a
WARNING! This will remove all images without at least one container associated to them.
Are you sure you want to continue? [y/N] y
Deleted Images:
untagged: studentproject-web:latest
untagged: shiro9ma/studentweb:latest
untagged: shiro9ma/studentweb@sha256:c35cfae3a7ad1646abdff7cc8baa6efd3ce1790e56181349f6d1b78c283355bb
deleted: sha256:b48cc7c3fd25d9b4984546c08a7bf03572ad2de7b2b4381e39a69de9f7509e47
untagged: mariadb:latest
untagged: mariadb@sha256:5cd42a3ca1718c6e6d1908c15d3237e77dee5a52c42c822f833247b6d501f486
deleted: sha256:5986006dc2c52021c926b67e2b98162f663fc3b1478ec926d3346f0a23817546
deleted: sha256:fa04faed991751dd5d3bbc298b7730c14ed0f82dca1987f789a13e07c370c790
deleted: sha256:4ae1243610470c9ff72ba19780b99a21526bad2094774ead78e9a640e531f289
deleted: sha256:6cc8bc340e8ca56b469f70b42adbf227981893df45e13f23a17f55d51d66a778
deleted: sha256:a01d04fe8cc793256ea80d28547e60b5b20d2a3f178ef55a1c71d054232cf6e4
deleted: sha256:7527b4d2644e216e3a9cee4bf6cb8b31992641a48a099db3952bbf46557622cc
deleted: sha256:c8d2b3e65e4ef64663e58140d623573a70d5fc084fdd963ef793568de56b3ccc
deleted: sha256:a63ad3db5ec24cec3cacc0a7f0cfbe9732aed98d4e966eb98038226aaaa34523
deleted: sha256:c5ff2d88f67954bdcf1cfdd46fe3d683858d69c2cadd6660812edfc83726c654

Total reclaimed space: 400.5MB
以下コマンドを実行すると,ローカルのデータを削除することができる.
$ docker volume prune
WARNING! This will remove all local volumes not used by at least one container.
Are you sure you want to continue? [y/N] y
Deleted Volumes:
792254f563ded8e2eea21574d049c7ef55557c309bf46cb4724baf0e1c6c3761
0bcebfab29a7579707a5279c1d6090c351f0e7273ab07fd082cb31517e317602
315d2d8e71408c1df6e364bf6d04d8b02259e879d65eb83053a6e1e76a1cf3b1
studentproject_mariadbdata
11ca07dd75674f58e60bf3d18b90304116421525258101e6d872541d4e857143
57d8668a1c894f9db850985cc0a92576331db1c08fb9428d3d14be234186f072
d545994133973aec5330739e92ce8ac5734c64fad14964f8a063c7d304ae0dc4
d7e93715417e329db43a57d4c3c1dae878d920d3376ca35ac7a422733feded91
73031cb8638794c32992edfd5a7f1f233fb660db03617e653d9b475c7f210cb0

Total reclaimed space: 569.3MB
以下コマンドを実行すると,すべてのカスタムネットワークを削除することができる.
$ docker network prune
WARNING! This will remove all custom networks not used by at least one container.
Are you sure you want to continue? [y/N] y
Deleted Networks:
djangotestproject_default
studentproject_default
参照
Udemy | Docker for Python Django Developers
HORNET | Windows7にMariaDBをインストール
HORNET | 【Pycharm】PythonからMariaDBにコネクトする【mysql-connector-python】
HORNET | 【Windows7】DjangoからMariaDBに接続するには?【PyCharm】
Qiita | MySQLとPostgreSQLコマンド比較表
JavaDrive | MariaDB入門 | ユーザーに権限を設定する(GRANT文)
JaveDrive | MariaDB入門 | 新しいパスワードを設定する(SET PASSWORD文、ALTER USER文)
JavaDrive | MariaDB入門 | ユーザーを作成する(CREATE USER文)
JavaDrive | MariaDB入門 | データを追加する(INSERT文)
stack overflow | Docker-compose check if mysql connection is ready
stack overflow | Docker mysql image: periodic access denied for root
git hub | mysociety/theyworkforyou
以上