WordPress | FileZilla | サイトアドレスを編集可能にする方法

WordPressとは,世界で最も人気のあるサイト構築サービスであり,W3Techsの以下調査によると,すべてのウェブの43.1%に利用されている.
W3Techs | Web Technologies of the Year 2022
W3Techs | Usage statistics and market share of WordPress
FileZillaとは,FTPだけではなく,TLS(FTPS)やSFTPをサポートするオープンソースのソフトウェアである.
WordPressの一般設定に記載されている"WordPressアドレス"および"サイトアドレス"が編集できない状況になっているため,本記事ではFileZillaを利用して編集可能にする方法を以下に記す.
実施環境
WordPress 6.1.1
背景
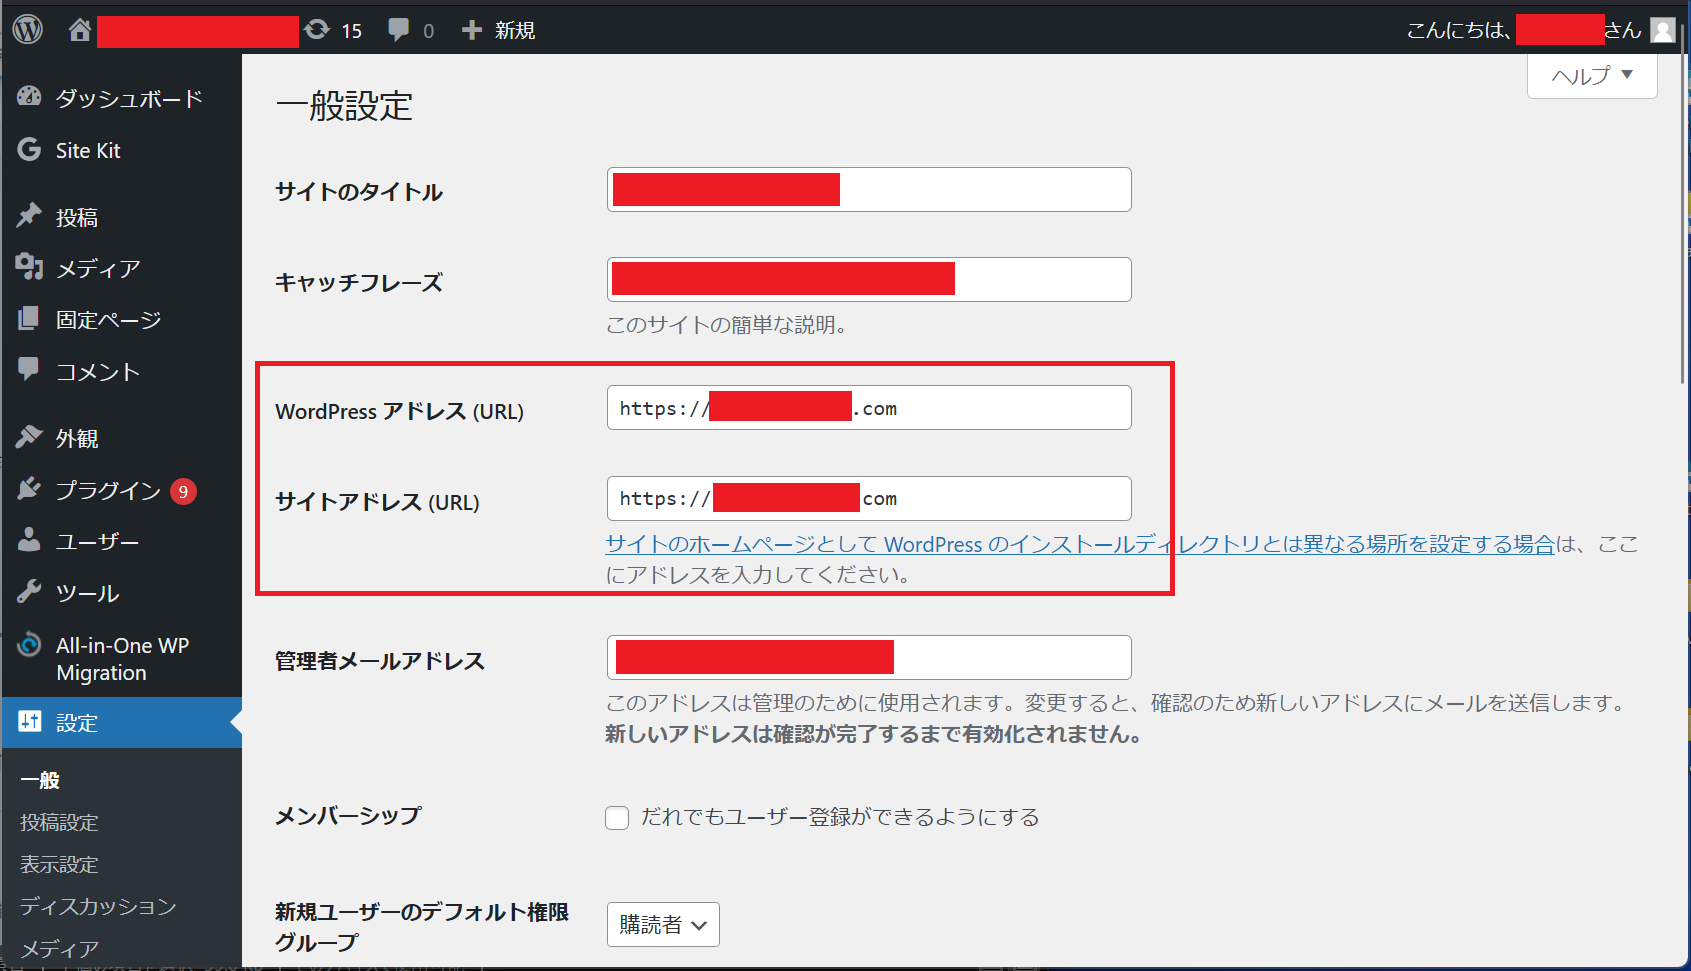
WordPressにログインし,"設定"にカーソルを合わせ,"一般"をクリックすると以下画面に遷移する.赤枠の"WordPressアドレス"および"サイトアドレス"を編集することができなかった.
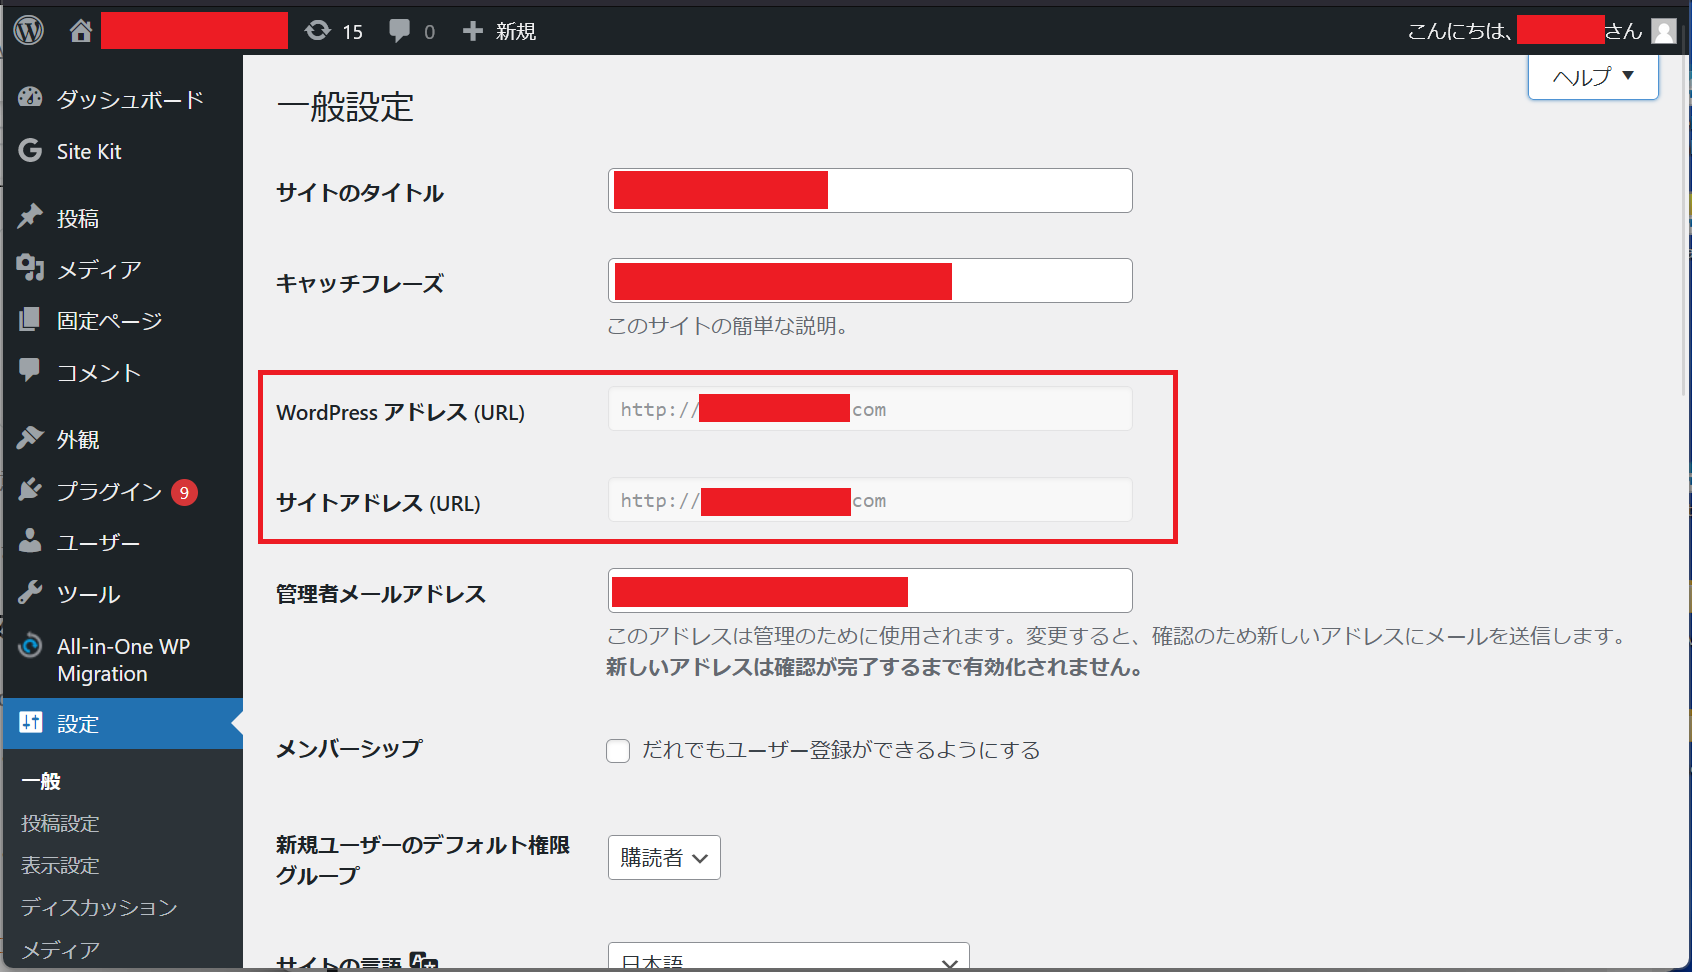
サイトアドレスを編集可能にする方法
FileZillaを開く.なお,接続方法は以下を参照した.
FTP application | FileZillaからAmazon EC2への接続方法
FTP application | FileZillaからAmazon Lightsailへの接続方法

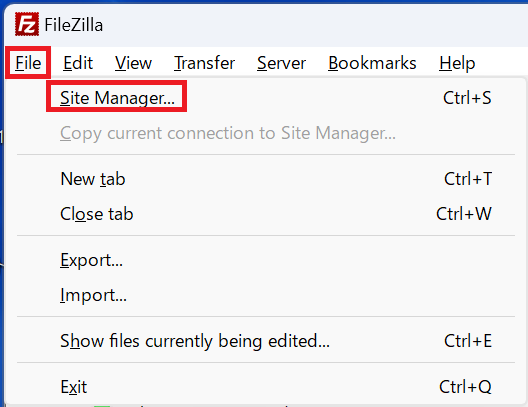
以下画面が開くので,"File"をクリックし,"Site Manager"を選択する.
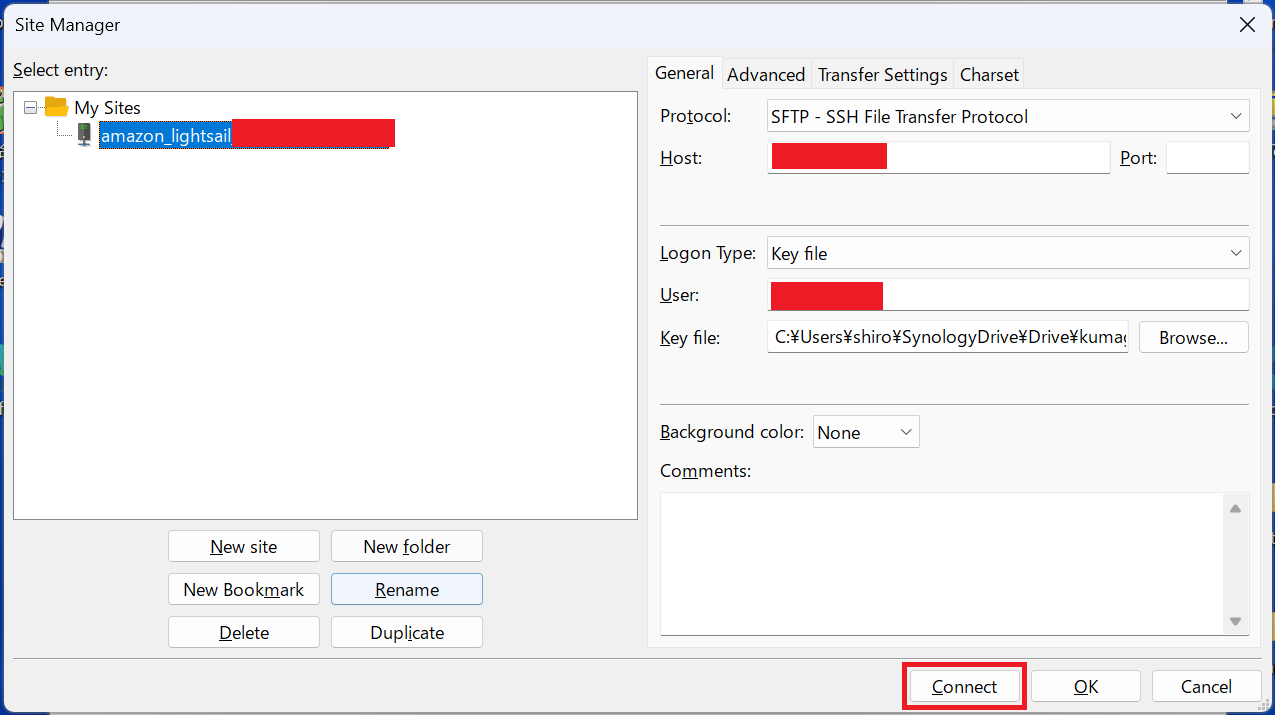
以下画面に遷移するので,"Connect"をクリックする.
以下画面が表示される.右側がWordPressのディレクトリが表示されている."/bitnami/wordpress"ディレクトリの下に"wp-config.php"が見つかる.
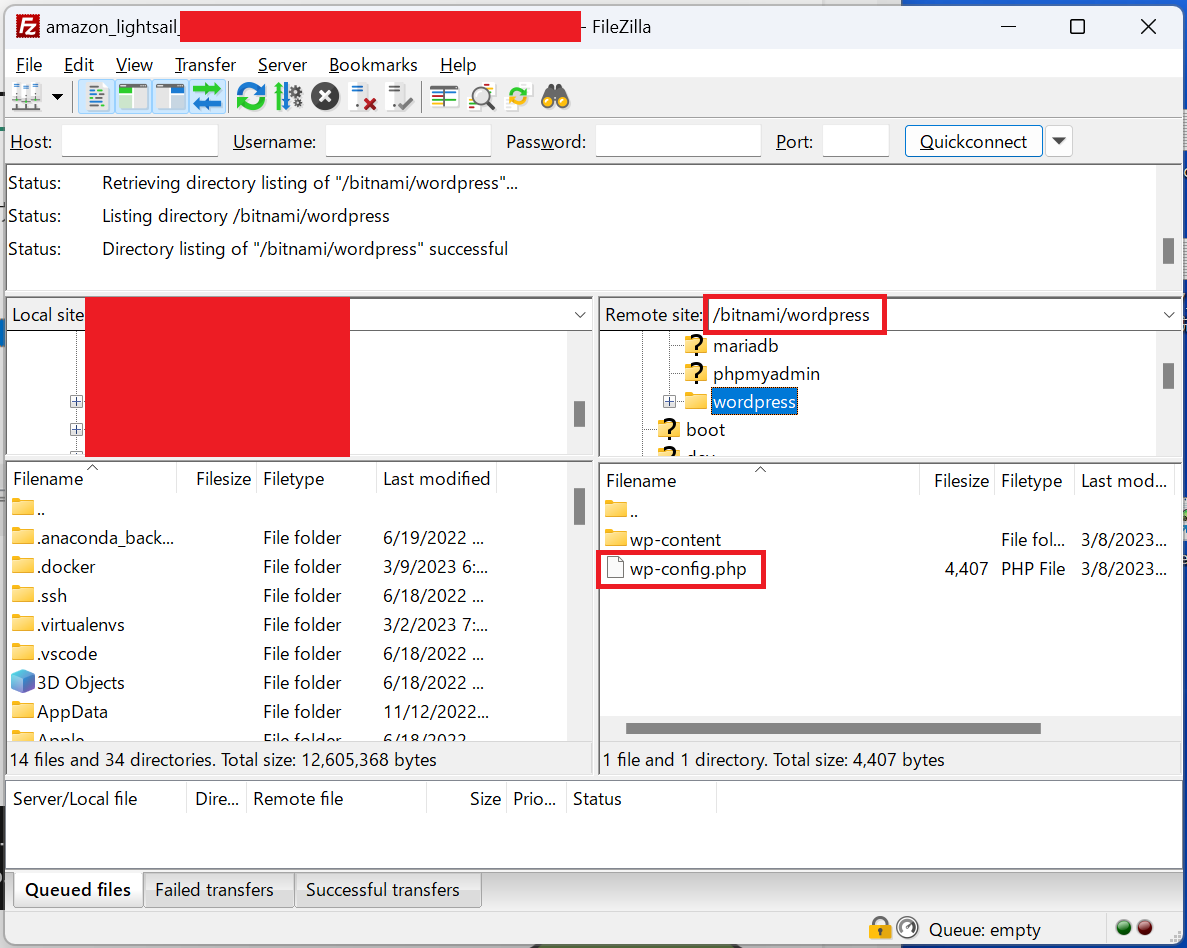
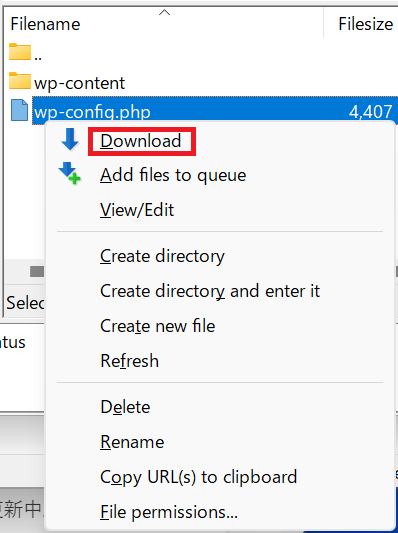
“wp-config.php"をアクティブにし,右クリックをし,"Download"をクリックする.
以下のように,"wp-config.php"がローカル(ノートパソコン)にダウンロードされる.

“wp-config.php"をテキストエディタで開く.私の場合,以下コードが記述されていた.
define( 'WP_HOME', 'http://' . $_SERVER['HTTP_HOST'] . '/' );
define( 'WP_SITEURL', 'http://' . $_SERVER['HTTP_HOST'] . '/' );
当該コードを以下のように,コメントアウトした.もしくは削除し,保存する.
/*define( 'WP_HOME', 'http://' . $_SERVER['HTTP_HOST'] . '/' );
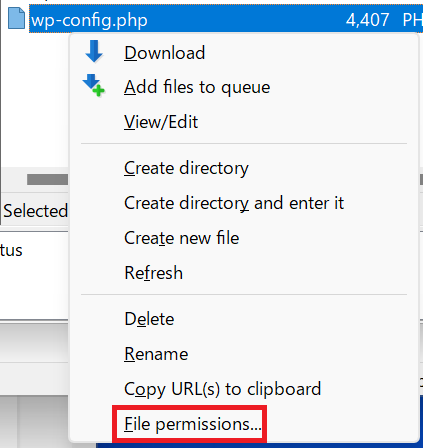
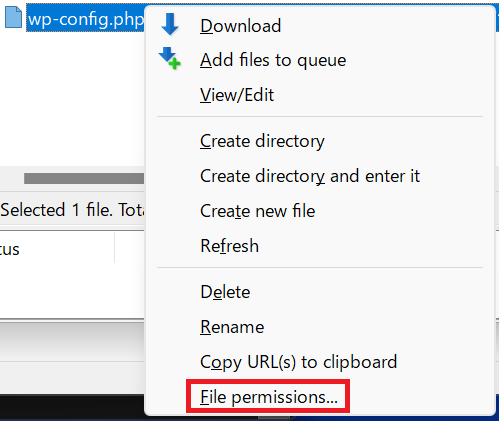
define( 'WP_SITEURL', 'http://' . $_SERVER['HTTP_HOST'] . '/' );*/FileZillaに格納されている"wp-config.php"を右クリックし,"File permissions"をクリックする.
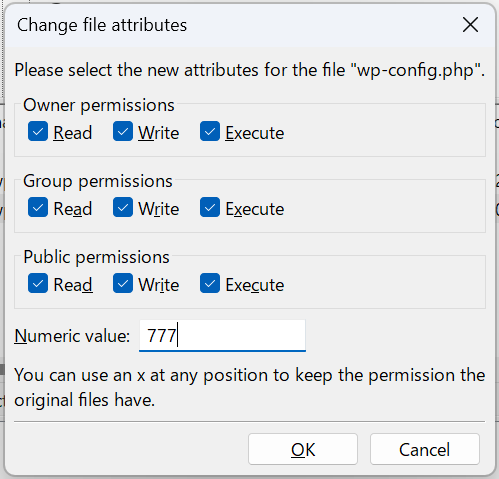
私の場合,以下のような表記になっている.後ほど利用するので,編集前のNumeric valueはメモしておく.

“Numeric value"を"777″に変えると,以下のようにpermissionの内容が変わるので,"OK"をクリックする.

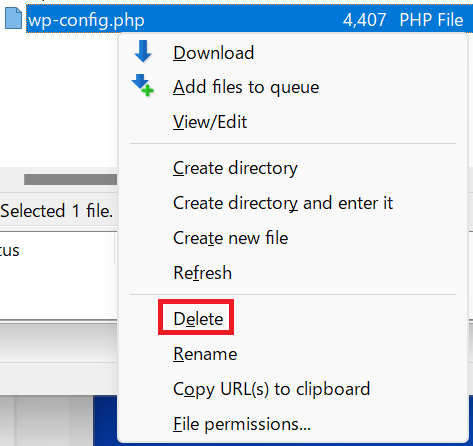
“wp-config.php"を右クリックし,"Delete"をクリックし,削除する.
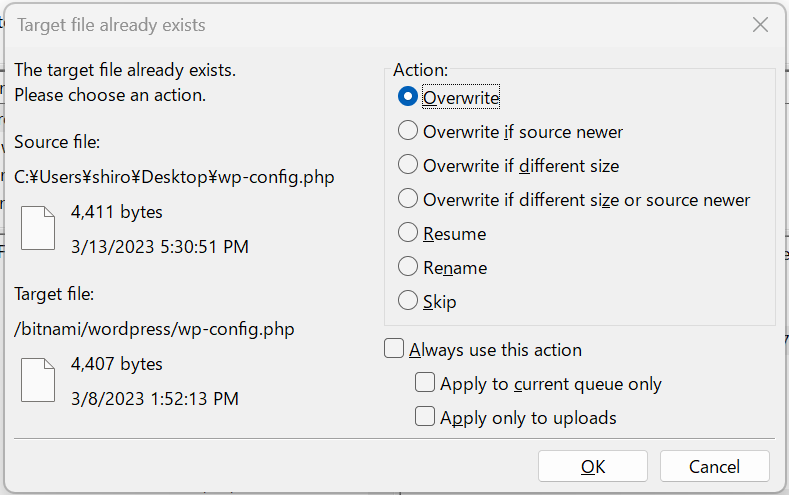
削除できない場合,ローカルに存在する編集した"wp-config.php"で,FileZillaに格納されている"wp-config.php"を上書きする.
FileZillaで上書きされた"wp-config.php"を右クリックし,"File permissions"をクリックする.
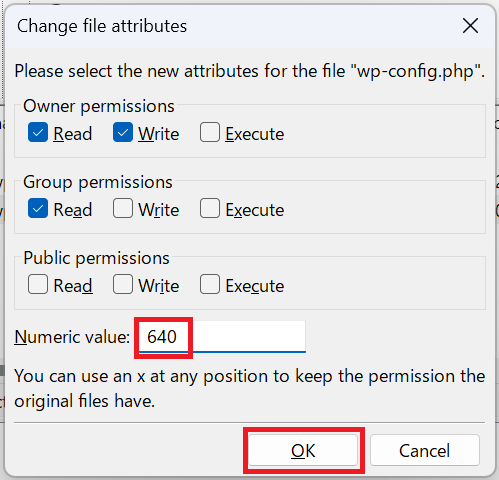
以下画面が開くと,"Numeric value"が"777になっている.
“Numeric value"を戻し,"OK"をクリックする.
WordPressにログインし,以下画面に遷移すると,赤枠の"WordPressアドレス"および"サイトアドレス"が編集できるようになった."WordPressアドレス"および"サイトアドレス"に記載されているアドレスが,自動的に"http"から"https"に変わった.
参照
WP-topics | 【WordPress】一般設定→サイトURLがグレーアウトしていて編集できない時の対処法
以上