PHP | XAMPP | VS Codeを利用した環境構築方法
PHPとは,Hypertext Preprocessorの略であり,幅広く使われている汎用スクリプト言語である.Web開発に適しており,HTMLに埋め込むこともできる.
XAMPPとは,PHPの開発環境で最も人気があり,無料でMariaDB, PHP, Perlを含むApache distributionを容易にインストールすることができる.
VS Codeとは,Visual Studio Codeを正式名称とするMicroSoftが提供している人気のある無料のテキストエディタである.
本記事では,XAMPPとVS Codeを利用してPHPの開発環境を構築する流れを以下に記す.
実施環境
OS: Windows11
環境構築方法
XAMPPのインストール
以下URLにアクセスし,XAMPPをインストールする.私の場合,"XAMPP for Windows"をダウンロードし,インストールした.
PATHの通し方
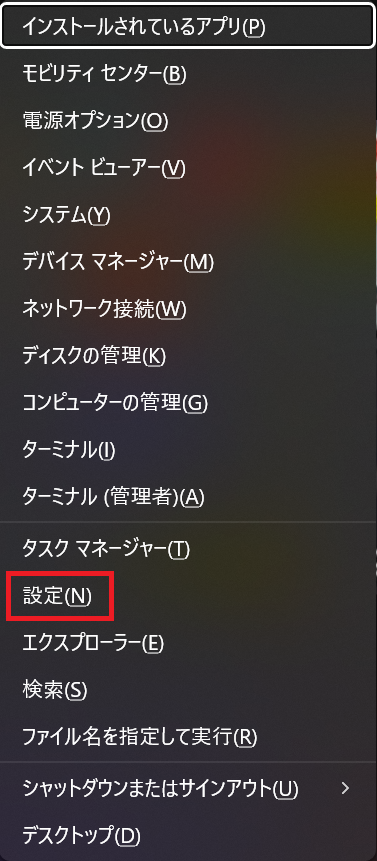
以下Windowsボタンを右クリックする.

以下メニューが開くので,"設定"をクリックする.
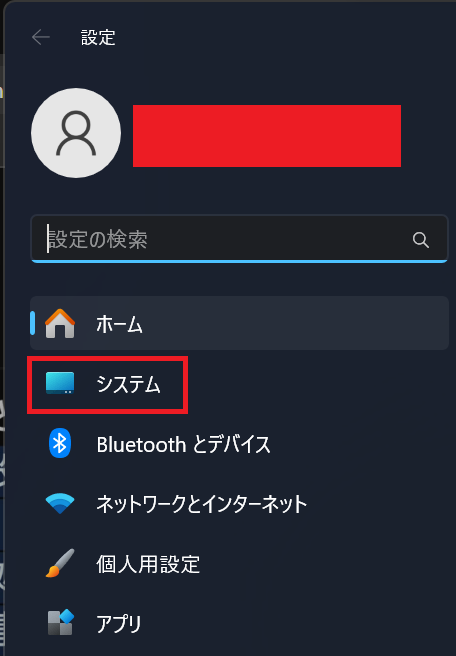
以下設定画面に遷移するので,"システム"をクリックする.
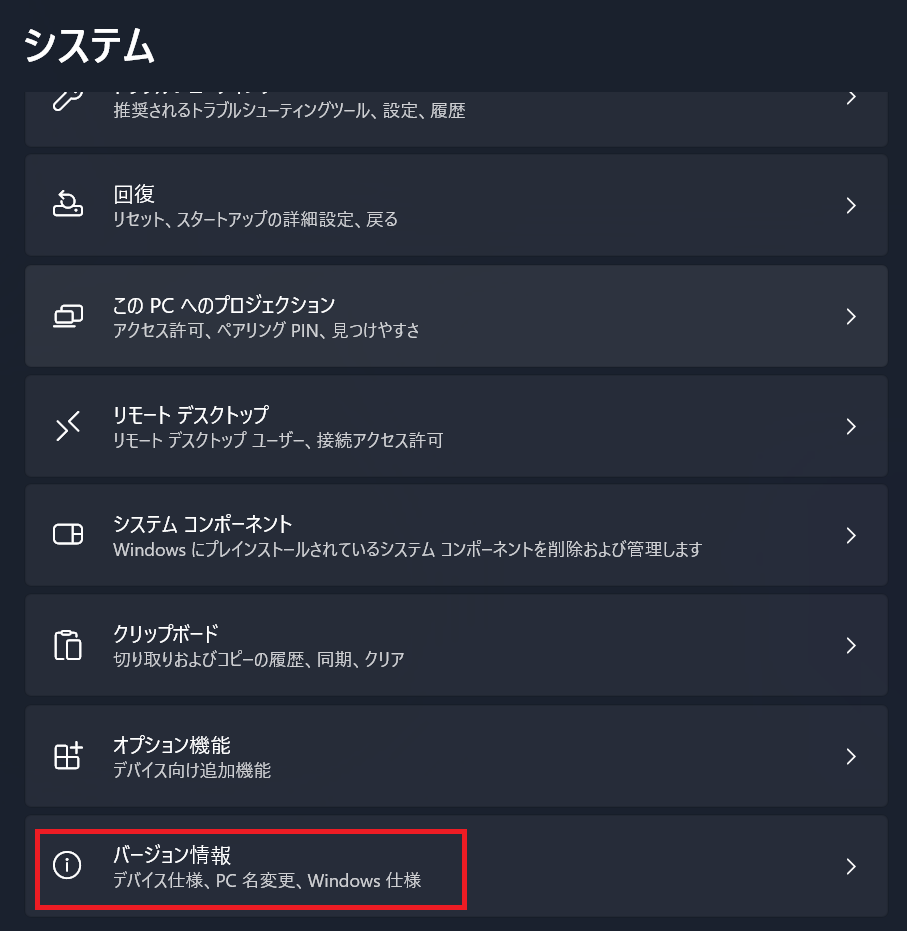
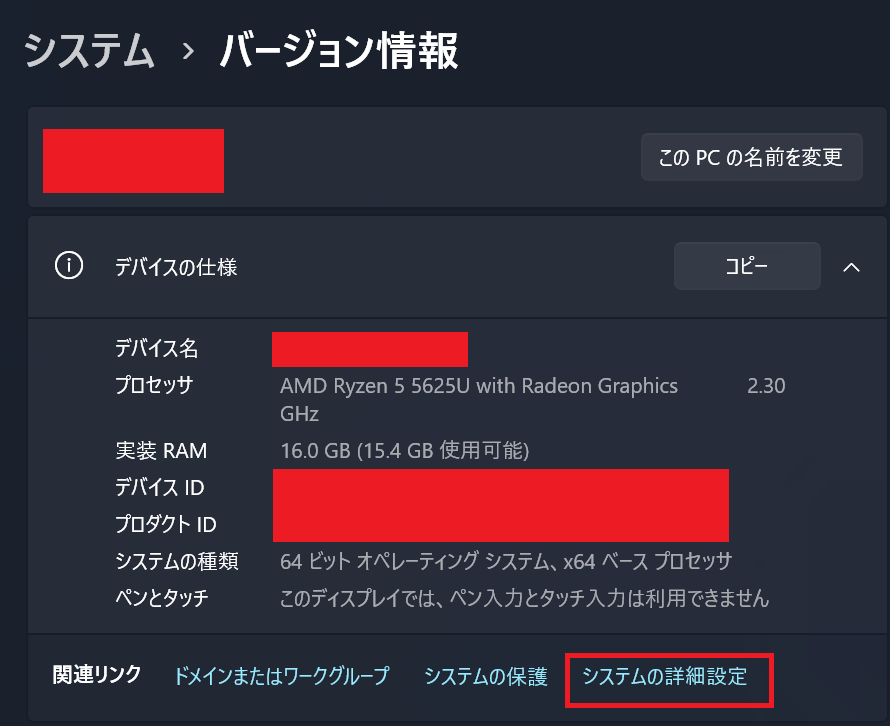
以下システム画面に遷移するので,"バージョン情報"をクリックする.
以下バージョン情報画面に遷移するので,"システムの詳細設定"をクリックする.
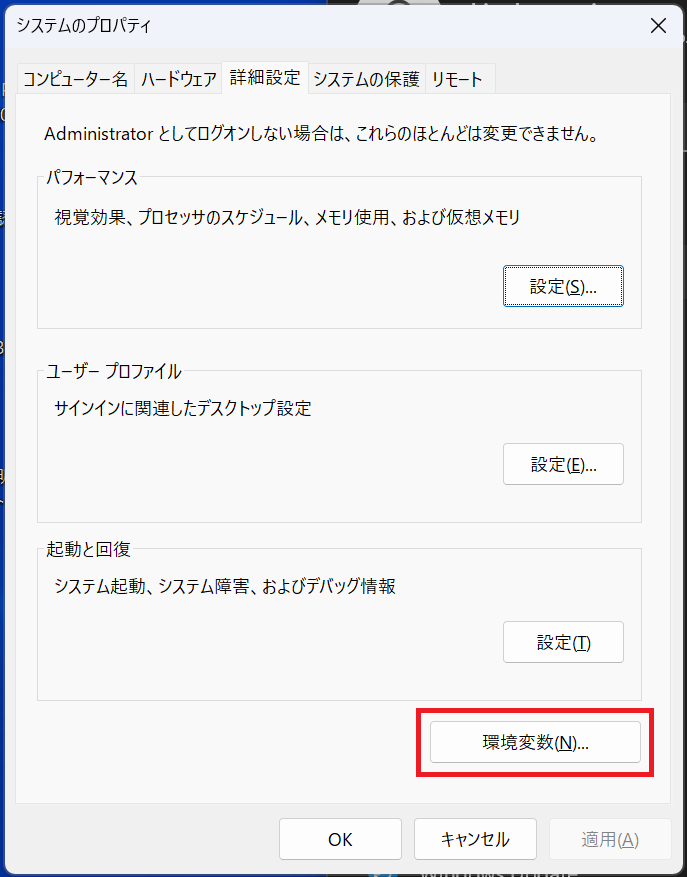
以下画面に遷移するので,"環境変数"をクリックする.
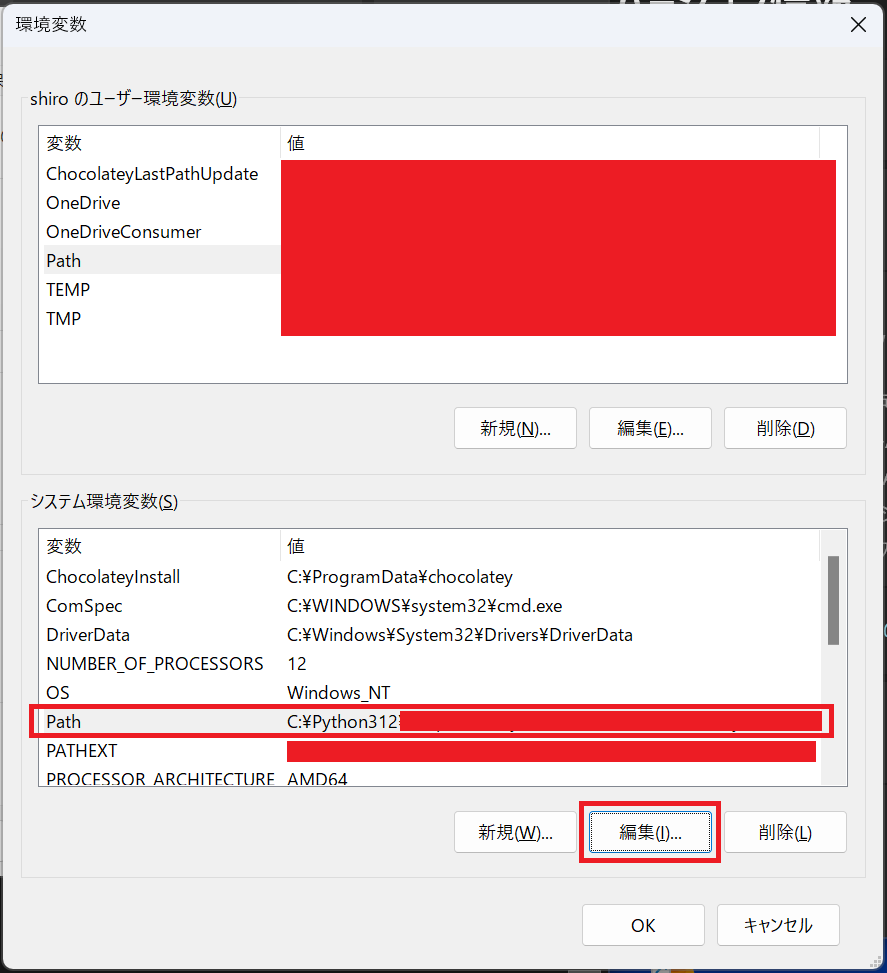
以下画面に遷移するので,"システム環境変数"の"編集"をクリックする.
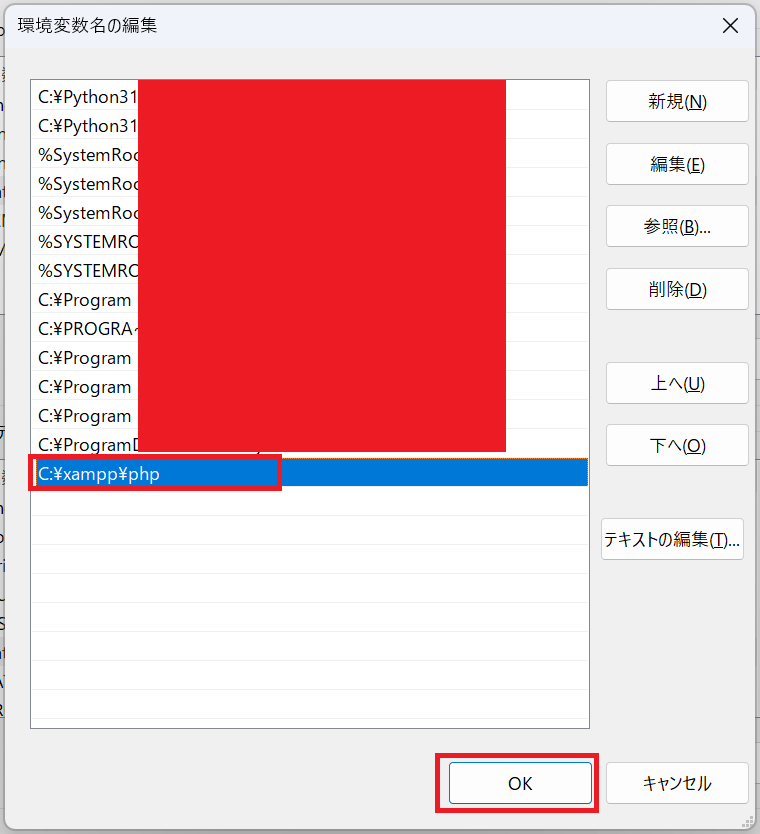
以下画面に遷移するので,"新規"をクリックする.
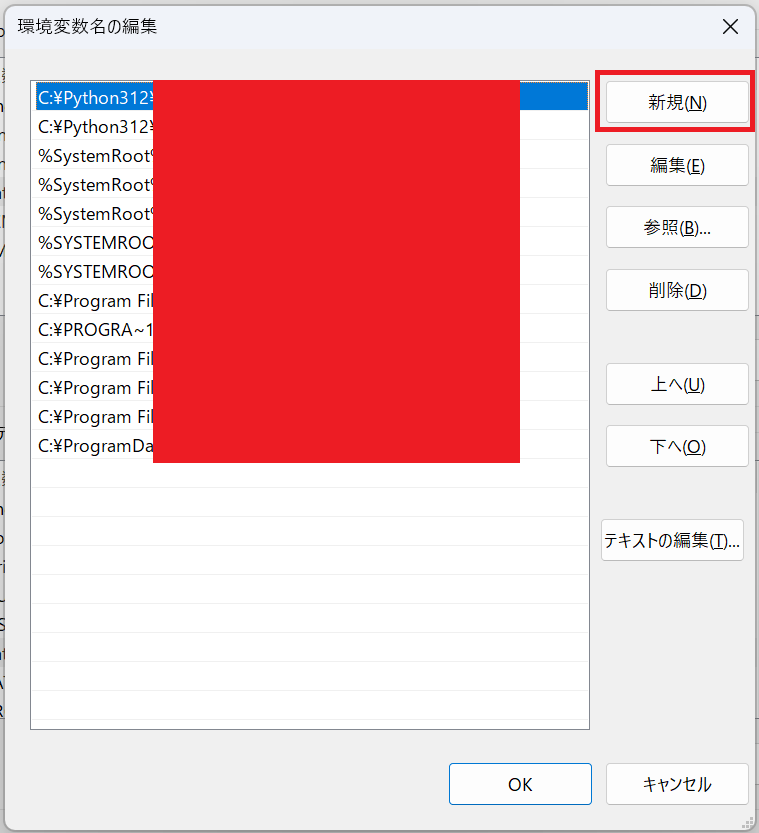
以下のように,"C:\xampp\php"を追加し,"OK"をクリックする.
VS Codeの設定
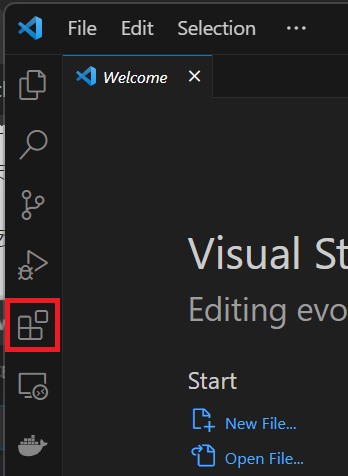
VS Codeを開く
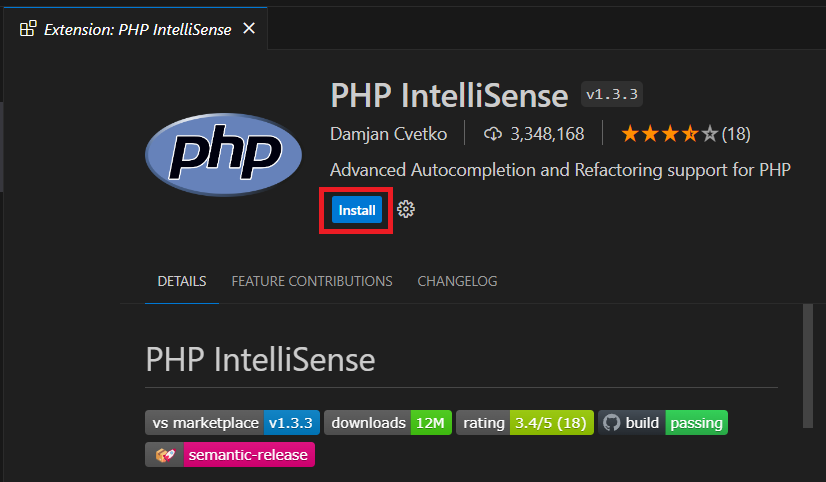
以下"Extensions"をクリックする.
以下検索バーが出現するので,"php intellisense"を入力し,当該extensionsを選択する.
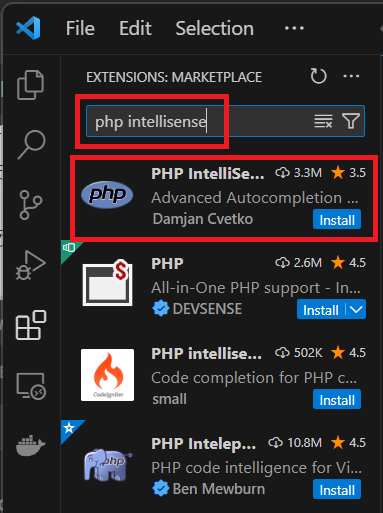
以下のように,"php intellisense"で間違いなければ,"Install"をクリックする.
ブラウザでphpファイルを表示
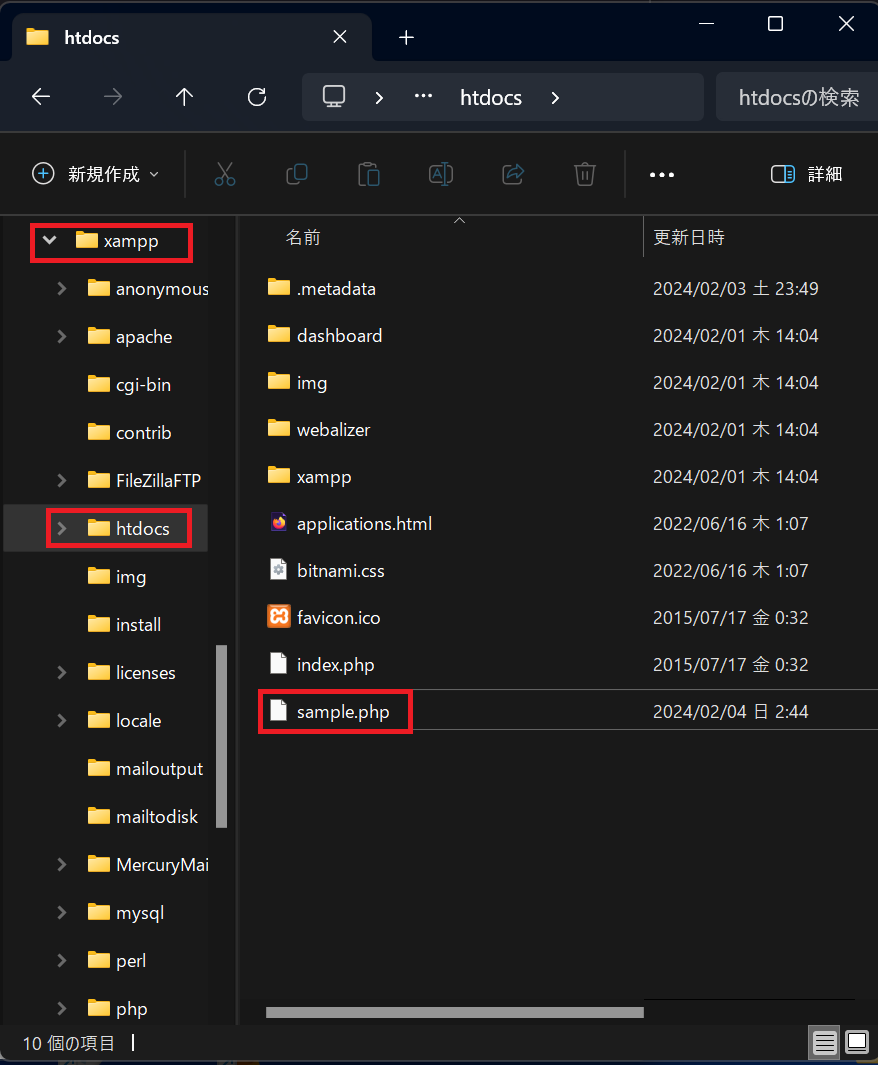
エディターでphpファイルを作成する.ファイル名は,"sample.php"とした.
<html>
<body>
<?php
echo 'Hello World, shelokuma!';
?>
</body>
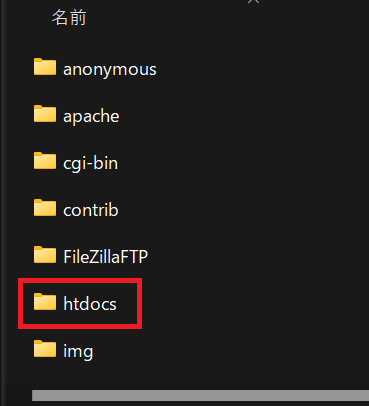
</html>“sample.php"ファイルは,以下のように,"C\xampp\htdocs"に収載した.
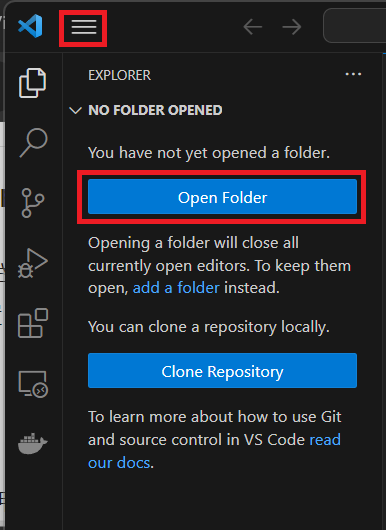
VS Codeを開く
以下画面になるので,"Open Folder"をクリックする.もしくは赤枠の三本線をクリックし,"File"から"Open Folder"をクリックする.
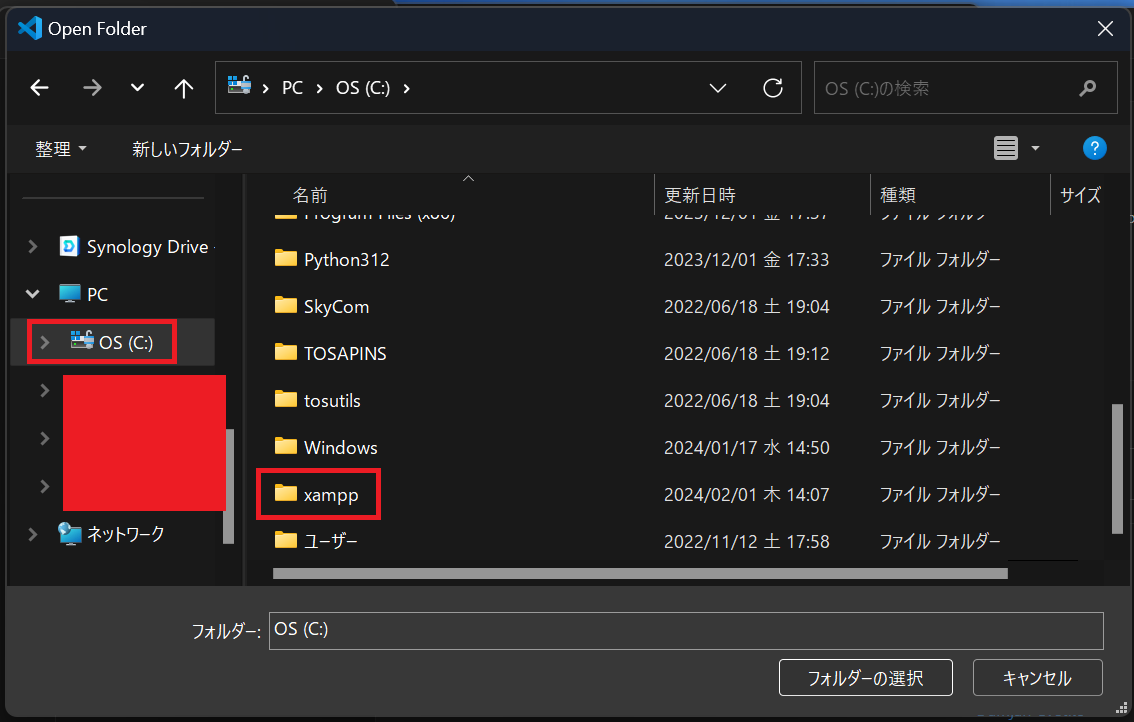
以下のように,"OS(C:)"を選択し,"xampp"をクリックする.
“xampp"フォルダ内の"htdocs"を選択する.
以下のように,"フォルダーの選択"をクリックする.

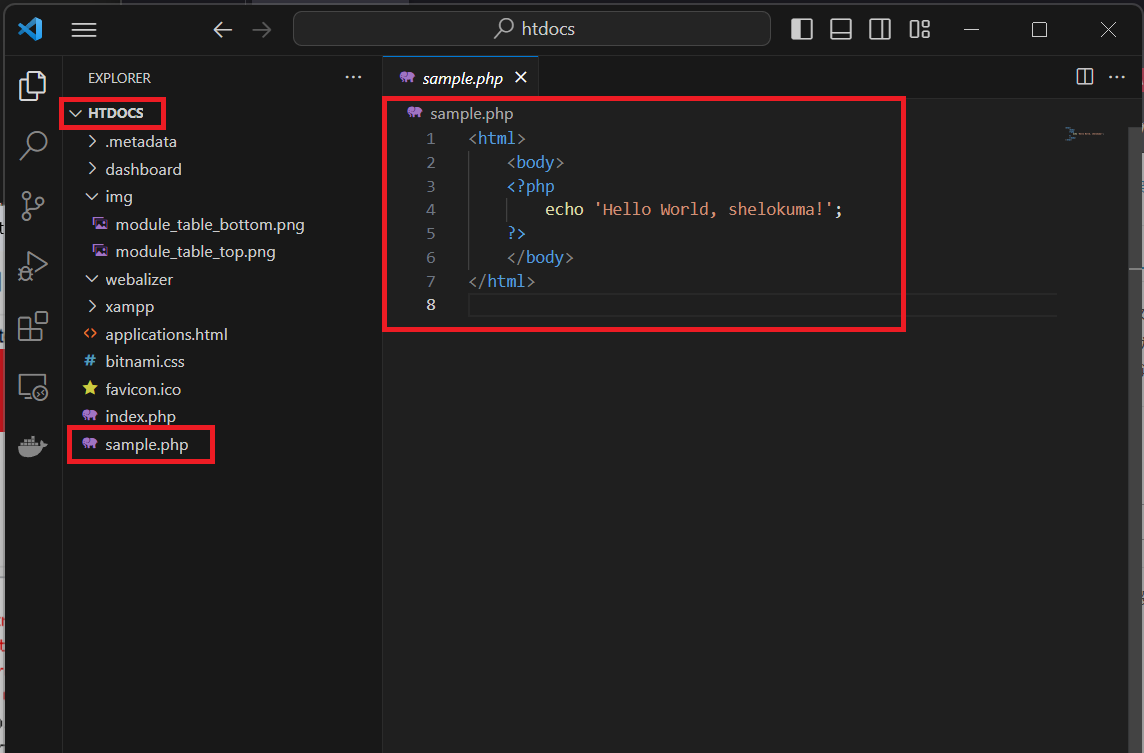
以下のように,VS Codeで"htdocs"が開かれる.以下のように"sample.php"があるのが確認でき,内容も読むことができる.
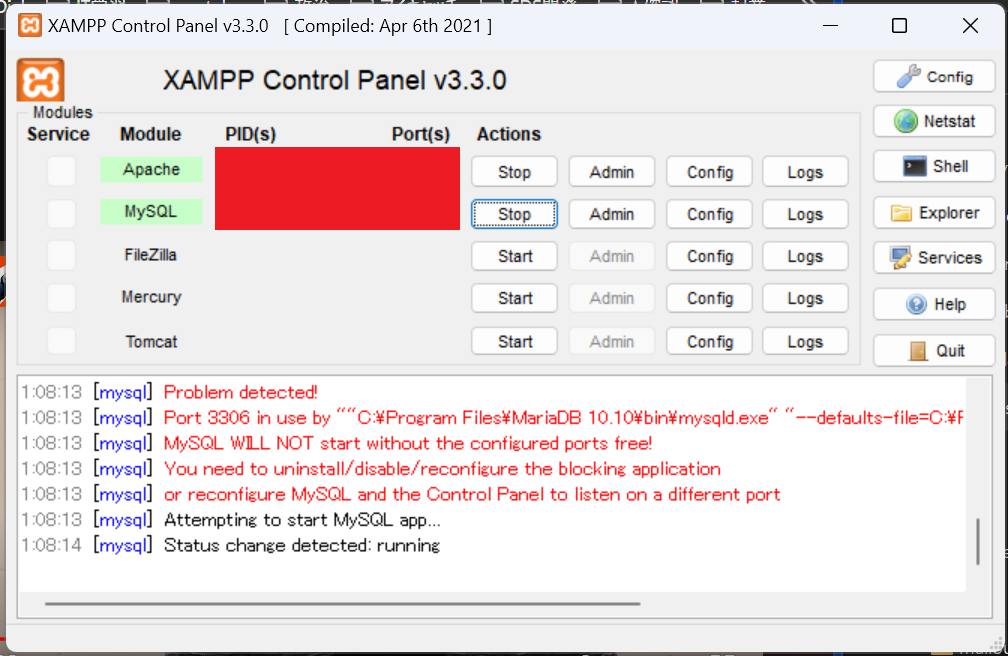
以下"XAMPP Control Panel"を開く.
以下のように,画面が開くので,"Apache"と"MySQL(MariaDB)"のActionsの"Start"をクリックする.
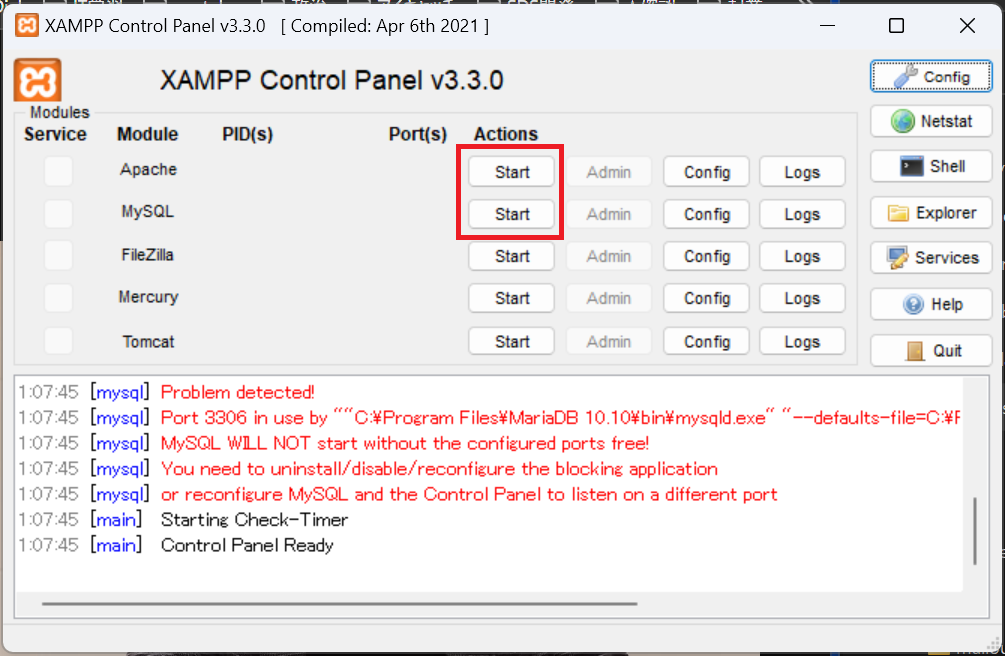
“Apache"と"MySQL(MariaDB)"が起動すると,以下のような画面になる.
ブラウザを開き,"http://localhost/sample.php"を入力すると,以下のように"sample.php"に記載した"Hello World, shelokuma!"を表示させることができる.

参照
Qiita | Visual Studio CodeでXAMPPのPHPコーディング環境を作る
以上