Python | Django | htmlファイルを利用したフォーム設定方法

公開日:2021/7/14
Pythonには,DjangoというWebアプリケーションフレームワークがある.フレームワークのため,Djangoを利用するとWebアプリを通常よりも短時間で開発することが可能になる.
前記事にて,「モデルフォームにおけるエラー発生方法」を記した.前記事での設定をそのまま引き継いだ上で,本記事では,「htmlファイルを利用したフォーム設定方法」を以下4つの構成にて記す.
◆実施環境
Python 3.8.8
Django 3.2.3
■htmlファイルを利用したフォーム設定方法
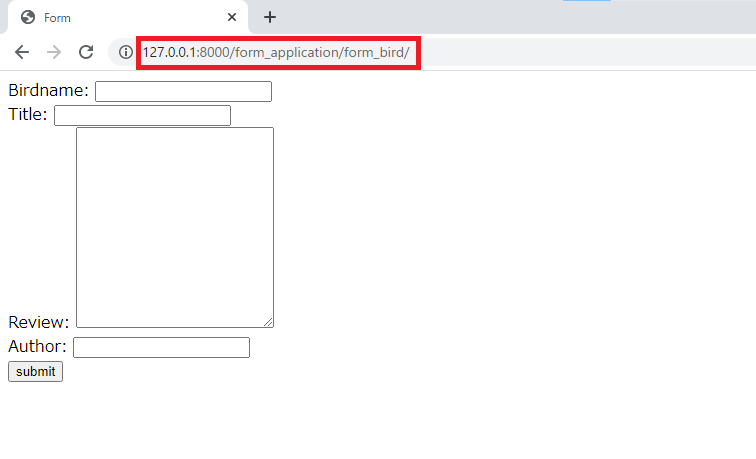
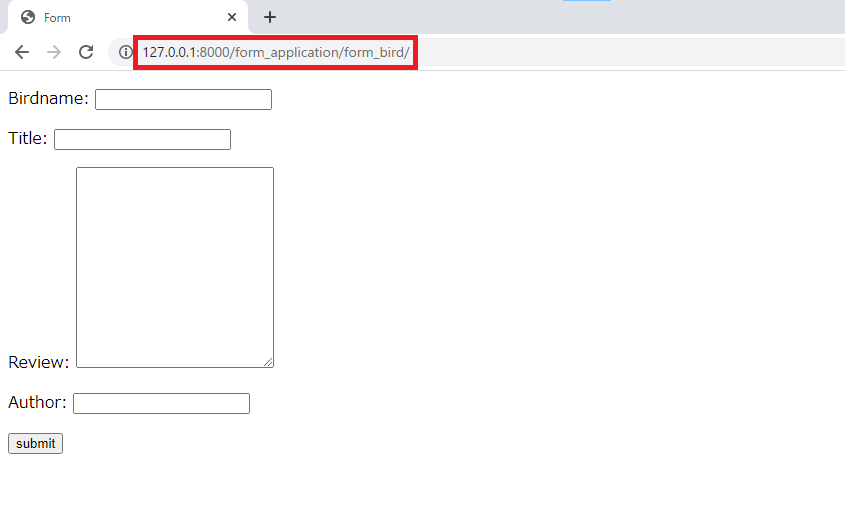
ブラウザのURLに"http://127.0.0.1:8000/form_application/form_bird"を入力すると,以下が表示される.以下は,"form_project/templates/form_temp/form_bird.html"の内容を表示している."form_bird.html"に"include"を利用することで,新たに作成するファイル"form_template1.html"の内容を表示する.
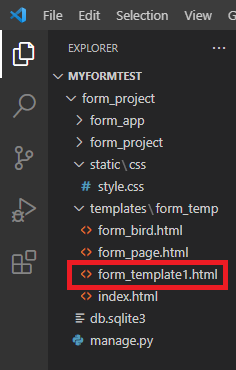
“form_project/templates/form_temp"に"form_template1.html"を作成する.以下のような構成になる.
“form_project/templates/form_temp/form_bird.html"から一部を切り取り,"form_template1.html"に貼り付ける.以下のようになる.
<form method="POST">
{% csrf_token %}

{{ form.non_field_errors }}
{% if form.errors %}
  {% for item_label, item_content in form.errors.items %}
    {% if item_label != '__all__' %}
      <p><div style="color:red;">{{ item_label }}: {{ item_content.as_text }}</div></p>
    {% endif %}
  {% endfor %}
{% endif %}

{{ form.birdname.label }}: {{ form.birdname }}<br>

{{ form.title.label }}: {{ form.title }}<br>

{{ form.review.label }}: {{ form.review }}<br>

{{ form.author.label }}: {{ form.author }}<br>

<input type="submit" value="submit">
</form>
切り取り後,"form_project/templates/form_temp/form_bird.html"に"include"を利用したコードを追記し,以下のように編集する.
<!DOCTYPE html>
<html>
<head>
<meta charset="utf-8">
<title>Form</title>
{% load static %}
<link rel="stylesheet" href="{% static 'css/style.css' %}">
</head>
<body>
  {% include "form_app/form_template1.html" %} # 追記箇所
</body>
</html>
ターミナルを開き,”conda activate 仮想環境名”を実行し,仮想環境に移行する(移行方法の詳細はこちら)."cd form_project"を実行することによって,”form_project”のディレクトリに移動する.その後,以下のように”python manage.py runserver”を実行する.実行後,以下が出力される.
(djangoenv) C:\Users\shiro\Desktop\210517_python development\myformtest\form_project
>python manage.py runserver
System check identified no issues (0 silenced). # 以下出力箇所
July 14, 2021 - 00:32:08
Django version 3.2.3, using settings 'form_project.settings'
Starting development server at http://127.0.0.1:8000/
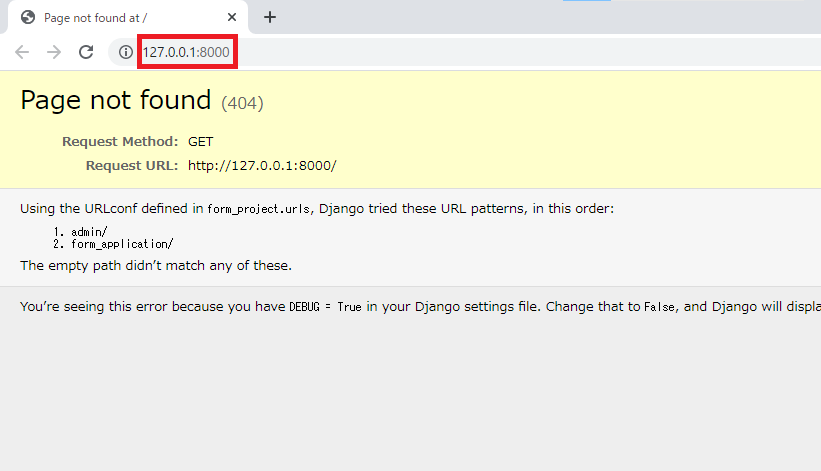
Quit the server with CTRL-BREAK.上記の"http://127.0.0.1:8000″をクリックする.以下ページに遷移する.
ブラウザのURLに"http://127.0.0.1:8000/form_application/form_bird"を入力すると,以下ページに遷移する.
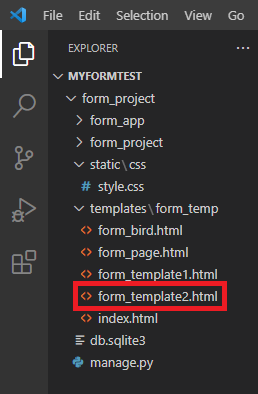
“form_project/templates/form_temp"に"form_template2.html"を作成する.以下のような構成になる.
“form_project/templates/form_temp"に"form_template2.html"を以下のように編集する.
<form method="POST">
{% csrf_token %}
{{ form.as_p }}
<input type="submit" value="submit">
</form>
“form_project/templates/form_temp/form_bird.html"を以下のように編集する.
<!DOCTYPE html>
<html>
<head>
<meta charset="utf-8">
<title>Form</title>
{% load static %}
<link rel="stylesheet" href="{% static 'css/style.css' %}">
</head>
<body>
  {% include "form_temp/form_template2.html" %} # 変更箇所(template1 => template2)
</body>
</html>
上記を保存し,ブラウザのURLに"http://127.0.0.1:8000/form_application/form_bird"を入力すると,以下ページに遷移する."form.as_p"の内容となる.
“form_project/templates/form_temp"に"form_template2.html"を以下のように編集する.
<form method="POST">
{% csrf_token %}
{% if as_table %}
  <table>
    {{ form.as_table }}
  </table>
{% elif as_ul %}
  {{ form.as_ul }}
{% else %}
  {{ form.as_p }}
{% endif %}
<input type="submit" value="submit">
</form>
“form_project/templates/form_temp/form_bird.html"を以下のように編集する.
<!DOCTYPE html>
<html>
<head>
<meta charset="utf-8">
<title>Form</title>
{% load static %}
<link rel="stylesheet" href="{% static 'css/style.css' %}">
</head>
<body>
{% include "form_temp/form_template2.html" with as_ul=True %} # 変更箇所
</body>
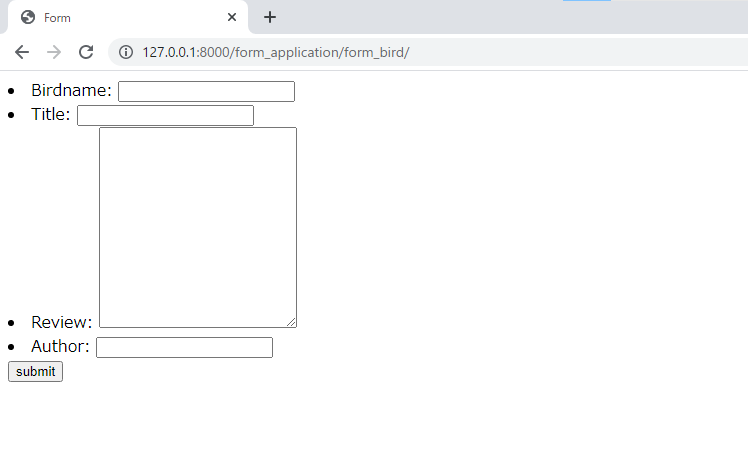
</html>上記を保存し,ブラウザのURLに"http://127.0.0.1:8000/form_application/form_bird"を入力すると,以下ページに遷移する."form.as_ul"の内容となる.
“form_project/templates/form_temp/form_bird.html"を以下のように編集する.
<!DOCTYPE html>
<html>
<head>
<meta charset="utf-8">
<title>Form</title>
{% load static %}
<link rel="stylesheet" href="{% static 'css/style.css' %}">
</head>
<body>
{% include "form_temp/form_template2.html" with as_table=True %} # 変更箇所
</body>
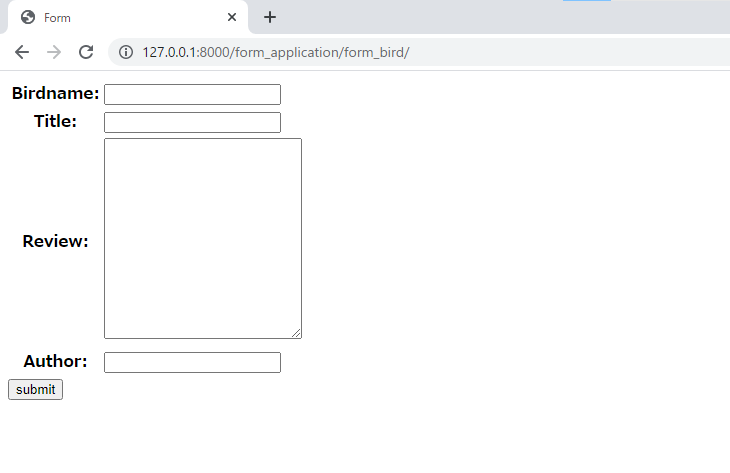
</html>上記を保存し,ブラウザのURLに"http://127.0.0.1:8000/form_application/form_bird"を入力すると,以下ページに遷移する."form.as_table"の内容となる.
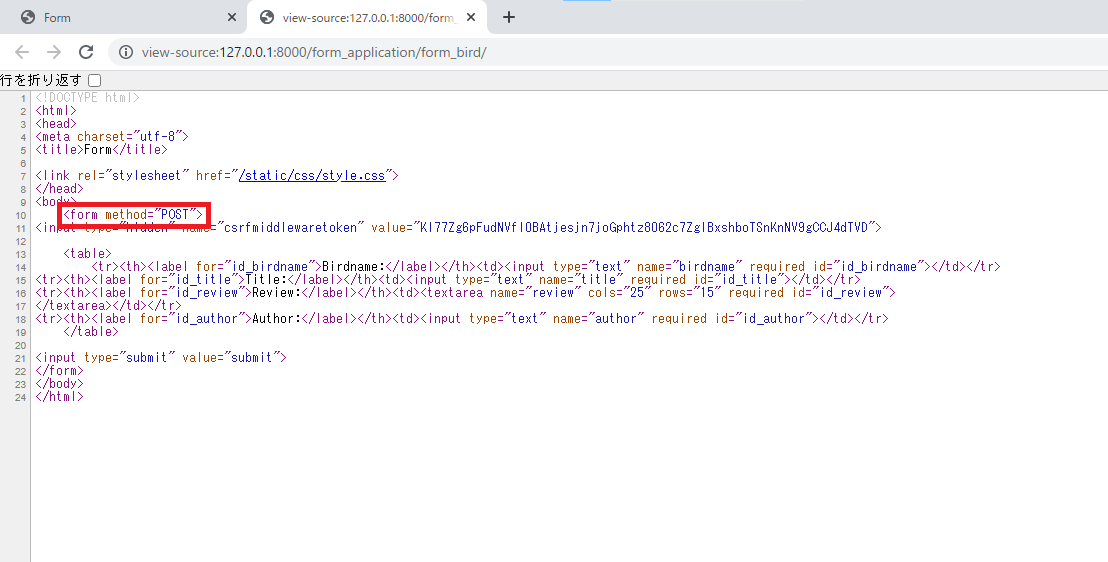
ブラウザ(Chrome バージョン:91.0.4472.124, 64ビット)のURLに"http://127.0.0.1:8000/form_application/form_bird"を入力すると,以下が表示される.ブラウザ画面で右クリックをし,"ページのソースを表示"を選択すると,ソースコードの詳細を確認できる.現在,赤枠の通り,"form method"は"POST"となっている."form_template2.html"と"form_bird.html"を変更することでmethodを変更することができる.
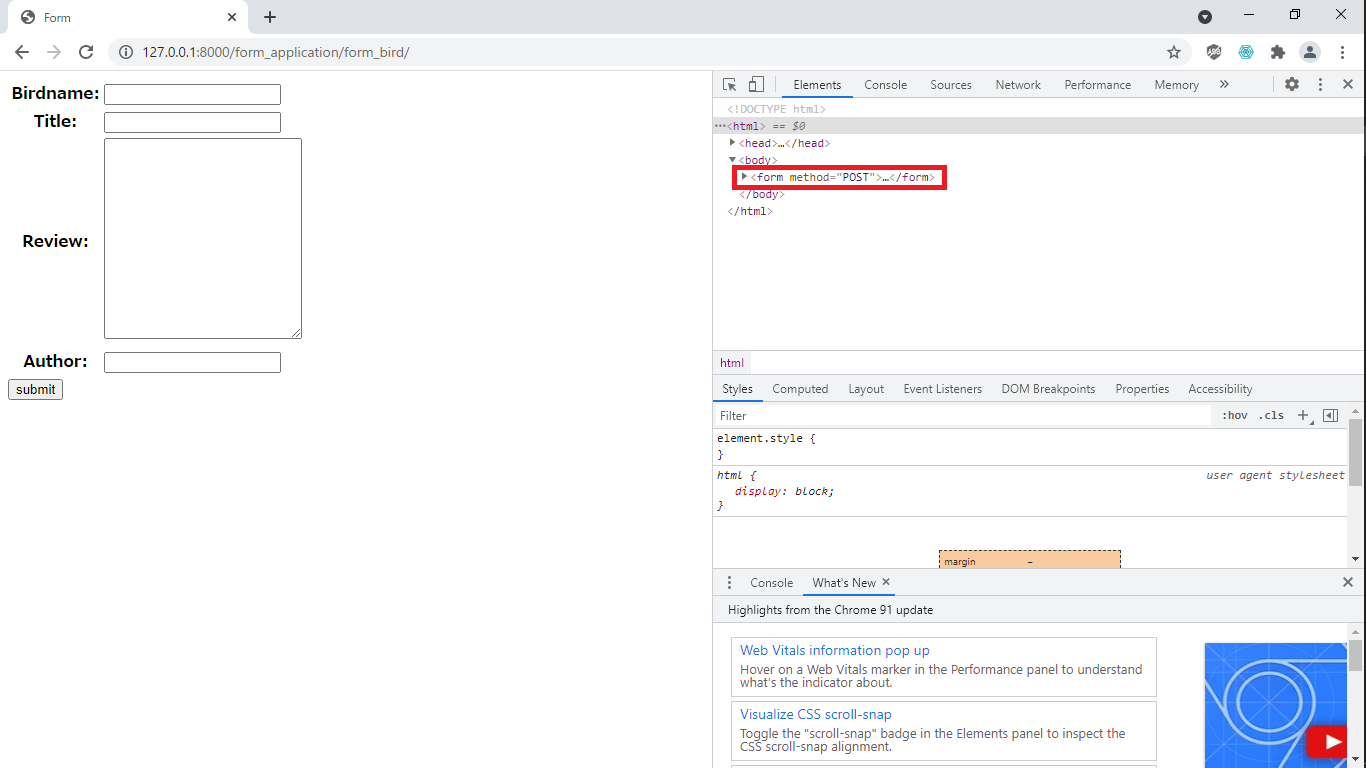
“form_project/templates/form_temp"に"form_template2.html"を以下のように編集する.
<form method="{% if method %}{{ method }}{% else %}POST{% endif %}"> # 変更箇所
{% csrf_token %}
{% if as_table %}
  <table>
    {{ form.as_table }}
  </table>
{% elif as_ul %}
  {{ form.as_ul }}
{% else %}
  {{ form.as_p }}
{% endif %}
<input type="submit" value="submit">
</form>
“form_project/templates/form_temp/form_bird.html"を以下のように編集する.
<!DOCTYPE html>
<html>
<head>
<meta charset="utf-8">
<title>Form</title>
{% load static %}
<link rel="stylesheet" href="{% static 'css/style.css' %}">
</head>
<body>
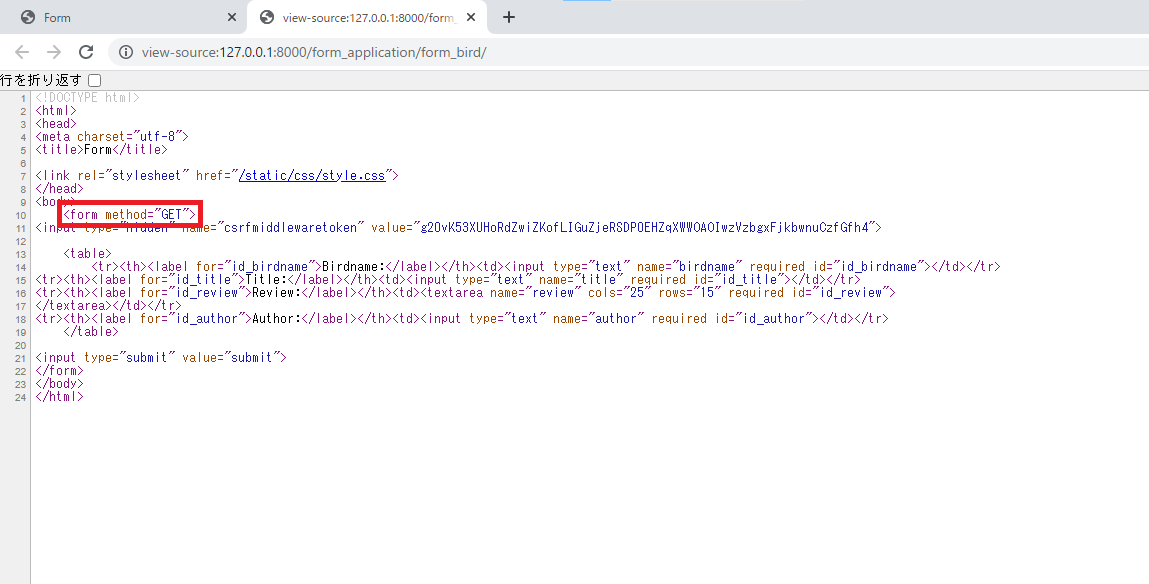
{% include "form_temp/form_template2.html" with as_table=True method='GET' %} # 変更箇所
</body>
</html>上記を保存し,ブラウザのURLに"http://127.0.0.1:8000/form_application/form_bird"を入力すると,以下ページに遷移する.ブラウザ画面で右クリックをし,"ページのソースを表示"を選択すると,赤枠の通り,"form method"は"GET"となる.
以上